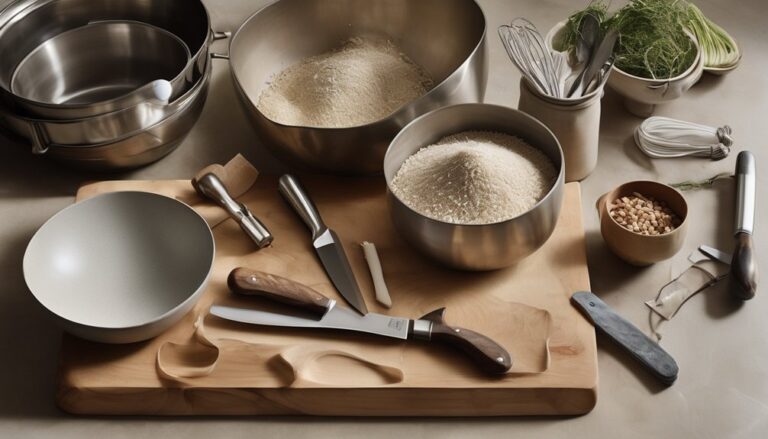
Here are seven practical, high-impact tips to upgrade your kitchen on a budget. Define your total spend, priorities, and constraints, then start with quick wins like updating cabinet hardware and giving walls or shelves a fresh coat of paint. Choose budget-friendly, smart-looking surfaces, and energy-efficient appliances with good LED lighting. Maximize small spaces with clever storage solutions, tackle DIY refresh projects, and shop smart by timing sales and avoiding warranty traps. Want more detail as you go? You’ll uncover extra strategies soon.
Key Takeaways
- Prioritize low-cost cosmetic updates: paint walls/cabinets and swap cabinet hardware for an instant refresh.
- Elevate surfaces with budget-friendly finishes: laminate countertops and decorative backsplashes that mimic real materials.
- Improve lighting and cohesion: install warm, energy-efficient LED fixtures and match finishes across hardware and accents.
- Optimize storage smartly: use vertical organizers, labeled drawers, and modular components to reduce clutter.
- Plan purchases strategically: time purchases around sales, compare prices, and avoid unnecessary warranty traps.
Define Your Kitchen Upgrade Budget: Goals, Constraints, and Priorities
Setting a clear budget at the start keeps your upgrade focused and realistic: know your total amount, how much you can borrow or flex, and how you’ll allocate funds across essential, cosmetics, and surprises. You’ll define goals that matter to you—what you’ll gain in daily joy, efficiency, and social moments—without overreaching. Identify budget constraints early, then translate them into concrete limits for appliances, cabinetry, and finishes. Practice priority setting: rank must-haves versus nice-to-haves, and build contingencies for unexpected costs. Track every dollar as you plan, so choices stay aligned with your values and sense of belonging in your space. A clear framework reduces decision fatigue and preserves momentum toward a cohesive, affordable kitchen upgrade. Prioritize stability and long-term value to ensure your investment remains functional as your needs evolve. budgeting basics
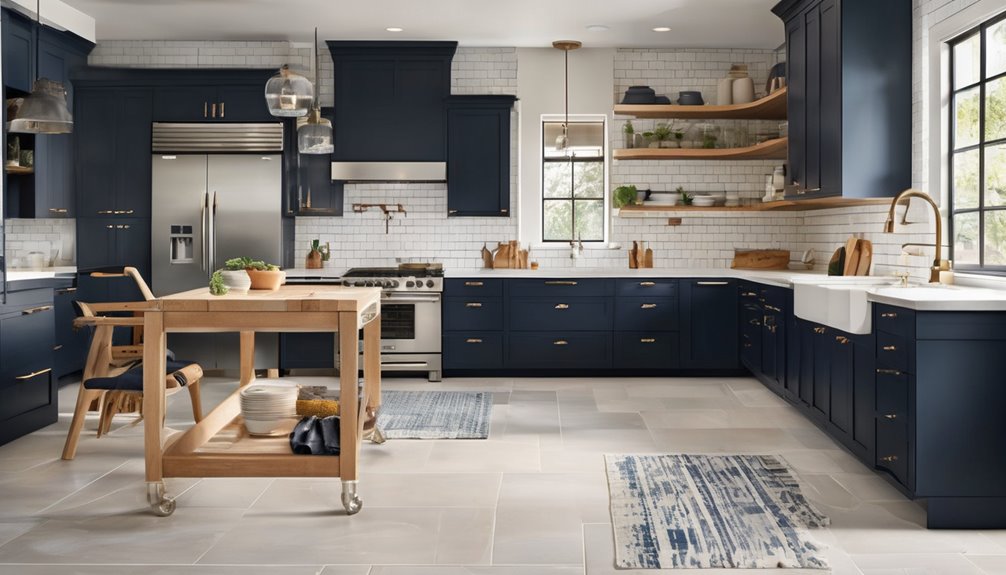
Start With Quick Wins: Affordable Cabinet Hardware and Fresh Paint
With a sensible budget in hand from your earlier planning, you can start with quick, high-impact upgrades. First, swap in fresh cabinet hardware to transform the look without a full remodel; choose finishes that echo your existing metals for a cohesive feel. Next, embrace fresh paint on walls or open shelves to brighten tone and mood, selecting a color that invites warmth and belonging. You don’t need perfection—just even coverage and clean edges. Work with the light you have, testing small swatches before committing. Pair hardware and paint with simple, clean lines, avoiding clutter so the space reads intentional. These fast upgrades create an immediate sense of care, making your kitchen feel yours and inviting to guests. Small changes, big belonging. Also, consider selecting an ergonomic chair for long kitchen tasks to support comfort during extended prep times and reduce strain petite fit during use.


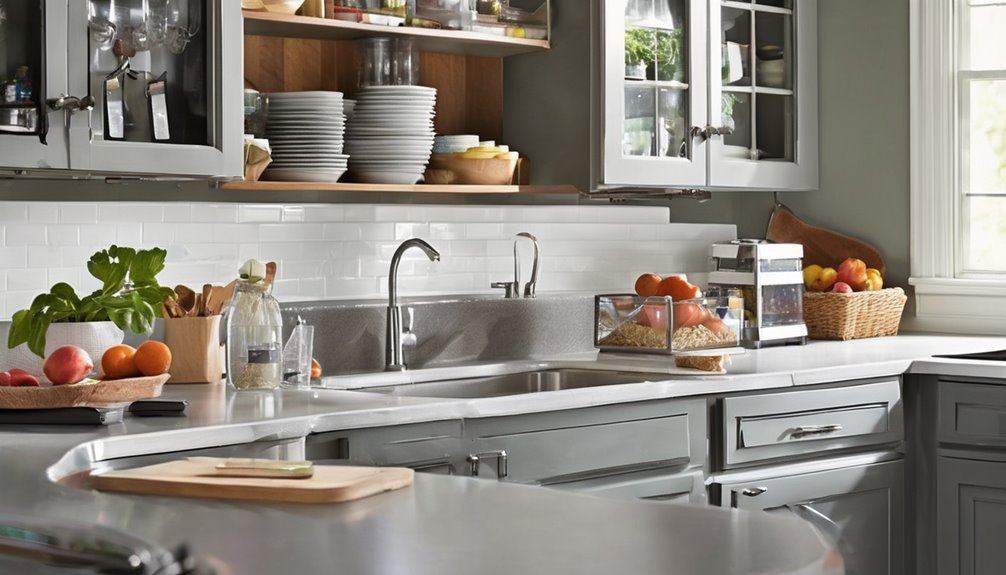
Choose Surfaces That Look Smart on a Budget
You can get a polished look without breaking the bank by choosing budget-friendly finishes that still feel cohesive. Focus on finishes with strong visual impact, like engineered countertops or laminate that mimics stone, paired with coordinating accents. The key is balance: simple materials, thoughtful color, and a sense of continuity across surfaces. Integrate a stable, robust foundation to support everyday use and maintain long-term value cable management.
Budget-Friendly Finishes
Looking for a smart look on a budget? You can refresh cabinets, counters, and walls with finishes that read expensive without paying the price. Choose surfaces that balance texture, color, and shine to feel cohesive and inviting. Refinish rather than replace: a lighter stain or matte glaze can transform old wood, while vinyl or laminate with a realistic pattern mimics high-end materials. Introduce contrast with hardware and accents to elevate the whole room. For practicality, pick durable, wipeable finishes in soft tones that reflect natural light, aiding budget lighting and budget flooring ideas you’re already considering. Here’s a quick idea grid:
| Surface type | Finish vibe | Maintenance note |
|---|---|---|
| Cabinets | Matte or satin | Easy wipe-down |
| Counter | Porcelain-look | Resistant and durable |
| Walls | Subtle sheen | Easy to clean |
A 1-4 word concept to consider is quality components when selecting finishes that maximize durability and visual impact.
Visual Impact on Budget
Size and texture matter as much as color, so aim for surfaces that read as high-end without breaking the bank. When you pick materials, think about repeatable patterns and consistent textures that tie the room together. You can get a smart look with affordable options by focusing on a few key areas: cabinet fronts, backsplashes, and countertops that don’t scream “cheap.” Balance glossy with matte finishes to create visual interest without clutter. Add contrast through hardware, trim, and lighting to enhance visual impact on a modest budget. Choose surfaces that wear well, resist stains, and age gracefully, so you feel confident in the long term. A thoughtful palette and smart sourcing address budget constraints while cultivating belonging in your kitchen. Durable, stable construction concepts can inform choices to maintain long-term value lift-cycle endurance.
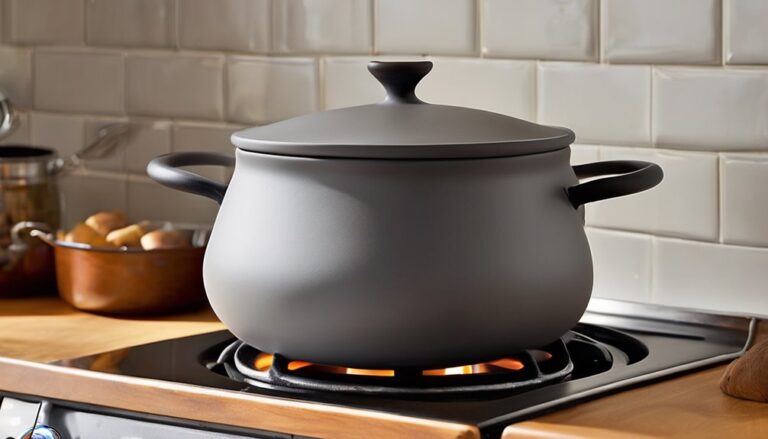
Pick Energy-Smart Appliances and LED Lighting for Less
Choosing energy-smart appliances and LED lighting saves money upfront and in the long run, so start by prioritizing efficiency ratings and long-lasting bulbs. Look for ENERGY STAR labels and simple, robust components that fit your kitchen’s rhythm. When selecting bulbs, opt for long-life LEDs in common fixtures to reduce replacements and maintenance anxiety. Budget friendly choices aren’t sacrifices—they’re smart compromises that pair style with function. Match finishes and textures to your space for a cohesive feel that invites gatherings. Prioritize practical features: adjustable temp, smart timers, and efficient cooling or heating. With thoughtful picks, your kitchen feels connected, welcoming, and financially sensible. Energy Efficient models can further optimize ongoing costs and performance.
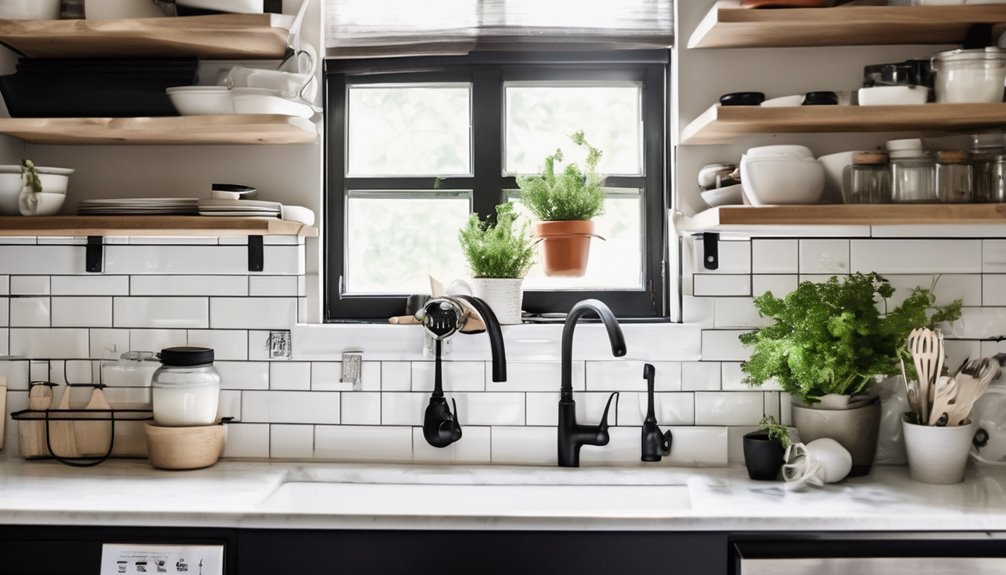
Maximize Small Spaces: Storage and Organization Hacks
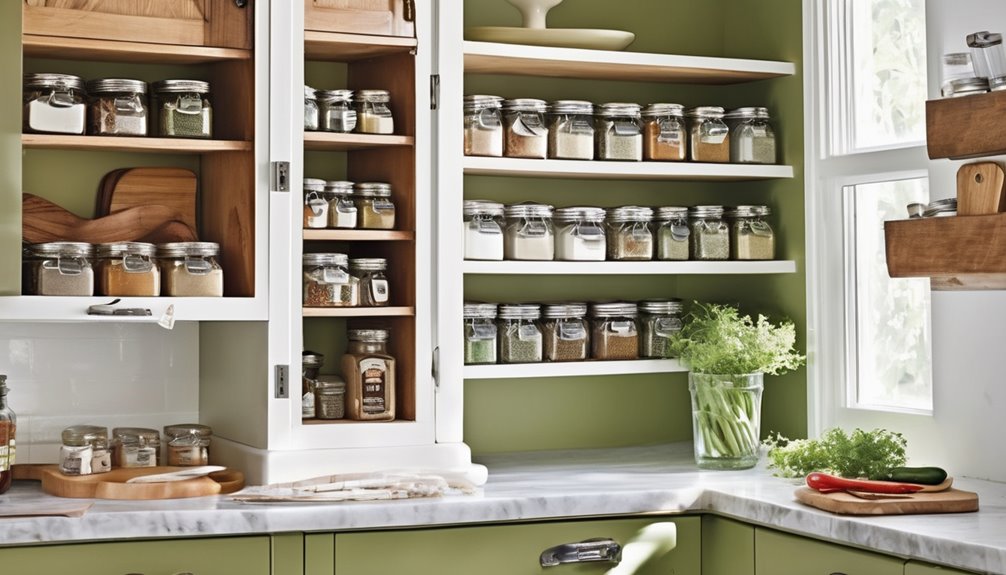
Smart shelf solutions, vertical storage hacks, and drawer organization tips give you room to breathe in a small kitchen. You’ll maximize every inch by using wall-mounted organizers, stacking options, and labeled, easy-access drawers. This approach keeps vital items visible and tidy, so your counter space stays calm and functional. In addition, selecting compact, ergonomic organizers that promote airflow and reduce clutter can further enhance usability in tight kitchens space-saving features.
Smart Shelf Solutions
Need more shelf space without a remodel? You can elevate small kitchens with smart shelf solutions that feel custom yet affordable. Embrace smart shelving and modular racking to create a cohesive, breathable look while maximizing every inch. Choose adjustable components that grow with you, so today’s clutter becomes tomorrow’s organized calm. To illustrate, consider these practical ideas:
- Stackable crates aligned with labeled zones for quick access
- Floating panels that add display without crowding the counter
- Corner modules that convert dead space into usable storage
In addition, look for a 2-in-1 base approach to shelving layouts that lets you switch between mobility and stability as your kitchen tasks shift.
Vertical Storage Hacks
Ever wondered how to squeeze more life out of a small footprint? You can reclaim counter space with simple, intentional vertical storage hacks. Think wall shelves that hover above the prep area, open baskets tucked into corners, and magnetic strips for knives and metal tools. Install adjustable brackets so you can resize as your collection grows, keeping items within easy reach. Use a slim, ceiling-to-shelf approach for rare ingredients you don’t reach daily, and label everything for quick grab-and-go mornings. Group similar items—baking, snacks, oils—so you form a natural flow. Choose light, neutral tones to preserve a bright, open feel, and mount on studs for security. This setup feels tidy, purposeful, and welcoming, inviting you to cook with confidence. vertical storage, wall shelves.
Drawer Organization Tips
Drawer Organization Tips: When you’re short on counter space, smartly organized drawers can feel like extra rooms in your kitchen. You’ll gain calm, fast access, and a sense of belonging as you claim a tidy routine. Use drawer bins to compartmentalize snacks, lids, and small tools, keeping surfaces clear and visually cohesive. Utensil dividers separate forks from spatulas, making every pull-out purposeful rather than frantic.
Group by function to minimize digging.
Label lightly for quick recall without clutter.
Layer tall items with slim inserts to maximize depth.
With simple, tasteful inserts and consistent spacing, you create a welcoming, organized heart of the home—where everyone feels at ease contributing. Drawer organization empower your daily rituals and shortens busy mornings. storage-forward
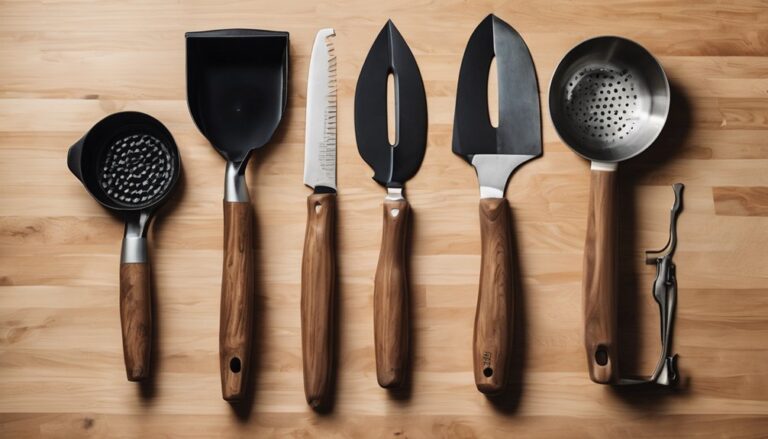
DIY Refresh Projects Anyone Can Tackle
If you’re aiming for a fresh kitchen without breaking the bank, simple refresh projects can deliver big impact with minimal fuss. You’ll feel empowered as you repurpose what you already own, wrong or right, to create cohesive style. Start with out-of-sight updates: fresh caulk, cleaned grout, and a new coat of paint can transform cabinets without replacement. Swap hardware for matte black or brushed brass—easy, affordable, instantly modern. Add texture with a rug, woven baskets, or open shelving from inexpensive boards. Lighting matters: swap a dated fixture for something crisp and warm. Embrace a budget conscious approach by planning a small palette and sticking to it, nurturing your DIY mindset. You’ll belong in a refreshed space that reflects your practicality and taste descaling reminders.
Shop Smart: Timing, Warranties, and Finding the Best Deals
Timing, warranties, and snagging the best deals aren’t afterthoughts—they’re your budget’s best friends. You’ll optimize every purchase by recognizing timing strategies and steering clear of warranty traps, so your kitchen upgrades feel intentional, not impulsive.
- Timing strategies: watch seasonal sales, end-of-month inventories, and new model rollouts to maximize discounts without sacrificing quality.
- Warranty traps: read fine print, understand what’s covered, and know renewal options to avoid gaps in protection.
- Smart sourcing: compare prices, track price drops, and buy curated sets that pair well for a cohesive look.
Frequently Asked Questions
How Can I Measure ROI for Cheap Kitchen Upgrades?
“Measure twice, cut once.” You’ll calculate ROI by tracking costs against projected value, so you know if a cheap upgrade pays off. Start with ROI metrics like comfort value, energy savings, and resale impact, then compare against cost benchmarks. Use simple payback and delta analyses to stay practical. You’ll estimate incremental gains, keep it aesthetic, and share results with your circle for belonging. This keeps budgeting honest and upgrades confidently aligned with your goals.
What Is the Best Order to Tackle Upgrades on a Budget?
You should tackle the upgrades in a practical, priority-driven order: start with indispensable elements that boost usability, then upgrade aesthetics in stages, keeping within your budget. Begin with budget planning to allocate funds wisely, then source materials and finishes that offer the best value. Tackle lighting, storage, and surfaces first, then refine details. Material sourcing matters for quality without overspending, and a cohesive plan helps you feel you belong in a refreshed space. You’ll see progress and stay motivated.
Are Secondhand Appliances Reliable for Small Budgets?
Secondhand appliances can be reliable if you check basics: age, function, and parts availability. You’ll feel calmer when you test them, listen for odd noises, and verify seals and cords aren’t cracked. Reliability isn’t magic, it’s a careful choice. Buy from reputable sellers, demand warranties, and budget for occasional fixes. You’ll belong with others who reuse confidently, saving money while keeping your kitchen aesthetic intact and your routines calmly humming.
How Long Do DIY Cabinet Projects Typically Take?
DIY cabinet projects typically take a weekend to a couple of weeks, depending on scope and your setup. You’ll see quick wins along the way, from prep to paint to hardware changes. Plan for a sensible cost comparison upfront so you don’t overspend. You’ll feel a sense of belonging in the process as you measure, sand, and finish. Stay organized, ask for help when needed, and celebrate progress with each polished reveal.
What Hidden Costs Often Surprise Budget Kitchen Projects?
Hidden costs often surprise budget kitchen projects, including delivery fees, hardware when replacements aren’t exact, and disposal or permit costs you hadn’t planned. You’ll likely face budget overruns if you underestimate paint and finishing supplies, or labor for tricky layouts. Plan a cushion for unexpected fixes, and track every line item. You’ll feel more confident and connected to your space when you anticipate these costs and shop smart, keeping your project practical, aesthetic, and on budget.