Three cheap, efficient gear upgrades you can tackle now are, first, optimize fridge use—keep temps steady, load fully, and batch-cool to reduce running costs; second, cook smarter on a tight budget—tight burners, efficient cookware, batch cooking, and preheating only when necessary; third, cut water and energy waste in the dishwasher by full loads, eco cycles, and proper loading. These small changes compound fast, with Payback potential and real-day savings, and more tips await if you keep going.
Key Takeaways
- Start with core reliability upgrades first to maximize ROI and prevent costly downtime.
- Prioritize upgrades that cut energy use or boost efficiency with small, affordable changes.
- Align upgrades with cash flow and rebates, planning around sale cycles and discounts.
- Choose high-quality, properly sized components with reliable certifications for lasting savings.
- Bundle several small improvements to create future-proofing and noticeable productivity gains.
What “Cheap Energy Upgrades” Actually Save You Money
What “cheap energy upgrades” actually save you money isn’t about flashy fixes—it’s about smart, small changes that cut your bill without blowing your budget. You’re searching for real value, not hype, so you focus on tangible wins you can share with your household. Tiny budget tweaks add up when you choose proven moves, avoid waste, and track results over payback time. Start with simple habits—adjusting thermostats, sealing drafts, and turning off phantom loads. Then pick small upgrades that make daily use efficient, like LED lighting and efficient power strips. This mindset counters energy myths that promise dramatic cuts overnight. You’ll feel a sense of belonging with neighbors who value practical thrift, clear steps, and steady, measurable savings. High-quality, properly sized power-saving components and reliable certifications help ensure that the upgrades you choose stay effective under real-world use.
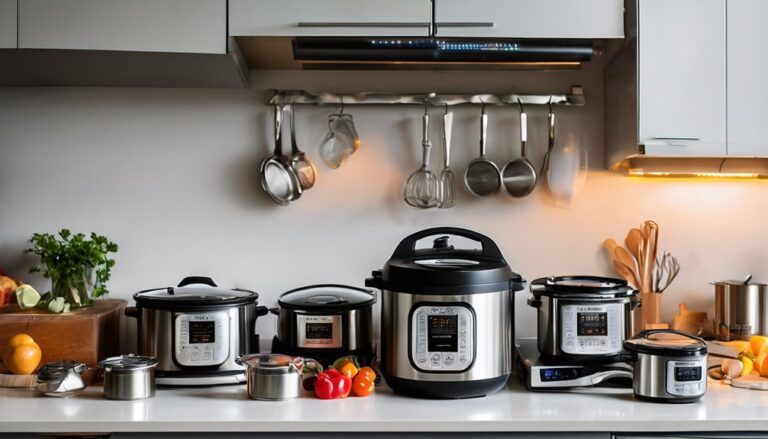
Budget Fridge Upgrades That Pay You Back Fast
Could your fridge upgrades pay for themselves fast? Yes—start with small, smart moves that compound over time. You’ll notice budget fridge improvements that pay you back via energy savings and steadier groceries. A well-chosen 2.4GHz wireless ergonomic mouse can serve as a parallel reminder that smart tool choices in any budget upgrade plan save time and hassle left-handed ergonomic vertical mice.


Cook Efficiently on a Budget: Affordable Stove and Oven Tweaks

If you’ve tightened up your fridge budget, you’ve already started saving, so why not extend that thrift-minded approach to your stove and oven? You’re crafting a kitchen that fits your crew’s routine, not one that breaks the bank. Start with two practical moves: use a slow, steady simmer to save energy instead of cranking heat, and batch-cook to cut waste. Choose a budget stove setup that suits your space—think tight burners, efficient cookware, and lids that trap heat. Reassess oven use: bake multiple items at once, rotate trays, and preheat only when necessary. Two word discussion ideas keep conversations focused: prep savvy, cook efficient. Budget stove tweaks create a shared, confident kitchen vibe, where everyone belongs and meals stay affordable.
Affordable Dishwashers and Water-Saving Tips
There are affordable dishwashers that still get the job done, and you can save water without scrimping on cleanliness. You’ll find options labeled cheap dishwasher that perform just fine, especially with smart loading and routine care. Implement these water-saving habits to stretch every wash:
- Load fully and organize by height, letting water reach every dish.
- Choose eco or light wash cycles, and skip pre-rinsing.
- Run with full loads during off-peak times to lower energy use.
- Maintain filters and spray arms monthly for peak efficiency.
To maximize long-term efficiency, consider choosing models with a robust water-saving design and easy maintenance.
With practicality guiding choices, you’ll feel part of a mindful community that values value and impact. Water saving isn’t sacrifice—it’s smart living.
Lighting Upgrades That Cut Bills Without Hassle

Lighting up upgrades can trim your bills without the hassle. You’ll start with simple swaps: replace incandescent bulbs with cheap lighting options like LEDs, choosing warm tones for a homey feel. LEDs last longer, use less energy, and reduce maintenance, delivering steady cost savings over time. Check for ENERGY STAR labels and aim for 400–600 lumens per room, avoiding glare. Replacements don’t have to be expensive or invasive; swap room by room, targeting the most-used lights first. Use dimmers in living spaces to control brightness and extend bulb life. Group fixtures to maximize efficiency, and take advantage of natural daylight when possible. Small upgrades add up, building a shared sense of value and belonging through smarter, affordable lighting energy-saving.
Power Strips, Smart Plugs, and Scheduling for Cheap Efficiency
Smart power management is a natural next step after upgrading lighting, since standby and uncontrolled energy use add up even when rooms feel comfortable. You’ll gain control with power strips, smart plugs, and clear scheduling, without breaking the bank. Use these practical steps:
- Bundle devices on a single power strip to cut standbys and simplify off-switching.
- Choose smart plugs for lamps and chargers to auto-quit idle draw while you’re away.
- Create energy scheduling tips: set off times for TVs, computers, and consoles when not in use.
- Consider appliance timing considerations: stagger schedules to minimize peak demand and extend longevity.
Together, these tips build belonging through shared efficiency, lower bills, and easier daily routines. Petite fit helps ensure you select power management devices that accommodate compact desks and smaller layouts without clutter.
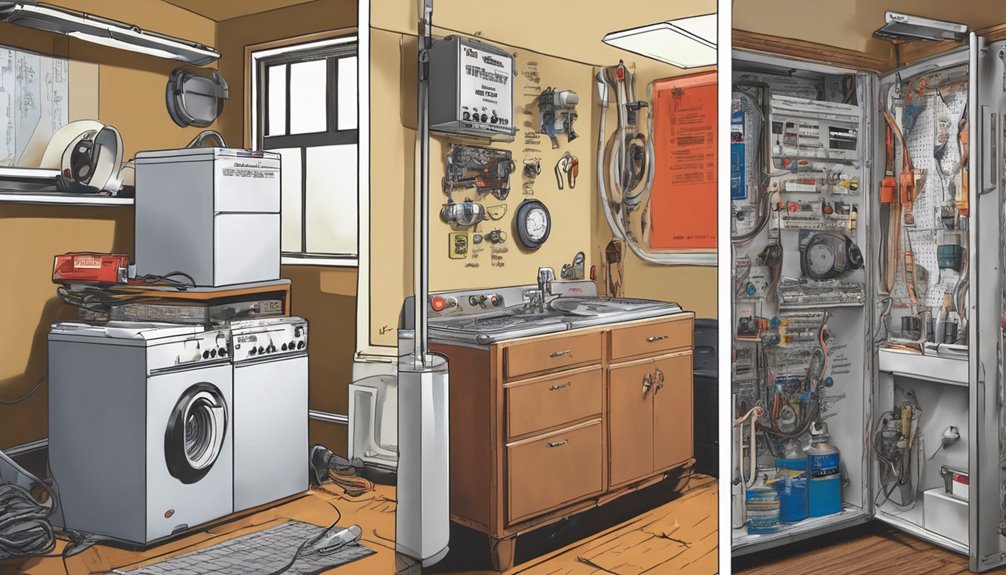
Insulation Tweaks That Slash Energy Use Without a Remodel
Ever wondered how minor insulation tweaks can slash energy use without a full remodel? You can start small, save money, and feel more at home. First, check your window seal; a snug seal stops drafts and boosts comfort without heavy costs. Add weatherstripping or caulk where gaps appear, focusing on doors and windows. Next, seal attic access and vents; even tiny leaks steal heat. Add door sweeps to curb drafts at the base. In walls, dense-packed or blown-in insulation isn’t always necessary—air leaks matter more, so seal first, then add insulation where it’s practical. Choose eco mindful materials when upgrading, and prioritize costs that pay back quickly. With these tweaks, you’ll notice warmth, savings, and a stronger sense of belonging in your space. air leaks can undermine efficiency, so addressing them is a practical first step before adding more insulation.
How to Spot Real Energy Savers in Appliances
You’ve tightened up leaks and cut waste, and now you can turn that savings mindset toward the appliances that actually run your home. Here’s how to spot real energy savers among everyday models, cutting energy myths and guiding smart appliance upgrades.
1) Check labels and energy star status to confirm credible efficiency claims.
2) Compare annual energy use instead of just upfront price, focusing on operating costs.
3) Look for adaptive or variable-speed features that match demand, not gimmicks.
4) Consider cradle-to-grave value: durability, repairability, and long-term reliability.
With these steps, you’ll choose appliances that fit your budget and your sense of belonging in a mindful, efficient home. Appliance upgrades matter when you stay practical and informed.
Maintenance Habits That Extend Gear Life and Lower Costs
Regular maintenance isn’t optional a few times a year—it’s a proven way to cut repair bills and extend gear life. You’ll save money with simple, steady routines that fit any budget. Build cheap gear compatibility by sticking to basic maintenance habits: clean filters, tighten fasteners, and check fluids regularly. Small, predictable steps beat costly surprises and help you belong to a crew that cares for gear together. When you invest a few minutes now, you prevent big headaches later.
| Day | Action | Benefit |
|---|---|---|
| Mon | Inspect | Prevents leaks and wear |
| Wed | Clean | Improves efficiency |
| Fri | Lubricate | Smooth operation |
| Sun | Review | Tracks cost savings |
How to Plan a Mini Upgrade: Budgeting, Timing, and ROI
Start with a clear budget that sets a hard cap on what you’ll spend, then list upgrades by impact and cost. Plan timing around cycles when gear sales or rebates make sense, not just what you want today. Consider ROI by weighing how soon the upgrade saves you money or boosts performance compared to its cost. Include a note on durability and support, such as 5-year warranty when available to help extend value over time.
Budgeting Basics
When planning a mini upgrade, set a clear, realistic budget, then map out timing and expected returns to avoid waste. You’ll stay grounded by naming upfront costs and challenging budgeting myths that creep in. Keep the plan tight, so you feel confident inviting others along for the journey.
- Define true needs vs wants to prevent scope creep
- List upfront costs and contingencies, then add a small reserve
- Align timing with cash flow to avoid debt
- Measure ROI on practical upgrades, not flashy hype
This approach builds belonging: you share a plan others can trust, defend, and rally around. With clear numbers and a disciplined mindset, you reduce surprises and nurture momentum. Budgeting basics become a shared roadmap, not a barrier.
Timing For Upgrades
Timing is all about matching upgrades to cash flow, not chasing hype. You plan with a practical mindset, spotting the quiet windows where costs align with availability and need. A clear timing strategy helps you avoid tech debt and midseason splurges, keeping your setup cohesive rather than piecemeal. Map upgrades to usage patterns: what gets used most, what slows you down, and when you can spare a portion of your budget for gear that lasts. Consider upgrade sequencing: tackle core reliability first, then performance that unlocks real productivity gains. Stay flexible—bundle small improvements for future-proofing, but don’t overcommit. By aligning timing to real use, you preserve belonging with your gear community and maximize value without regret. 40,000 lift cycles provide a benchmark for long-term reliability to consider when evaluating upgrade options.
ROI Considerations
Sometimes, ROI isn’t about big gains, but about how fast a small upgrade pays for itself. You’ll want clear, practical ROI considerations to guide every choice, tying budget planning to real payback. To keep you focused, consider these steps:
- Set a tight budget and define a cap for the upgrade.
- Estimate payback by projecting monthly savings or productivity gains.
- Time purchases to align with cash flow, not hype.
- Reassess after installation; if ROI isn’t material, pivot to a different upgrade.
A practical approach also involves selecting ergonomic features that support neck comfort, such as adjustable headrests and lumbar support, which can reduce strain and sustain efficiency over longer work sessions neck comfort.
Frequently Asked Questions
Do Cheap Upgrades Ever Void Appliance Warranties?
Yes, cheap upgrades can void appliance warranties if they aren’t approved or properly installed. You should check your warranty terms before you replace parts or add aftermarket components. When you shop, look for affordable, approved options and keep receipts. This helps you protect cheap warranties while you manage appliance upgrades. If in doubt, contact the manufacturer or the retailer for guidance. Being informed helps you feel like you belong, confident and cost-conscious about appliance upgrades.
How to Measure ROI for Tiny Efficiency Tweaks?
Measure ROI by tracking cost vs. savings from tiny tweaks, then tally payback days and monthly bumps in efficiency. You’ll want clear math: initial spend, monthly energy or time saved, and any maintenance shifts. Start simple, log every improvement, and compare to a baseline over 3–6 months. Tiny tweaks add up, and you’ll feel a sense of belonging as you optimize together with peers who value frugal, practical gains.
Which Upgrades Have the Quickest Payback Time?
The upgrades with the quickest payback are simple, cheap upgrades that you can start today. Think energy-efficient lighting, door weatherstripping, and a programmable thermostat for fast savings. You’ll see quick payback as bills drop, so you feel settled and connected in your space. These cheap upgrades help you belong by stretching each dollar, building momentum, and proving that practical, mindful choices add up. You deserve a home that respects your budget and your community.
Are There Hidden Costs After Installing Cheap Upgrades?
Like a tight knot in a rope, yes—there can be hidden costs after installing cheap upgrades. You should check for warranty voids, compatibility issues, and potential future repairs. Hidden costs may include higher energy use, reduced performance, or deductible fees if something breaks. Read warranties carefully, document mods, and ask suppliers about return policies. If you stay vigilant, you’ll protect value, feel you belong, and keep costs predictable while still upgrading within budget.
How to Compare Energy Savings Between Similar Gadgets?
You’ll compare energy savings by checking label numbers, wattage, and runtime for similar gadgets. Look at annual kWh estimates, then compute cost per year using your local rate. Do side‑by‑side gadget comparisons with the same tasks, note standby power, and consider real‑world usage. Prefer models with better efficiency ratings and consistent performance. This practical, cost‑conscious approach helps you feel you belong in smart, money‑saving conversations.