To tighten energy use on a budget, start with a quick kitchen audit: spot standby draws, fridge temp accuracy, and peak-hour lighting. Upgrade with budget-friendly storage: transparent, stackable bins, logical groupings, and labeled, uniform shelves. Add modular shelving and clear bins to reduce overbuying and improve access. Use temperature-smart zones for perishables, seal leaks, and deploy energy-efficient LED lighting with smart controls. Track results on a simple log and plan the next layout update to extend gains. You’ll uncover more practical steps as you continue.
Key Takeaways
- Prioritize budget-friendly storage upgrades that reduce spoilage and save time, using transparent, stackable bins and efficient containers.
- Implement temperature-smart storage zones to separate perishables from nonperishables and place frequently used items at eye level.
- Use modular shelving and uniform bins to maximize vertical space, simplify restocking, and adjust layouts with quarterly reassessments.
- Integrate smart controls, dimming, and energy-efficient lighting to reduce waste and pair with centralized scheduling for consistency.
- Track impact with simple metrics (time saved, waste reduced, temperature control) and log weekly readings to guide future improvements.
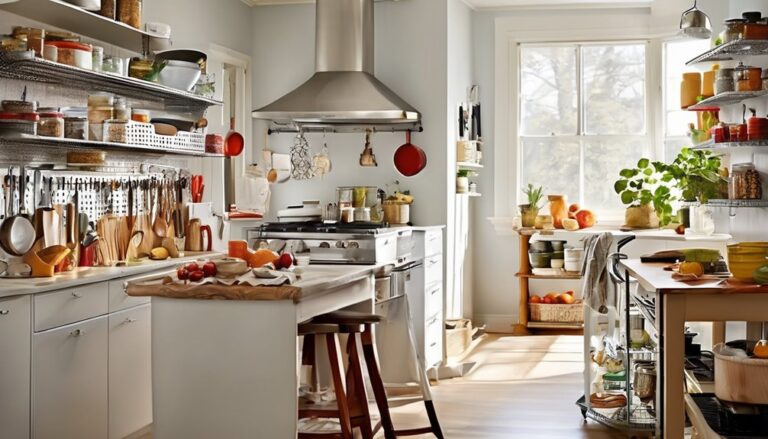
Audit Your Kitchen for Energy Waste
Start with a quick energy audit of your kitchen to spot where you’re wasting heat, water, and power. You’ll approach this with clear steps, measuring real-world results rather than guesses. Track energy metrics such as appliance standby draw, fridge temperature accuracy, and lighting usage during peak hours. Use straightforward audit methods: observe, record, and compare over a week, then summarize findings in a simple table. Note which devices run inefficiently or unnecessarily, and identify repeat offenders like outdated bulbs or leaking faucets. Prioritize fixes by impact and cost, and set measurable targets (percent reduction, time saved, or kilowatt-hours). This practical process builds confidence, invites collaboration, and proves you can improve efficiency without complicating daily routines. You belong here, actively shaping a smarter, tighter kitchen. Compact stand mixer options can be a useful case study for space-conscious appliances as you assess efficiency.
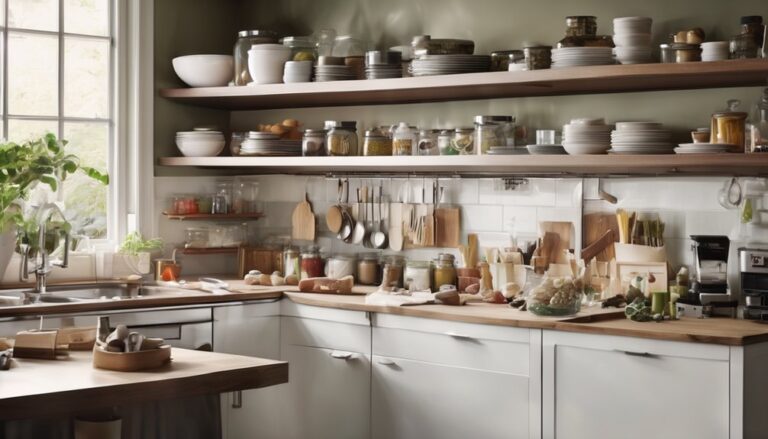
Budget-Friendly Storage Upgrades for Energy Savings
Now that you’ve identified where energy is slipping in your kitchen, you can apply those insights to storage without breaking the bank. Start with budgeting basics to prioritize upgrades that deliver real payback, like efficient containers and compact organizers. Focus on logical workflows: group hot spots, pantry items, and appliance cords so you can access what you use most without energy-wasting rummaging. Choose transparent, stackable bins to reduce overbuying and spoilage, cutting waste and trips to the bin without extra effort. Track impact with simple metrics—time saved, items wasted, and temperature control in coolers. This approach fuels storage optimization while keeping you within budget, fostering a sense of belonging through shared, efficient routines, petite fit considerations guiding chair choices in related spaces to support comfortable, longer-use periods.
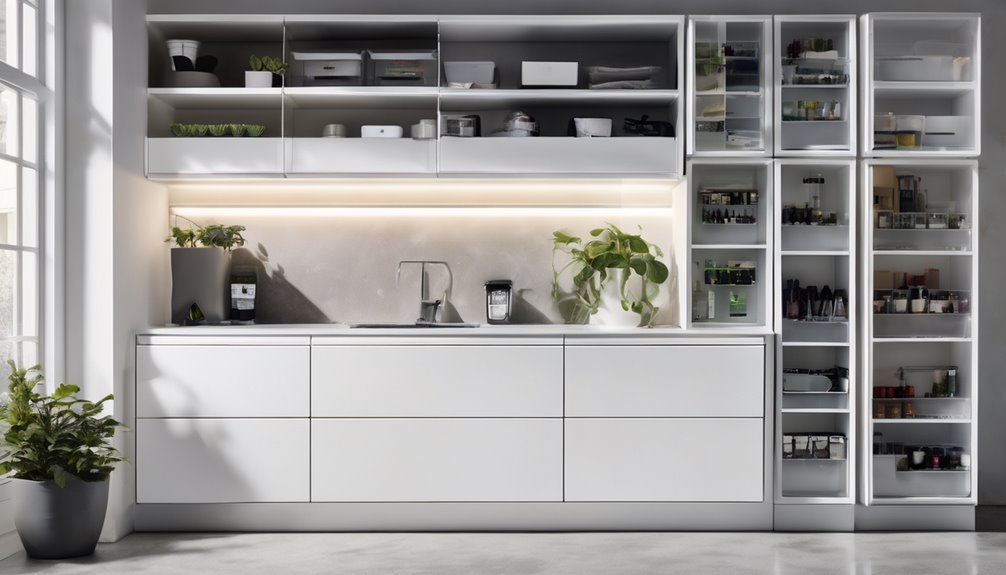
Install Modular Shelving and Bins
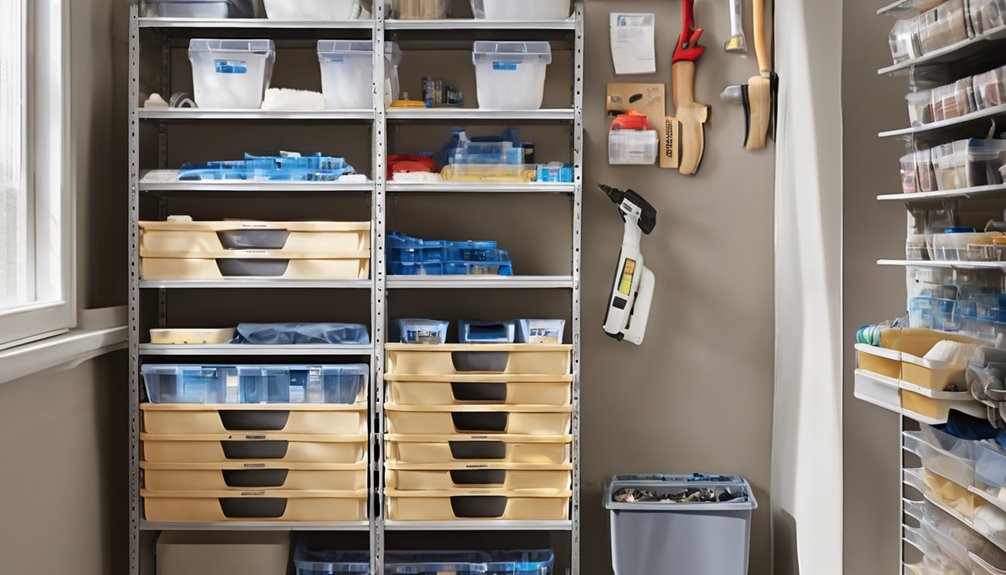
Modular shelving and bins are a catalyst for kitchen storage as they adapt to how you actually cook and shop. You’ll gain flexible layouts that maximize vertical space and reduce rummaging, with clear bins for visibility. This approach supports data-driven decisions: measure cabinet depth, draft zones, and set accessible heights to cut motion waste. Pairing these systems with a stable, adjustable workspace can also help maintain comfortable postures during prep tasks ergonomic range and reduce dynamic clutter over time. 1. Map your workflow and group items by use frequency, then assign shelves accordingly. 2. Choose labeled bins and uniform dimensions to simplify restocking and inventory checks. 3. Reassess quarterly to adjust for seasonal needs and changing recipes.
Modular shelves and clear bins transform kitchen storage for faster, data-driven organization.
Modular shelving and bins organization encourage ownership and consistency. You’ll save time, cut energy waste from unnecessary movements, and enjoy a tidy, cooperative kitchen that fits your routines.
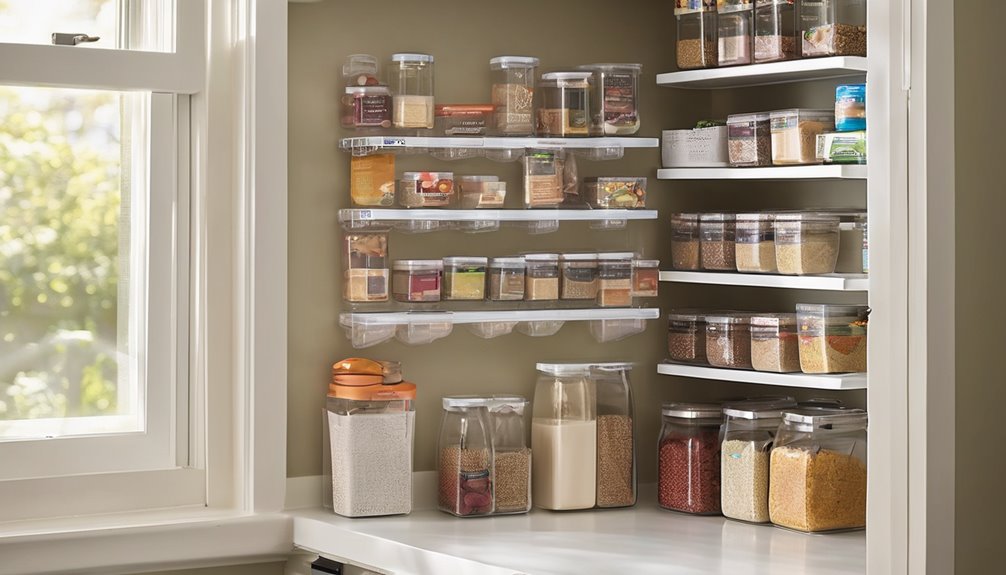
Temperature-Smart Storage for Food and Small Appliances
Ever wonder how temperature control can stretch your groceries and gadgets further although saving energy? You’ll start with temperature smart storage zones that separate perishable from nonperishable items, reducing waste and energy use. Place frequently used foods at eye level in a compact stacking system, so you minimize door openings and keep cool air in. Use sealed containers to curb moisture and odors, while coatings and reflective shelves help stabilize temps without extra cooling cycles. For small appliances, designate a low-heat, ventilated shelf to prevent overheating and energy drain from idle devices. Track temperatures with a simple thermometer setup, adjusting placement as you load. This approach builds belonging through shared routines and practical, data-backed choices that cut costs and boost efficiency 50,000 lift-cycle durable design insights to inform how you organize high-use spaces and maintain energy-smart performance.
Energy-Efficient Lighting for a Brighter Kitchen
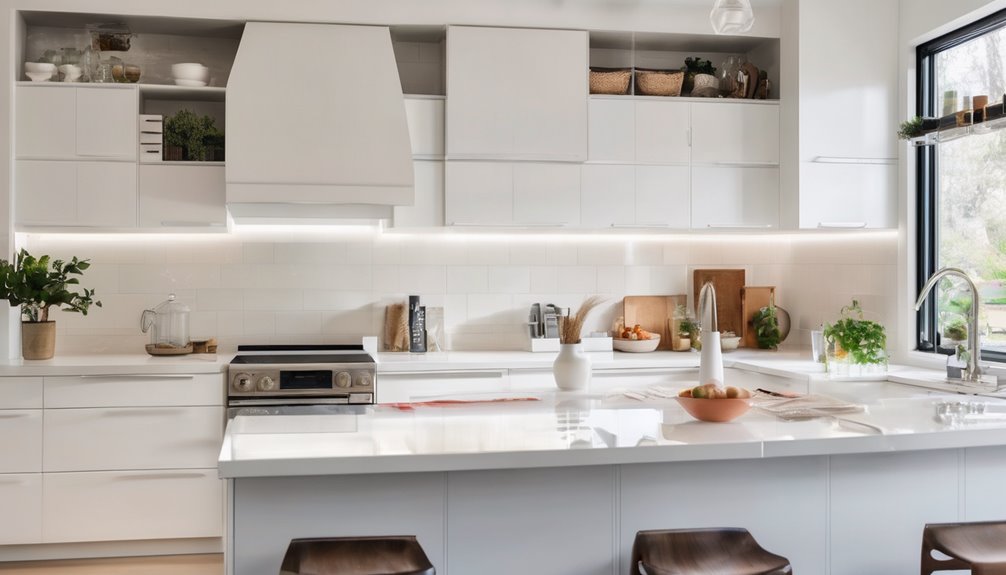
Switch to bright LED options that deliver high lumens per watt and long life, so you get more light with less energy. Layer task lighting for work zones and general ambient light to reduce shadows and improve accuracy, using color temperatures that match kitchen tasks. Add dimming and controls to fine-tune brightness across zones and save energy when full brightness isn’t needed.
Bright LED Options
Bright LED options can brighten a kitchen as cutting energy use, with choices like 2700–3000K for warm task lighting and higher-lumen fixtures for general illumination. You’ll gain clearer visibility while keeping bills low, thanks to solid efficacy data and long lifespans. To maximize impact, prioritize high-CRI lamps for true color rendition and dimmable control for mood and efficiency.
1) Compare lumen-per-dollar: choose fixtures with strong efficiency ratings and affordable replacement costs.
2) Favor LED recessed and under-cabinet options that reduce shadows on prep surfaces.
3) Pair with smart controls and occupancy sensors to stop energy waste when rooms are unused.
In practice, bright led choices support energy efficiency without sacrificing comfort or belonging.
Task Lighting Layers
Task lighting layers add targeted brightness where you work, building on the energy-efficient LED basics by using layered fixtures that illuminate specific tasks without wasting juice. In practical terms, you combine ambient, under-cabinet, and focused task lights to reduce shadows and improve accuracy on prep surfaces. Start with a dimmable ceiling or cabinet strip for general visibility, then add under-cabinet LEDs to deliver crisp, even light where you chop, slice, and measure. A small, focused fixture at the countertop edge helps detail work without glare. Choose color temperatures in a sensible range (around 2700–3000K for warmth, or 3500K for clarity) and ensure consistent CRI for true colors. This approach encourages belonging through reliable, repeatable performance: task lighting, layered lighting, energy efficiency, and practical results. For hardwood floors, select efficient, low-noise lighting fixtures and consider a floor-friendly setup that complements your ergonomic workspace. Hardwood floor and the rest of the setup work together to minimize glare and maximize comfort.
Dimming and Controls
Dimming and controls are the backbone of energy-efficient lighting, helping you tailor brightness to tasks and times of day during trimming waste. You’ll save energy and feel more in control when you integrate practical dimming controls and smart switches into the kitchen setup. The goal is consistent light quality, reduced glare, and lower bills without sacrificing visibility. Use data to guide decisions: choose locations, set schedules, and verify wattage reductions with a meter. Build habit with simple steps you can repeat.
- Install dimming controls at key work zones to match activity levels.
- Pair smart switches with a single hub for centralized timing and scenes.
- Regularly test and recalibrate to sustain efficiency gains.
Appliance Optimization: Use Less Energy, Free Up Space
What small changes can save you energy—and free up valuable space? You’ll start with a clear plan: measure usage, target high-consumption appliances, and align with a practical energy audit mindset. Schedule appliances for off-peak operation when possible, and run full loads to minimize cycles. Clean coils on refrigerators and freezers; ensure door seals are tight to prevent leaks. Use smart power strips for standby-heavy devices to curb phantom loads, and unplug rarely used items. Prioritize space optimization by selecting compact, energy-efficient models and placing them for optimal airflow. Maintain performance by filtering vents and cleaning lint traps regularly. Track results over a month, compare to baseline, and adjust habits to sustain savings without sacrificing convenience. Gooseneck Kettles offer precise temperature control and durable, food-safe interiors that support consistent brewing without extra energy waste.
DIY Quick Upgrades That Stretch Your Budget
If you’re aiming to save now, start with budget-friendly materials that don’t sacrifice durability, and compare cost-per-use data to find the best value. Quick appliance upgrades—like sealing leaks, adding programmable controls, or switching to efficient components—can deliver noticeable energy savings without a full remodel. Use smart storage hacks to free up space and reduce energy waste, making your overall upgrade plan more effective and affordable. Prioritize compact, energy-conscious options such as portable precision cookers with dual power settings and safety protections energy-saving to maximize efficiency in small spaces.
Budget-Friendly Materials
One-smart way to stretch your budget is choosing affordable, durable materials that still deliver real performance. When you scope options, you’ll prioritize budget friendly choices that support storage optimization without sacrificing reliability. Here are practical picks: Reclaimed wood or high-density plywood for shelves and brackets, offering sturdy support at lower cost. Recycled metal storage bins and modular organizers to maximize vertical space and reduce waste. Plastic-lamination or veneered panels with protective coatings for cost-effective surfaces that resist wear. These materials translate to measurable savings and predictable outcomes. With data-backed selections, you’ll build confidence in your upgrades, feel connected to a community of mindful planners, and achieve organized, budget-smart storage. Stability and reliability are key considerations when selecting components that support a compact workspace, ensuring that budget-conscious upgrades still perform consistently under daily use.
Quick Appliance Upgrades
Ever wondered how a few intentional upgrades can trim energy bills without a full remodel? You can target appliances first, where small changes yield measurable results. Choose ENERGY STAR models or equivalents for refrigerators, dishwashers, and washers when replacing units. Prioritize cold-water washes, proper loading, and efficient drying settings to maximize savings without sacrificing performance. If replacement isn’t feasible, upgrade seals, thermostats, and gaskets, or add smart plugs to curb standby loss. Optimize heat by improving insulation around hot-water pipes and using a programmable timer for water heating. Regular maintenance, like coil cleaning and filter changes, sustains efficiency. Quick upgrades can compound over months, delivering steady energy savings while confirming you’re building a shared, budget-conscious home environment. Energy efficiency remains a science-backed path for measurable, practical savings.
Smart Storage Hacks
Smart Storage Hacks help you optimize every square foot with proven, data-driven moves. You’ll feel part of a community delivering practical energy efficiency, not gimmicks. Incorporate practical cable management ideas to keep workspaces tidy and focused, like integrated cable trays and hooks that reduce clutter around your desk. cable management
Maintenance and Monitoring to Future-Proof Your Layout
Maintenance and monitoring are fundamental to future-proof your layout; start by establishing a baseline of current conditions and then set up simple, repeatable checks. You’ll track temperature, humidity, and energy use across zones, noting deviations and seasonal shifts. Use a simple spreadsheet or app to log weekly readings, so trends become obvious without guesswork. Schedule routine checks on seals, vents, and storage units to prevent slow energy loss and clutter creep. Integrate energy audits into your routine, focusing on bottlenecks and misconfigurations that inflate costs. Prioritize airflow optimization by ensuring clear pathways and proper venting behind shelves. This data-driven discipline builds confidence, fosters collaboration, and reinforces belonging as you and your household work together to protect efficiency and future-proof your layout.
Plan Your Next Layout Update
When you plan your next layout update, start by defining clear goals based on your current data and future needs. You’ll want a plan that’s transparent, measurable, and community-friendly, so everyone feels included in the progress. Use this approach to balance cost, energy use, and adaptability.
- Assess current space, equipment, and traffic to identify bottlenecks and opportunities for improvement.
- Prioritize changes that maximize efficiency, focusing on storage density, accessibility, and maintenance ease.
- Create a phased timeline with milestones, budget bounds, and measurable outcomes to stay aligned with planning layout objectives.
Frequently Asked Questions
How Can I Track Energy Savings From Small Kitchen Upgrades?
Tracking energy savings from small kitchen upgrades is straightforward: log monthly utility use, compare before/after bills, and note appliance changes. You’ll see upgrades impact as you build a data trail. Be mindful of hidden energy drains like standby power and daylight glare; adjust lighting and seals to maximize gains. Use daylight harvesting where possible. This approach helps you feel you belong, supported by concrete numbers rather than vibes. You’ll stay motivated and accountable.
Which Materials Balance Cost, Durability, and Sustainability Best?
You’ll want materials that balance cost durability and sustainability, prioritizing solid options like recycled steel, bamboo composites, and responsibly sourced wood. These choices offer good durability, while minimizing environmental impact and overall cost over time. A sustainability balance emerges when you weigh maintenance, replacement frequency, and embodied energy. Choose products with durable coatings and warranties to reduce life-cycle costs. You’ll feel you belong in a practical, data-driven community that values reliable materials and responsible, affordable upgrades.
What Low-Cost Hacks Boost Daylight Without Glare?
To reduce glare on a budget, use soft glare reduction strategies like diffusing window films and light-colored blinds. You’ll boost daylight diffusion by placing translucent panels or sheer curtains across high-sun areas. Pair these with adjustable LEDs for task lighting to keep contrast comfortable. Track performance with foot-candle measurements and adjust placements accordingly. You’ll feel more grounded, connected, and productive as daylight feels evenly distributed without harsh hotspots.
How Often Should I Audit for Hidden Energy Drains?
You should run hidden drains checks about every month, then quarterly deeper energy audits. You’ll catch quirks like phantom loads, idle devices, and inefficient chargers before they add up. Track patterns with a simple house-wide meter, noting hours of peak use and standout culprits. Regular audits keep you informed, connected, and confident in your savings. By staying proactive, you’ll feel a shared responsibility for the home’s efficiency and strengthen your sense of belonging.
Can I Stage a Layout Upgrade in a Weekend?
Yes, you can stage a layout upgrade in a weekend. Start with a clear staging feasibility check, then map a realistic weekend timeline that prioritizes core changes first. You’ll keep disruptiveness low by clustering tasks, measuring progress, and validating function as you go. Expect data-driven decisions: test flows, lighting, and access routes, adjusting as needed. You’ll feel included and confident as you see tangible progress, reinforcing belonging through collaborative, efficient planning.