Decluttering your cabinets on a budget starts with a ruthless purge, then map the space so every item has a home. Create use-based zones so everyday items sit up front and backups tuck in the back. For budget-friendly access, grab clear bins or uniform jars, stackable options, and simple labels with date, content, and location. Reuse what you have and keep things durable and safe. Stay disciplined—you’ll learn how much smoother your kitchen can run as you continue.
Key Takeaways
- Start with a quick cabinet purge: remove all items, wipe shelves, and sort into keep, donate, or discard for clarity.
- Build space zoning (cooking, baking, snacks) and return kept items to their zones to reduce search time.
- Prioritize daily staples within easy reach; designate reserve shelves for backups and infrequent tools.
- Label items and zones simply to maintain order without cluttering walls or surfaces.
- Use affordable, reuse-friendly organizers (clear bins, uniform jars) and date-content labeling to maximize space.
Audit Your Cabinets: Purge, Prioritize Essentials, and Map Your Space
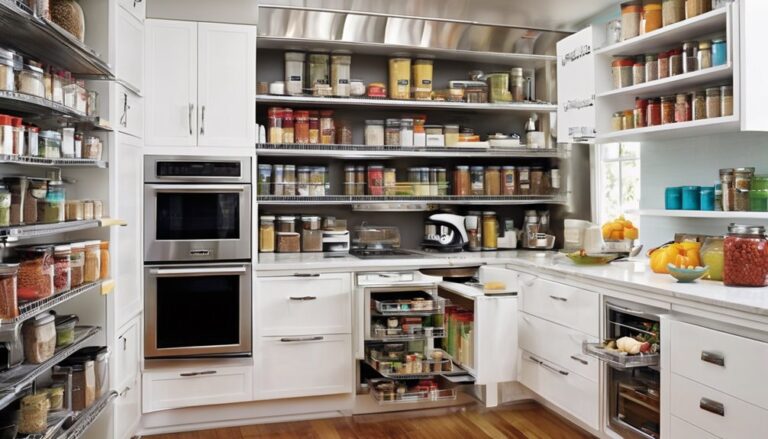
Before you dive in, take a quick inventory of what’s actually used and what isn’t. You’ll start with a simple audit workflow: remove everything, wipe shelves, and sort items into keep, donate, or discard. As you handle each item, ask: do I reach for this weekly, or does it sit in the back? Prioritize essentials by function—daily staples first, then backups, then rarely used tools. Create a basic space mapping: designate zones for cooking, baking, and snacks, keeping items near related tools. Replace like with like to maximize space optimization and reduce search time. Return kept items to their zones, label where helpful, and file away surplus in a labeled box. You’ll finish with a cleaner, calmer cabinet that’s easy to maintain. When organizing, consider grouping items by use frequency and ensuring gooseneck-style tools have a dedicated, easily accessible spot for quick setups gooseneck.
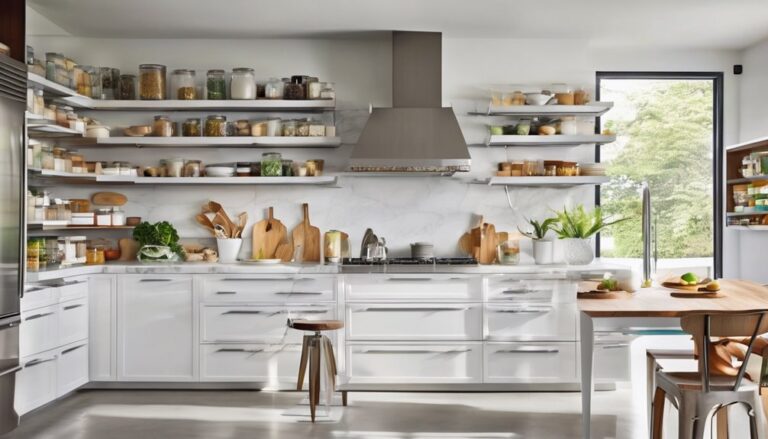
Create Use-Based Zones: Put Everyday Items Front and Rare Items Back
Now that you’ve audited and mapped your space, it’s time to set up use-based zones that keep the everyday items handy and the rare ones tucked away. You’ll organize by how you actually use things, not by size or impulse. Place daily staples—pots, lids, mugs—within easy reach, while reserve shelves hold backups, seasonal items, and infrequent tools. A simple Zone mapping approach makes sense of rhythm, saves steps, and reinforces a calm, collaborative kitchen vibe. Keep the declutter mindset in mind: each item earns its spot or a new home elsewhere. Label quickly, but keep walls clear of clutter. These storage hacks support belonging, reduce friction, and empower you to grab what you need without overthinking. Your updated cabinets feel intentional and welcoming. 4D
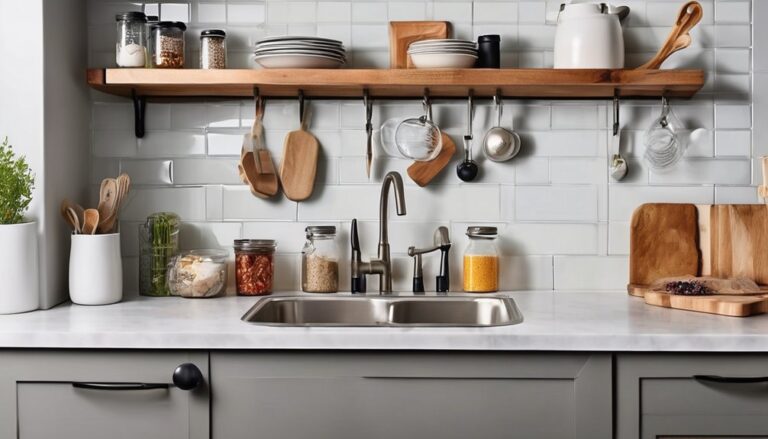
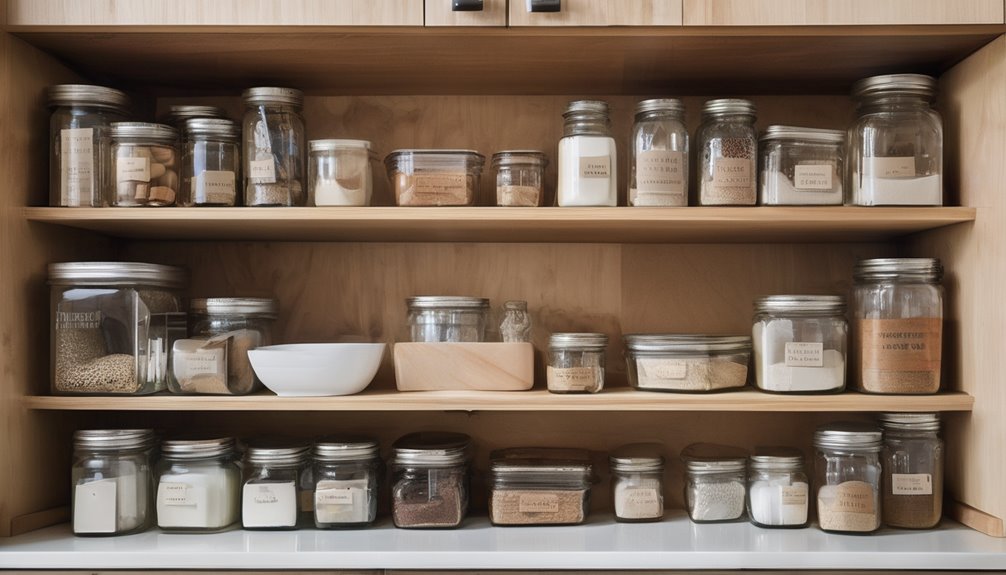
Budget-Friendly Tools for Easy Access: Containers, Labels, and Reuse
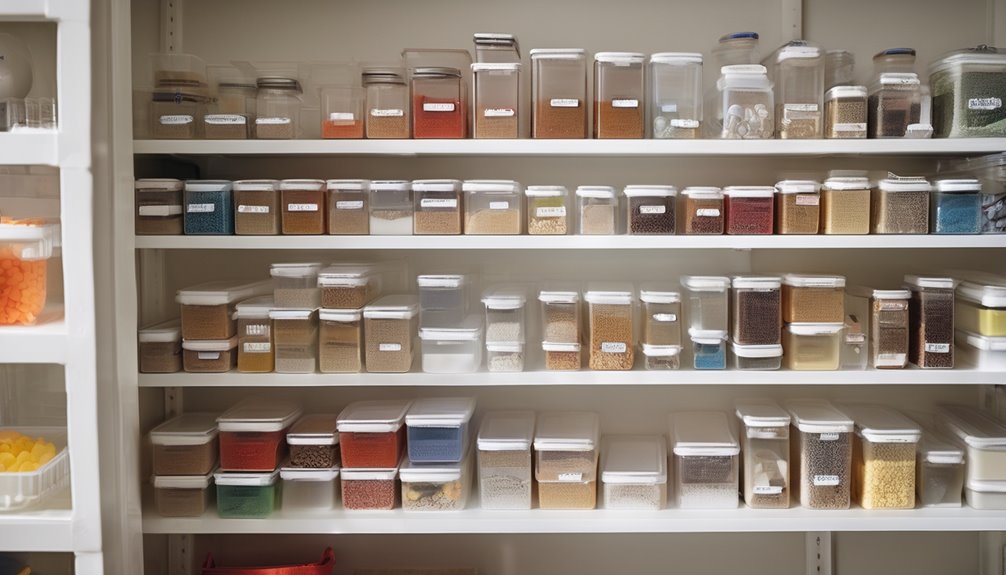
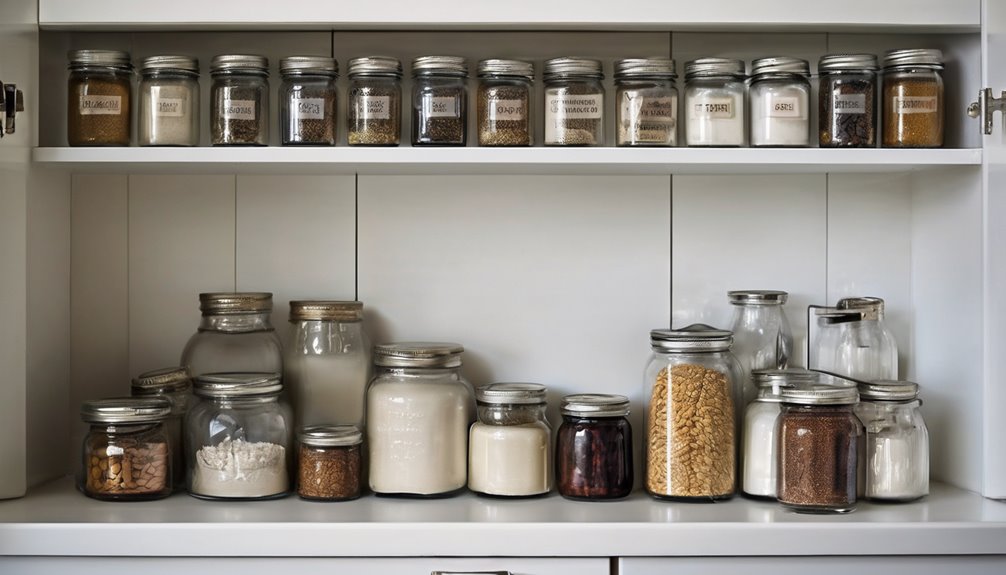
Ever wonder how a budget kitchen can feel calmer and more efficient? You’ll love using simple, practical tools that pay off daily. Start with container organization: clear bins or uniform jars make it easy to see what you have and what’s missing, reducing impulse buys. Select stackable options to maximize space and keep lids matched to bases. Next, focus on label customization: simple, readable labels help everyone find items quickly and return them correctly. Use a consistent system—date, content, and location—to prevent guesswork. Reuse is your friend: repurpose pasta jars for dry goods, shower caddies for spices, and bins from toys for odds-and-ends storage. With these tools, you create belonging through shared routines and smoother cooking, not clutter. NSF certification matters for durability and safety in commercial-grade gear, reinforcing that well-organized spaces can support reliable performance and long-term use.
Frequently Asked Questions
How Often Should I Audit My Cabinets for Decluttering?
Auditing cadence? Aim for every three months, then adjust to fit your rhythm. You’ll notice patterns as you go, like which shelves get crowded or what goes unused. If you see clutter building up, decluttering frequency increases; if things stay tidy, you can stretch to four or six months. You’ll feel a sense of belonging when your cabinets reflect your routine. Stay practical, honest, and consistent in your checks, and your space stays calmer.
What Budget-Friendly Habits Prevent Future Clutter Buildup?
Sure—you can build budget habits that prevent clutter buildup, and you don’t need pricey solutions. Track what you buy, implement a one-in, one-out rule, and set a monthly quick purge. Use clear bins to see supplies at a glance, and plan meals or tasks to avoid impulse buys. When you shop, ask, “Do I truly need this?” Practicing consistent decluttering rituals helps maintain a calmer space and stronger clutter prevention. You’ve got this.
Can I Reuse Containers for Non-Kitchen Storage Too?
Yes, you can reuse containers for non-kitchen storage. You’ll cut waste, save money, and feel more organized at the same time. When you repurpose, label clearly and choose sturdy, airtight options for items like crafts, tools, or bathroom supplies. Reusable containers help create a cohesive look, fostering belonging in your space. Keep non kitchen storage labeled, stacked, and accessible so you reach for them with confidence. Your home stays functional, stylish, and welcoming.
Which Labels Last Longest in Humid Kitchen Environments?
In humid kitchen environments, you’ll find that plastic labels with bold, waterproof laminates last the longest. Look for labels marked “waterproof” or “polypropylene” to maximize labels longevity. The humidity impact is real, so avoid paper or non-laminated options. You’ll feel more confident decluttering when your system stays legible and stable, and you’ll belong to a practical crowd that plans ahead. Choose durable materials, keep surfaces dry, and label straight for easy, lasting visibility.
Do These Tips Apply to Pantry and Linen Cabinets Alike?
Yes, these tips work for both pantry organization and linen cabinet decluttering. Think of it as one tidy system you can customize. Start by grouping similar items, labeling where you can see them, and using clear containers. Keep like items together and rotate older supplies. Maintain your space with a quick weekly skim so everything stays reachable. You’ll feel more at home, and your shelves will thank you with calm, practical order.