Start by defining your budget, goals, and must-haves to curb impulse buys. Then map a practical work triangle—measure space, mark zones, test reach with templates, and ensure 4–9 feet between fridge, sink, and stove with ample clearance for two cooks. Rank upgrades by impact and cost, chasing high-value, low-cost moves. Use reuse, rehome, and revitalization to stretch funds. Plan durable, energy-efficient upgrades with ENERGY STAR choices and total ownership in mind. You’ll uncover more practical steps as you continue.
Key Takeaways
- Define budget, goals, and must-haves to prevent impulse splurges and guide layout decisions.
- Plan the Work Triangle on a budget by measuring space and testing reachability for feasible distances.
- Prioritize upgrades using impact vs. cost; target high-impact, low-cost moves that improve daily tasks.
- Reuse, rehome, and revitalize with practical swaps and energy-saving, durable pieces.
- Plan durable, energy-efficient upgrades with ENERGY STAR options, LED lighting, proper ventilation, and low total ownership cost.
Define Your Budget, Goals, and Must-Haves for the Kitchen
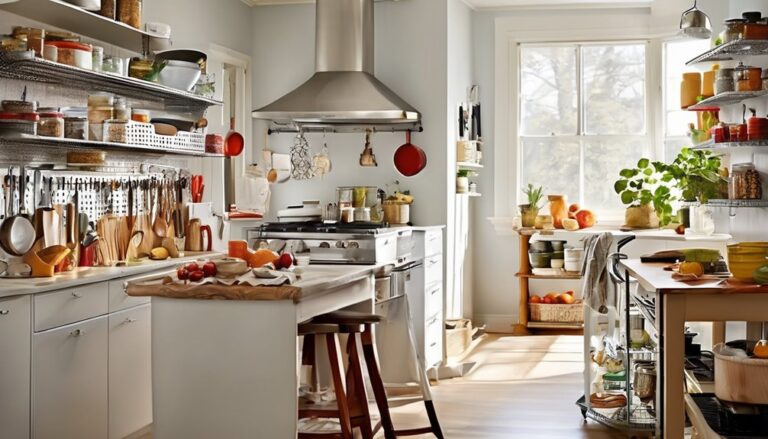
Before you start buying, nail down your budget, goals, and must-haves for the kitchen. You’ll map budget goals to real purchases, avoiding impulse splurges and back-pocket surprises. Define must haves so you progress with intention, not regret. Your plan should reflect how you cook, entertain, and live with others, fostering belonging through shared space. Distinguish budget goals not relevant to other sections from must haves not relevant to other sections, so priorities stay crystal clear. Record practical constraints—layout, appliances, and finishes—that align with family routines and your social aura. Keep numbers tangible: target costs, timelines, and contingency. With clarity, you’ll navigate selections confidently, feeling supported by a shared purpose, and ready to optimize every dollar toward lasting kitchen value. To support ergonomic comfort while planning, consider how your kitchen layout can promote natural workflows and reduce strain during prep and cleanup, much like how an ergonomic chair supports posture during long work sessions neck comfort.
Plan the Kitchen Work Triangle on a Budget: Measurements and Feasibility
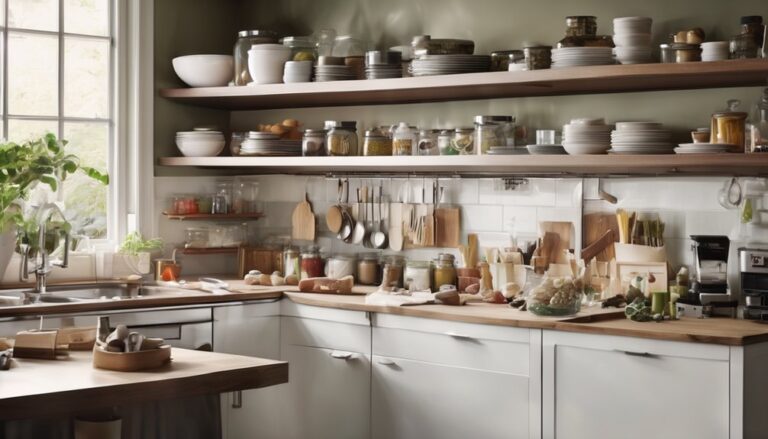
So, can you map out a workable Work Triangle on a budget by measuring your space, verifying clearances, and testing flow before you buy a thing? You’ll start with planning triangle measurements, marking cabinets, appliance centers, and work zones on a sketch. Measure wall lengths, doorway widths, and knee walls, then test reachability with a mock layout using tape or cardboard templates. A feasible triangle should keep the fridge, sink, and stove roughly 4 to 9 feet apart, with at least 36 inches of clearance for two cooks. Perform a feasibility assessment by walking the space in real-life scenarios—opening doors, pulling drawers, and moving trays. Adjust paths to minimize cross-traffic, staying within budget while preserving ergonomic efficiency and belonging. When upgrading for high-volume cooking, consider large-capacity air fryers with multiple baskets and 360° convection to maximize throughput without crowding the counter space. high-capacity air fryers and their dual-basket designs can support simultaneous batches while keeping cleanup manageable.
Rank Upgrades by Impact and Cost: A Simple 3-Step System
To rank upgrades by impact and cost, use a simple 3-step system that keeps your kitchen functional today and affordable tomorrow. First, list potential upgrades by effect on daily tasks, rating each on time saved, ease of use, and reliability. Second, assign a cost category per item—low, medium, high—so you can compare value quickly. Third, plot options on a matrix of impact versus cost, prioritizing high-impact, low-cost moves first. As you proceed, ensure choices support smooth workflow and consistent budgeting. Keep budgeting honest with budget tracking that reflects real prices and timing. This method helps you tackle upgrading appliances judiciously while preserving a sense of belonging in a shared space. Practical, purposeful upgrades grow with you. Head/Neck Support and Adjustability
Reuse, Rehome, and Revitalize: Budget-Friendly Kitchen Makeovers
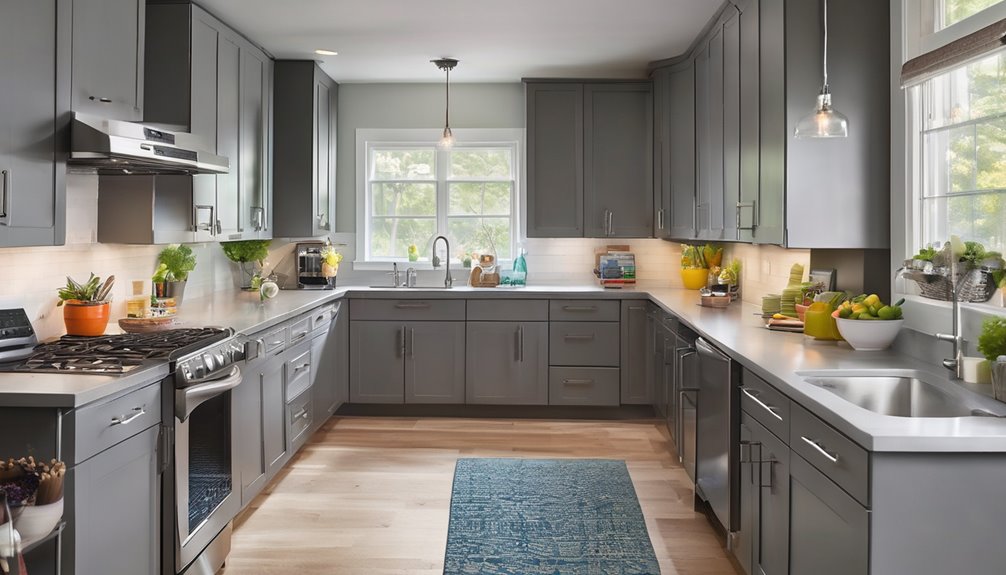
As you move from ranking upgrades to hands-on makeover tactics, reuse, rehome, and energize become powerful levers for a budget-friendly kitchen. You’ll transform spaces with intention, leaning on practical swaps, thrift upgrades, and smart rearrangements that feel welcoming and inclusive. By choosing durable, easy-to-clean pieces and filtering by energy savings, you’ll elevate function without inflating costs. Think in terms of small, reversible moves that respect the home you’ve built together, focusing on personal touches that foster belonging. Rehome appliances when they still have life, but avoid hidden maintenance traps. Embrace reuse with a plan that honors safety and style, creating a refreshed kitchen that remains affordable and warm for everyone. Rehome appliances with care and honesty maintenance awareness.
Plan Durable, Energy-Efficient Upgrades That Pay Off
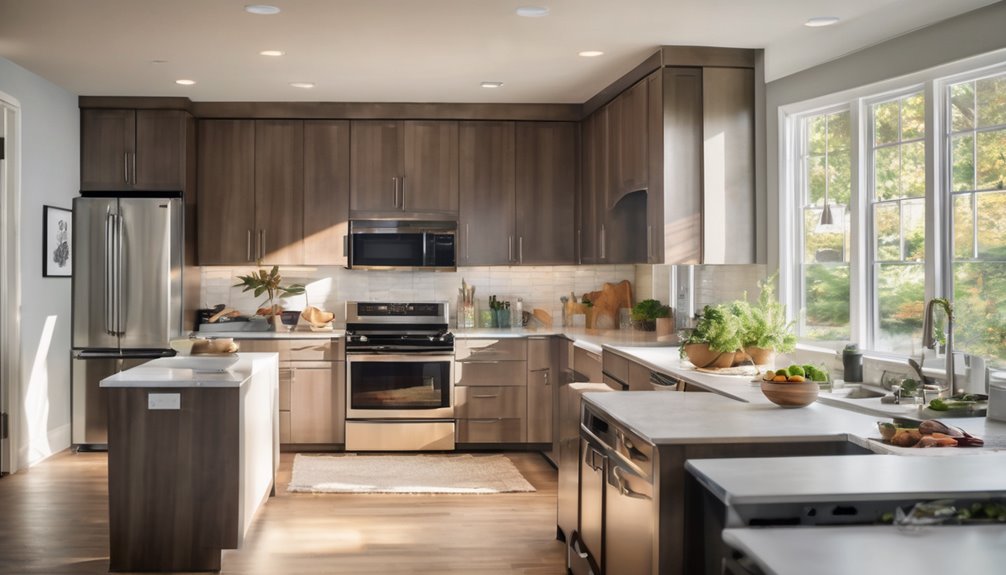
Could you plan upgrades that outlast trends and save you money in the long run? You can. Focus on durable, energy-minded choices that fit your space and budget. Start with a clear baseline: measure, compare, and verify efficiency ratings. Prioritize appliance efficiency, selecting models with high EER or ENERGY STAR certification where relevant to your kitchen setup. Choose solid reliability over flashy features, and consider modular components you can upgrade later without full replacement. When budgeting, account for total cost of ownership, not just sticker price, to avoid budgeting mistakes. Favor LED lighting, smart energy management, and well-insulated cabinets to reduce heat loss. Build in proper ventilation and routine maintenance to preserve performance. Your intentional, community-minded approach pays off through lower bills and lasting comfort Auto shutoff.
Frequently Asked Questions
What Are Hidden Costs When Upgrading a Kitchen on a Budget?
Hidden costs sneak in if you don’t plan for them, so you’ll want to map every step. You’ll face budgeting pitfalls like delivery fees, cabinet alterations, and installation delays that extend timelines. Don’t overlook hidden labor, disposal, and permit costs that can surge your total. Track electrical, plumbing, and backsplash tweaks early, plus markup on materials you thought were final. Stay proactive, compare quotes, and build a cushion—you’ll feel you belong in this budget-savvy, practical project.
How Long Does a Budget Kitchen Remodel Typically Take?
A budget kitchen remodel usually takes a few weeks to a couple of months, depending on scope and crew availability. You’ll want a realistic budget timeline that accounts for permits, delivery delays, and cabinet install windows. Watch for hidden costs that pop up, like electrical tweaks or flooring acclimation. You’ll feel more secure if you plan buffers into each phase and stay communicative with your contractor, neighbors, and suppliers—you belong to a well-coordinated kitchen crew.
Can I DIY Major Upgrades Without Sacrificing Safety?
Yes, you can DIY major upgrades without sacrificing safety, if you plan carefully. Picture coinciding timing: you check permits, measurements, and your tools at once, like gears syncing. You’ll balance DIY safety and cost tradeoffs by choosing tasks within your skill, using proper PPE, and hiring pros for critical work. Prioritize electrical, plumbing, and structural work. Stay conservative with scale, document everything, and learn along the way—belonging to a safe, budget-conscious DIY crew.
Which Materials Best Balance Cost and Durability in Cabinets?
Laminate cabinetry and plywood boxes strike the best balance of cost and durability. You’ll get a smooth, low-maintenance face with laminate, whereas sturdy plywood boxes keep weight and wear in check. Choose carcasses with edge banding and UV-rated laminates for long life. Seal joints properly and use quality hinges. You’ll feel confident, cost-conscious, and part of a sharing community that values practical, durable decisions—without compromising safety or style. You belong here.
How Do I Prioritize Appliances Within a Tight Budget?
Prioritize appliances by essential function first: a reliable refrigerator, stove, and range hood, then add a dishwasher if your space and budget allow. To maximize impact, budget for upgrades with a practical plan: target energy efficiency, standard sizes, and modular features that won’t lock you in later. You’ll feel included in the process when you compare warranties and service networks. Prioritizing appliances sets the rhythm for your kitchen, budgeting for upgrades, and tuning value without big regrets.