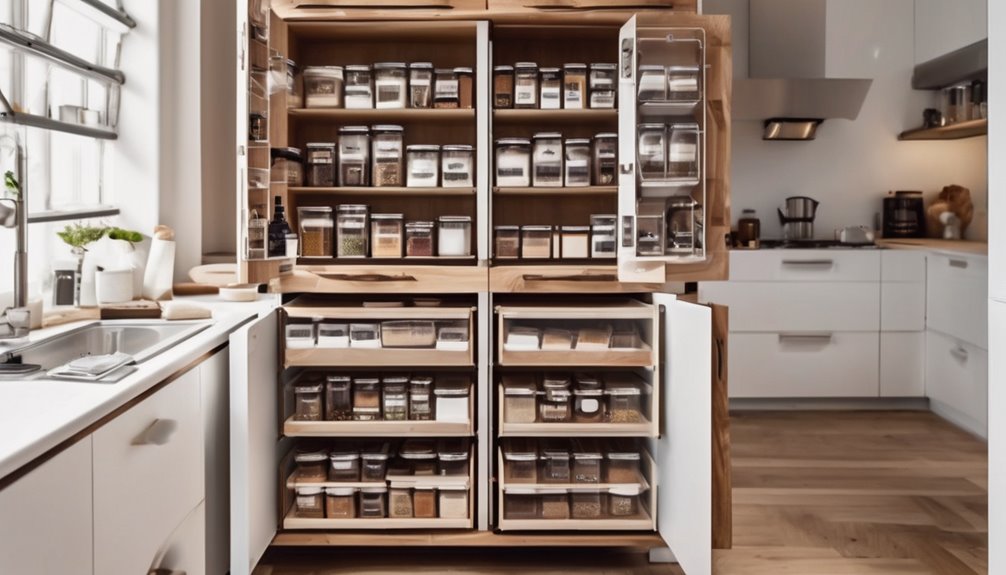
DIY cabinet organization saves money and space by avoiding costly remodels and using adjustable shelves, clear bins, and pull-out solutions tailored to your needs. You reclaim vertical space, reduce clutter, and speed daily tasks with labeled bins and modular inserts. Quick wins like drawer upgrades, door organizers, and budget-friendly liners boost usability without a full makeover. Measure gaps to fit dividers precisely, then upgrade gradually. Keep this momentum, and you’ll uncover even more practical, space-saving ideas.
Key Takeaways
- DIY cabinet organization avoids costly renovations by using adjustable systems and smart shelving that maximize existing space.
- Labeled bins, pull-out trays, and clear organizers reclaim vertical and horizontal space, reducing clutter and saving time.
- Quick, weekend decluttering moves purge duplicates and group by use, delivering tangible value without major investments.
- Proper measuring and adjustable dividers ensure items fit snugly, preventing wasted space and repeated reorganizing.
- Non-demolition upgrades like liners, new hardware, and shelf risers boost usability with minimal cost and mess.
Why DIY Cabinet Organization Saves Money and Space

If you’re looking to cut costs and maximize space, DIY cabinet organization is a smart move. When you organize yourself, you prevent excessive clutter from growing into a daily hassle, saving you time and stress. You avoid costly renovations by choosing simple, adjustable systems that adapt to your needs over time. With smart shelving, labeled bins, and pull-out trays, you reclaim vertical space and make every inch usable. This approach creates a sense of belonging, because you’re taking control of your home in a practical, collaborative way. Small, thoughtful changes add up to meaningful, lasting value. Memory presets core concept supports consistent organization across desk and cabinet setups, reflecting how systematized storage helps maintain order.
Quick Wins to Declutter Cabinets on a Budget
Quick wins to declutter cabinets on a budget start with quick, practical moves you can do in a weekend. You’ll separate items, purge duplicates, and group by use, so everything has a home. Replace clutter with simple solutions like labeled bins, pull-out trays, and affordable organizers. Consider tiny hinges as a reminder that small upgrades compound—swap drawer inserts before bigger projects. If cabinets look dated, a fresh touch of cabinet paint can brighten the space without a full remodel. Maintain belonging by inviting family to label and agree on zones.
| Idea | Benefit |
|---|---|
| Declutter first | Clear space fast |
| Label bins | Find items easily |
Measure for Fit: Smart Sizing on Every Shelf
Measure shelf gaps, fitment with racks, and tighten item spacing to prevent wasted space and snag-free access. Start by checking every shelf’s clearance, then match rack sizes to your items, and finally tighten gaps so items stand securely without move. This disciplined sizing makes every inch count and sets the stage for smarter organization.
Measure Shelf Gaps
Wondering how to ensure every shelf fits perfectly? You’ll measure shelf gaps first, then tailor your cabinet sizing to real space. Start with a quick ruler check at the front, middle, and back of each shelf to capture variations. Note the smallest clearance and add a small, even allowance for clarity and easy movement. Use those gap measurements to plan adjustable dividers or slim organizers that maximize vertical and horizontal space. This practical step keeps clutter down and confidence up, reinforcing a sense of belonging as you customize for your home. When planning, consider how standard drawer and shelf hardware can affect fit and accessibility, ensuring that you choose solutions compatible with existing fixtures and finishes. gap measurements guide precise sizing for durable, adaptable storage configurations.
Fitment With Racks
With the right racks in place, you can turn those measured gaps into precise, practical fit. Fitment with racks means you tailor each shelf to what you actually store, not just what the space allows. You’ll use adjustable supports, dividers, and modular baskets to match item height, width, and depth, reducing movement and wasted room. This approach supports space optimization by locking items into dedicated spots, so you experience steadier storage and quicker access. As you measure, note potential configurations for common items—cookbooks, lids, tiny containers—then swap in rack components that align with those patterns. The result is a cleaner, more efficient cabinet you can be proud to share, reinforcing belonging and confidence in your organization skills.
Tighten Item Spacing
Ever notice how a little extra space can slow you down at the cabinet door? Tighten item spacing to maximize every shelf and make routine grabs effortless. When you practice spacing control, you create a calmer workflow and a sense of belonging in a shared space. Here’s how to do it:
- Measure each shelf’s depth and height, then group items by size for natural flow.
- Adjust dividers and bins to minimize wasted space while keeping items accessible.
- Consolidate duplicates and relocate rarely used items to outer zones, freeing core real estate.
- 3D headrests and lumbar adjustments emphasize maintaining ergonomic alignment even in compact setups, helping you stay organized with posture-conscious cervical support principles.
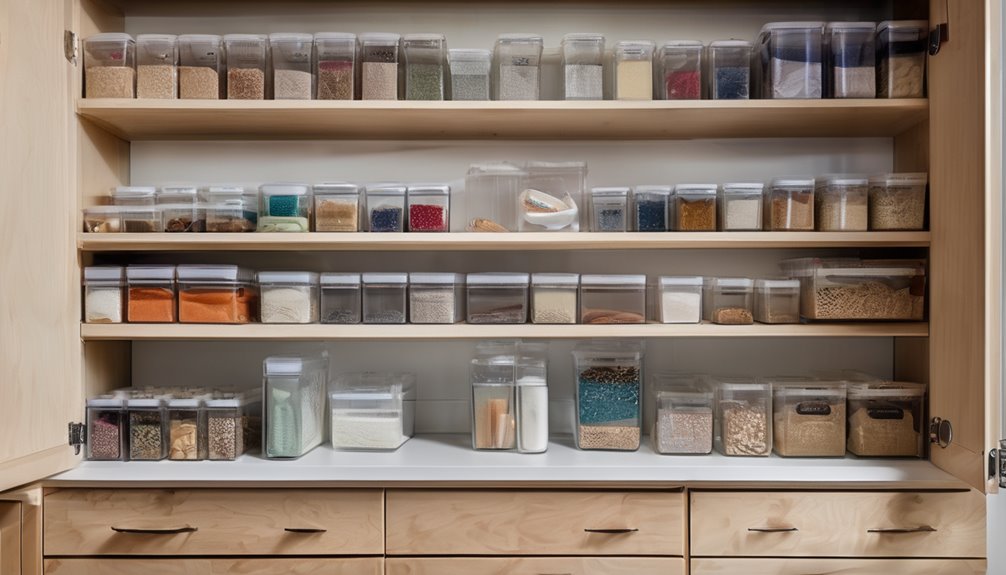
Must-Have, Budget-Friendly Tools That Multiply Storage
Here are must-have, budget-friendly tools that multiply storage: invest in adjustable shelves, stackable bins, and clear-measure organizers to instantly gain vertical and visible space. You’ll love how these picks fit your cupboards without a remodel, and you’ll feel part of a practical community that values results over hype. Start with adjustable shelves to tame tall cabinets, then add stackable bins to create defined zones for like items. Clear-measure organizers keep small supplies visible and easy to grab, reducing rummaging time. This approach supports budget efficiency and space optimization, helping you maximize every inch. By choosing affordable, versatile tools, you reinforce a sense of belonging through shared, value-driven decisions that deliver tangible, lasting organization results. Additionally, consider choosing items with ergonomic design features that accommodate various tasks and users ergonomic office chair features to ensure comfort during longer organization sessions.
Layout Tricks for Corner and Tall Cabinets
Corner and tall cabinets pose a storage puzzle, but smart layouts can turn wasted space into easy-to-reach solutions. You’ll maximize every inch by aligning items to how you actually shop and cook, not how the cabinet sits. Keep things visible and accessible, so your space feels lived-in, not locked away.
Corner and tall cabinets become easy-to-use spaces when you rotate corners, zone shelves, and add door organizers.
3 practical layout tricks:
- Corner rotation: use lazy Susans or pull-out trays to access far edges without crawling inside.
- Tall cabinet zoning: designate upper, middle, and bottom zones for daily, weekly, and rarely used items.
- Door-attach organizers: install slim racks or hooks on doors to free shelf real estate and keep necessities within reach.
With these tweaks, corner cabinets and tall cabinets become allies, not hassles.
Budget Dividers, Labels, and Inserts: A Simple 3-Step System
Building on those clever layouts, a simple 3-step system for budget dividers, labels, and inserts helps you see and grab what you need at a glance. You’ll start by choosing budget dividers that fit your cabinet depth and daily use, so items don’t crowd or shift. Next, apply clear labels so everyone in your home knows what lives where, reducing rummaging and frustration. Finally, insert modular organizers that snap into place, keeping categories separate yet accessible. This approach minimizes waste, saves time, and reinforces belonging by making shared spaces predictable and welcoming. With budget dividers, labels, and inserts, you maintain order without constant rearranging, turning your cabinet into a cooperative, efficient hub. Simple, steady, and budget-smart organization.
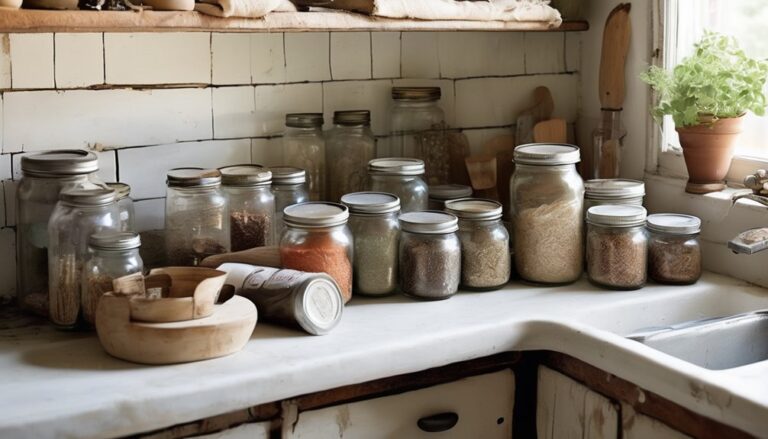
Upcycling Staples: Reuse Containers and Household Finds
What if you could cut clutter and costs at the same time by upcycling staples you already have? You can turn common containers and finds into practical cabinet organizers, proving that reuse containers is more than just thrift—it’s smart design. This approach helps you feel connected to your space, not overwhelmed by it, as you repurpose items you already own.
1) Gather and label: jars, tins, and boxes become tidy storage for screws, lids, and small parts.
2) Layered visibility: stackable lids and clear containers keep items easy to find.
3) Adapting on the fly: measure spaces, trim labels, and create modular dividers from cardboard or stiff plastic.
Embrace upcycling staples to craft a calm, belonging-filled pantry and toolbox.
Budget-Friendly Cabinet Makeovers Without Demolition
You can refresh your cabinets without demolition by choosing budget-friendly makeover options like peel-and-stick liners, new hardware, and paint. These non-demolition fixes help you customize space, improve durability, and stay under budget while avoiding messy removals. Start with a clear plan and prioritize changes that deliver the biggest impact for storage and usability.
Budget-Friendly Cabinet Makeovers
Declutter and rehome: remove unused items, group similar contents, and use clear bins to reduce visual clutter. In addition, consider the stability and durability of your workspace by aligning storage ideas with a sturdy surface that can support your reorganized contents over time 50,000 lift cycles. Then, refresh fronts and hardware: swap pulls, add peel-and-stick veneers, or paint doors for a cohesive, updated vibe. Optimize interiors: install shelf risers, lazy Susans, and drawer organizers to maximize every inch.
With these steps, your cabinets look refreshed, cohesive, and more functional—without the mess or cost of demolition. budget friendly cabinet makeovers.
Non-Demolition Renovation Tips
Non-demolition renovations let you refresh cabinet spaces without tearing into walls or doors. You’ll capitalize on existing layouts with simple upgrades that feel fresh, fast, and budget-smart. Start with clean-outs, organizers, and shelf risers to maximize space optimization, then add peel-and-stick liners for a like-new look without messy finish work. A few strategic upgrades deliver big returns: install adjustable racks, pull-out trays, and labeled bins to reduce clutter and improve accessibility. Use budgeting shortcuts like repurposing hardware, shopping off-season, or combining DIY tools you already own. Track what you use most and tailor the setup accordingly. Your goal is practical function—clear, tidy storage that makes you feel you belong in a well-organized home.
Adjustable racks can adapt to changing storage needs, providing flexible configuration.
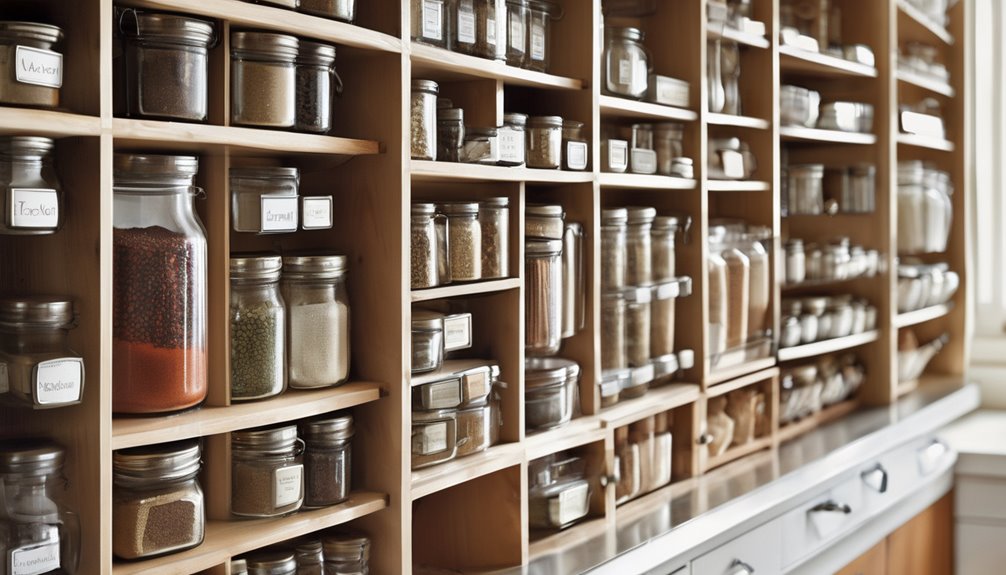
Maintenance Habits to Keep Your Pantry Lean and Efficient
To keep your pantry lean and efficient, establish a simple routine: check dates weekly, rotate stock from back to front, and group similar items together so you can see what’s running low at a glance. Keeping habits consistent helps you avoid an empty pantry shock and makes space feel inviting. Practice quick checks after grocery runs, and adjust orders based on usage. Here is a new practical step you can adopt: schedule a weekly audit to assess expiration dates and log near-fills, reinforcing tilt lock range awareness in pantry organization so you can keep every area tidy and focused. Here are practical steps you can adopt:
1) audit weekly: note expiration dates, discard compromised items, and log near-fills
2) rotate effectively: move oldest cans forward, place fresh purchases behind
3) curate groups: canned meals, snacks, beverages, and cooking basics stay visible
Remember to monitor energy drinks, ensuring they’re stored safely and not creating clutter.
Frequently Asked Questions
How Can I Measure Cabinet Depth Accurately Without a Tape Measure?
You can measure cabinet depth without a tape by using a ruler or a printed card from a store, then compare it to the cabinet depth. Start from the inside back wall to the front edge. If you don’t have a ruler, fold a piece of sturdy paper to estimate inches. Use tape alternatives like a string with knots for inches. This approach keeps you oriented, precise, and part of a practical, belonging-focused community.
Are Dividers Worth the Initial Cost for Small Cabinets?
Dividers cost little in the long run, and yes, they’re worth it for small cabinets. You’ll gain cabinet space by keeping items grouped and accessible, reducing overstacking and wasted searches. With dividers, you’ll feel organized, included, and in control as you steer your space. Practical setup tips: measure, assign zones, and leave room for everyday items. You’ll notice faster grabs, fewer spills, and a calmer, belonging-filled kitchen you can be proud of.
What’s the Best Way to Stack Containers for Visibility?
You’ll boost stacking visibility by using uniform containers and clear, labeled lids, then nest smaller items inside larger ones to minimize bulk. Place the most-used items at eye level and group like items together for quick scanning. Use Container labeling on each bin’s front and a slim vertical label on the shelf edge. Aim for consistent heights so you can see everything at a glance and feel you belong to a well-organized space.
Can I Reuse Tall Jars for Shelf Organization Safely?
Yes, you can reuse tall jars for shelf organization safely. Reusing jars minimizes waste and keeps items tidy, so you feel you belong in a smarter, more organized space. Think clear visibility, easy labeling, and stable stacking. Place wide bases on sturdy shelves, remove sharp edges, and wash thoroughly between uses. Use lids or rings to group similar items, creating calm, practical shelf organization you can trust and maintain.
Do Magnetic Strips Damage Metal Shelves or Paint Over Time?
Yes, magnetic strips can affect metal shelves and paint over time. If you install them on a painted surface, check for chipping and consider a protective backing to minimize metal shelf wear. Choose magnets with moderate pull to avoid bending the mounting points. Regularly inspect for rust, shifting, or paint scratches. With proper application, you’ll maintain magnetic durability while keeping your space feeling welcoming and organized for everyone.