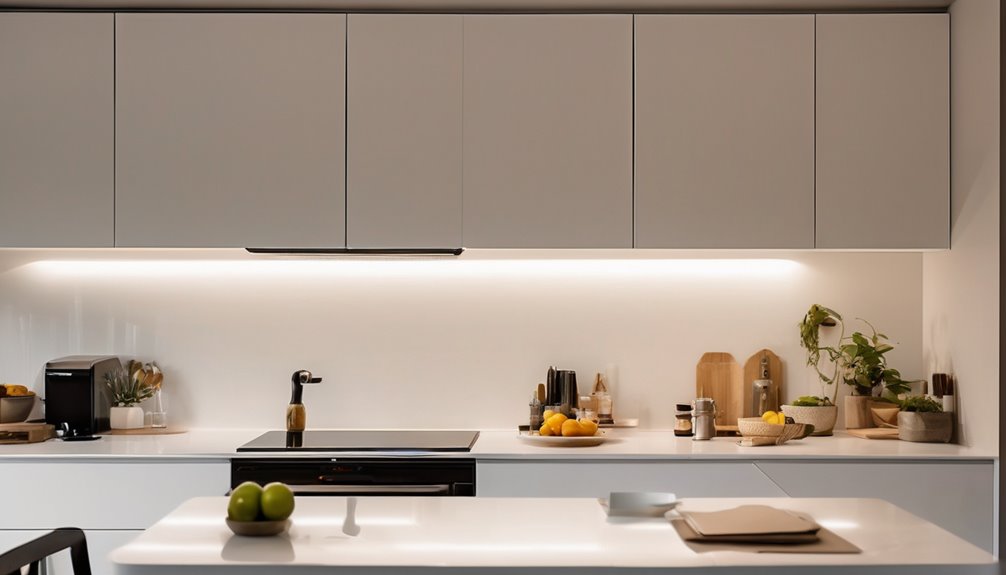
To upgrade on a budget, map your kitchen by brightness, color temperature, and task zones, then layer lighting: diffuse ambient, targeted task lights at counters, and accent highlights for depth. Choose low-cost LEDs (2700–3000K, 90+ CRI) with dimmable drivers and ensure uniform lamp types across fixtures to avoid color shifts. Plan DIY install with circuits, test for glare and shadows, and leverage smart controls to curb energy use. More practical steps await to optimize your layout and efficiency.
Key Takeaways
- Start with a baseline: assess existing brightness, color temperature, shadows, and glare to guide upgrades.
- Use high-CRI, 2700–3000K LEDs with dimmable drivers for task areas and ambient lighting.
- Add under-cabinet LED strips and simple ceiling downlights to layer ambient and task light affordably.
- Ensure compatibility: match fixtures to drivers, use identical lamps, and test with dimmers and smart controls.
- Document changes and test zones: record lumens per fixture, glare, and schedule-based adjustments for future tweaks.
Assess Your Kitchen Lighting: Brightness, Color, and Task Zones
To assess your kitchen lighting, start by evaluating brightness levels, color temperature, and how spots of light support tasks. You’ll map zones where you chop, mix, and plate, ensuring each area gets appropriate intensity. Begin with ambient baseline to avoid contrast fatigue, then layer task lights for critical work. When you assess brightness, quantify lumens per square meter and compare to recommended ranges for each zone. For assess color, note correlated color temperature and render index to preserve food appearance and mood. Consider glare, shadows, and wall reflections that affect visibility. Verify switch automation and dimming compatibility so you can adjust without clutter. Document adjustments and preferred settings to foster a sense of belonging through predictable, comfortable lighting that guides routine actions smoothly. Proper lighting can be coordinated with smart home devices to optimize energy use and user experience smart app control.
Budget-Friendly Kitchen Lighting Options That Work
Looking for budget-friendly options that still deliver clear, task-appropriate lighting? You’ll focus on practical, low-cost choices that meet task needs without excess. Opt for bright, cool-white LEDs labeled for kitchens, paired with simple fixtures that direct light where needed. Prioritize color rendering and consistent output to reduce eyestrain during prep and cleanup.
- Budget friendly LED under-cabinet strips for benches
- Adjustable track lights with dimmable, task-focused bulbs
- Recessed ceiling cans with high-CRI LED modules
- Portable task lamps for prep zones and islands
For installation simplicity, choose plug-in options or simple ceiling mounts. Ensure consistent kelvin temps around 3,000–4,000K for balance. Test lighting in all zones before finalizing positions, and document lumens per fixture to verify sufficient brightness without glare. Highlighting dual-voltage considerations
DIY Installation: A Simple Step-by-Step Plan
Ever considered a straightforward path to install your kitchen lighting yourself? This DIY installation plan delivers clear, repeatable steps you can trust. First, confirm circuit capacity and local codes, then gather a compact toolkit and a safe work surface. Next, switch off the circuit, remove the old fixture, and inspect junction boxes for compatibility. Follow the installation steps with precise wiring: connect hot, neutral, and ground only as labeled, secure with connectors, and mount the fixture firmly to the ceiling box. Verify alignment, test fit, then restore power and perform a cautious test. Keep a two-minute functional check for flicker or hum. Document the process for future maintenance and replacement. Use a tool checklist to ensure nothing is forgotten, and proceed with confidence. You can DIY, safely and efficiently. Under-desk clearance
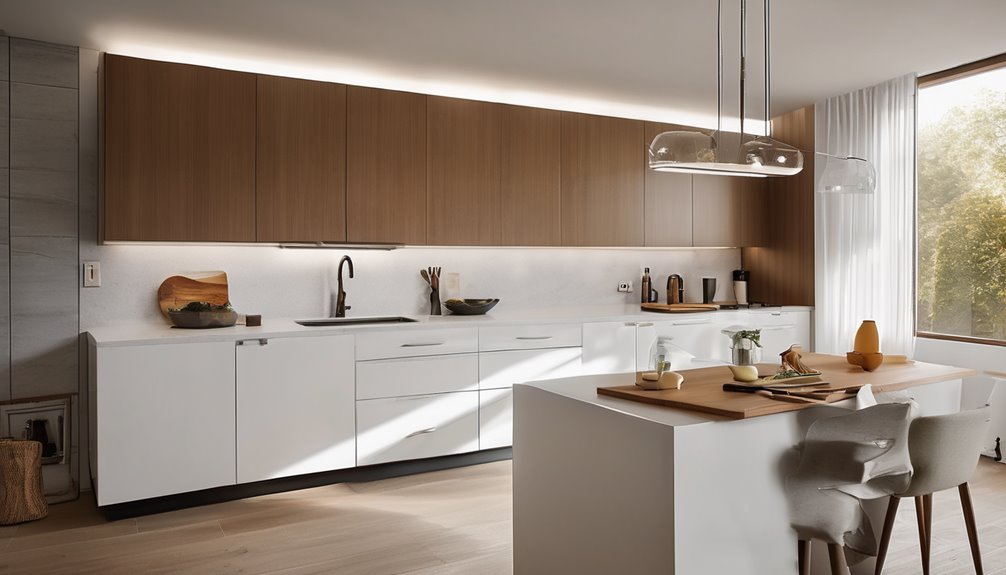
Layered Lighting Layouts for Maximum Brightness
Layered lighting layouts maximize brightness by combining ambient, task, and accent layers to cover all zones evenly. You’ll use brightness-maximizing techniques—proper fixture placement, color temperature tuning, and dimming controls—to maintain consistent illumination without glare. Start by mapping your kitchen tasks and configuring each layer to support those activities with minimal shadows and energy waste. Self-heating espresso makers demonstrate how careful layering of functions (heating, portability, 3-in-1 compatibility) can optimize performance in constrained spaces 3-in-1 compatibility.
Layered Lighting Principles
Layered lighting in a kitchen combines ambient, task, and accent layers to ensure consistent brightness, reduce shadows, and optimize color accuracy. You’ll design with defined roles: general glow, focused work, and subtle highlight, then confirm color rendering aligns with real food tones. Precision counts, so place fixtures to balance luminance and minimize glare.
- Use diffuse ambient fixtures to establish even baseline luminance
- Target task lights at countertops with high CRI for true colors
- Layer accent accents to reveal textures without overpowering tasks
- Validate overall rhythm by measuring kitchen luminance across zones
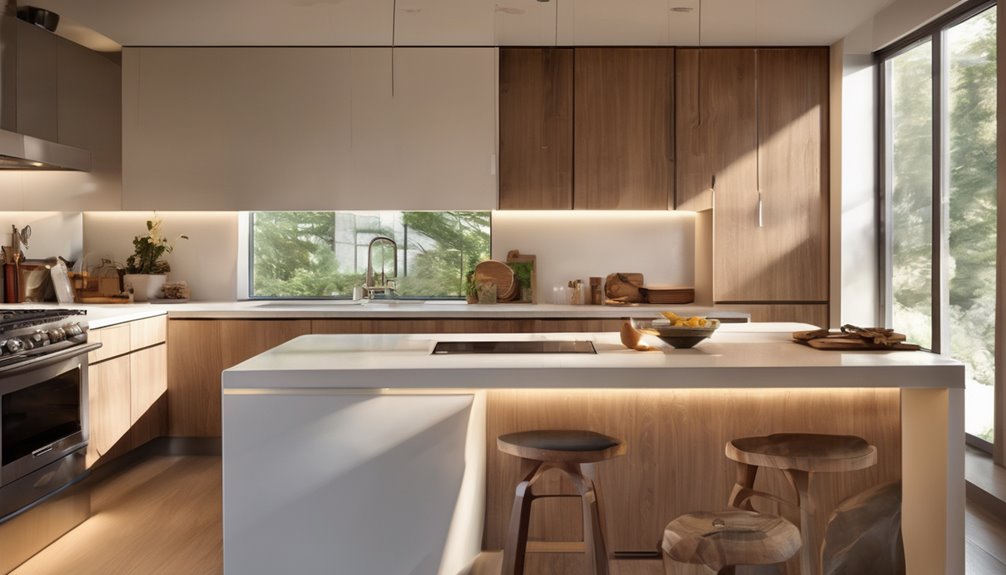
Brightness Maximizers Techniques
Do you want maximum brightness without sacrificing color accuracy or glare control? In brightness maximizers techniques, you build layered lighting layouts that prioritize even illumination and task-focused intensity. Start with a high-CRI main layer, then add strategically placed task and ambient modules to reduce shadows and hotspots. Use recessed or track fixtures for adjustable aiming, so you can fine-tune beam spreads and avoid glare on work surfaces. Pair luminaires with consistent color temperature to maintain visual coherence, and implement dimmable controls to modulate output without shifting color. Tighten glare by shielding luminaires and selecting low-glare optics. Integrate sensor- or timer-driven upgrades to preserve energy and reliability. This approach reinforces belonging through predictable performance and collaborative, shared kitchen spaces. 360° swivel
Save Energy With Smart Controls and Energy-Efficient Bulbs
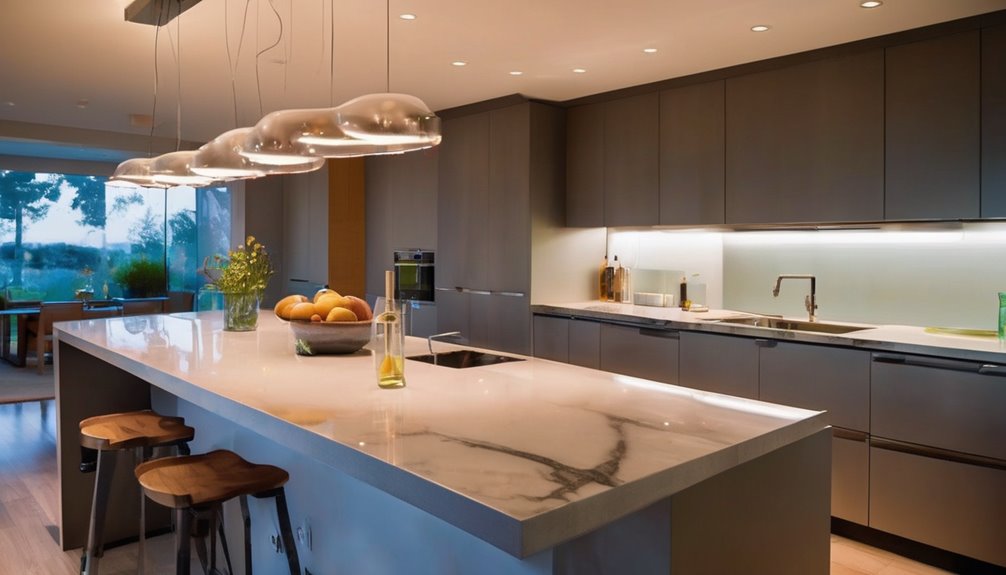
Smart lighting scheduling lets you automate kitchen lighting based on occupancy and time of day, cutting unnecessary usage. Energy-efficient bulb types, like LED options, reduce wattage while maintaining brightness and color accuracy. Consider cost-effective upgrades that combine smart controls with efficient bulbs to maximize savings without sacrificing performance. In addition, look for components with ETL/NSF-style safety and reliable replacement parts to ensure long-term support for your setup long-term support.
Smart Lighting Scheduling
Ever wondered how quickly you can cut energy use without sacrificing brightness? Smart lighting scheduling lets you align lights with your routines, reducing waste and maintaining comfort. Use automation timing to trigger lights at key moments, then dim or turn off when rooms aren’t in use. Precision matters: set clear on/off windows, consider occupancy sensors, and group zones to minimize rogue lighting.
- Create calendar-based schedules for meal prep, cleanup, and late-night activity
- Use automation timing to dim kitchen tasks without silent flicker
- Pair with occupancy sensors to avoid lights staying on after you leave
- Review daily usage data to refine start times and brightness levels
This approach builds belonging by delivering reliable, user-friendly control that respects your time and energy budget. Smart scheduling keeps you aligned with your goals.
Energy-Efficient Bulb Types
Choosing energy-efficient bulb types is fundamental for maximizing savings when you couple them with smart controls. You’ll select bulbs that deliver lumen efficiency, good color rendering, and stable dimming with your smart system. Replace inefficient bulbs and avoid outdated fixtures that hamper performance. Favor LEDs with 2700–3000K warmth for kitchen tasks, 90+ CRI for true colors, and high-frequency drivers for long life. Opt for dimmable varieties to sync with scenes, and verify compatibility with your controller’s scheduling. Grouped downlights and under-cabinet strips should use identical lamps to prevent color shifts. Table follows to compare options.
| LED Bulb Type | Key Benefit |
|---|---|
| Standard LED | Long life, efficiency |
| Smart/Weave LED | Built-in controls, color options |
Cost-Effective Upgrades
Maximize savings by pairing smart controls with energy-efficient bulbs. You’ll reduce runtime, tune brightness by task zones, and cut heat output without sacrificing clarity. Choose budget friendly lamps and dimmers that integrate with your existing switch layout for seamless control. In addition, remember that high-lift, single-piece desk surfaces like the HUANUO design emphasize stable setups that can house multiple monitors while maintaining efficient cable management battery of components for clean, organized workspaces.
Troubleshooting and Quick Fixes for Common DIY Setups
Struggling with DIY lighting tweaks? When a setup misbehaves, diagnose with a quick, methodical checklist. First, ensure power and loose connections at the fixture and switch; a marginal contact is a common culprit. Next, confirm bulb type and compatibility with your fixture’s driver, noting that mismatches can disrupt reliable dimming. If issues persist, test with a known-good bulb to isolate the problem. Inspect dimmer compatibility; non-dimmable LEDs or incompatible triac dimmers cause flicker or noise. Check color temperature consistency by swapping to a control sample and observing under typical kitchen tasks. Ensure heat is not dislodging components, and secure silicone gaskets where moisture is present. Document changes; precise labeling aids future tweaks. With patience, small fixes restore reliability and predictable lighting performance. Safety Features Highlights
Frequently Asked Questions
How Do I Choose Light Color Temperature for a Kitchen?
For a kitchen, choose light color around 2700–3000K for warm ambiance or 3500–4000K for brighter tasks; ensure LED compatibility and consistent brightness levels. Balanced light improves task efficiency, reduces shadows, and supports safety considerations like glare. Mix color temperatures only if task zones require it, keeping a cohesive kitchen ambiance. Check dimmable options and color rendering index (CRI) to preserve true colors. Prioritize fixtures with good diffusion for uniform brightness levels.
What’s the Best Brightness for Task Lighting in a Kitchen?
The best brightness for task lighting is bright enough to render true colors and precise details without glare. You’ll want about 300–450 lumens per square meter (300–450 lux) on work surfaces, depending on task. In kitchens, use layered task lighting for counters, islands, and sinks. Aim for consistent, shadow-free illumination with cool to neutral temperature. You’ll feel like you belong when your task lighting minimizes effort and maximizes accuracy.
Can I Mix LED Types Safely in One Kitchen Circuit?
Yes, you can mix LED types on one kitchen circuit, but consider wiring safety and fixture compatibility. Ensure your circuit’s amperage isn’t exceeded, use compatible drivers, and verify dimmer and transformer ratings for each LED. Use labeled, UL-listed components, and keep heat-producing fixtures away from sensitive electronics. Group mismatched LEDs only if drivers are isolated and within spec. If in doubt, consult a licensed electrician to confirm overall circuit integrity and safe operation.
How Long Do Diy-Installed Lights Typically Last Before Maintenance?
Like a steady heartbeat, your DIY lights last around 15–25 years with proper care. LED lifespan depends on usage, heat, and drivers; expect longer life from quality modules. Establish a maintenance schedule: periodic inspection, cleaning, and factor brightness guidelines for dimming or replacements. Follow color temperature tips for consistency, ensure circuit safety, and verify code compliance. Replace drivers or modules if outputs drift or flicker. Stay proactive, and your kitchen stays bright and integral to your home.
Are There Hidden Electrical Codes I Should Know?
Yes, there aren’t hidden codes you’ll overlook, but you should respect electrical permits and local regulations. You won’t miss permit requirements when you plan work, document changes, and schedule inspections as needed. Hidden codes exist in placement, box fill, and arc-fault protection, so verify compliance before wiring. You’ll fit in with peers by following standards, keeping receipts, and coordinating with inspectors. When in doubt, consult your local authority and licensed electrician for peace of mind.