Start with a clear budget and goals, then scan your kitchen for real clutter and daily-use items. Plan zones that fit your routines—prep near knives, cook near pots, drinks by the dining area. Use budget-friendly cabinet organizers, shallow shelves, and stackable bins, keeping frequent items at eye level. Add simple DIY touches like open shelves, adjustable brackets, and labeled clear containers. Upcycle jars and shoe organizers to reclaim space. Stick to quick, practical tweaks, and you’ll unlock more space fast—and there’s more to come.
Key Takeaways
- Set a clear monthly budget and translate it into practical storage goals like stackable bins and adjustable shelves.
- Survey your kitchen by observing actual space usage, identifying clutter, and noting items used daily versus unused.
- Plan zones aligned with routines (prep near knives, cook near stove, daily glasses near dining) to minimize motion.
- Use budget-friendly organizers (shallow shelves, wire racks, dividers) and label clearly to enhance quick access.
- Upcycle and repurpose low-cost materials (jars, shoe organizers) and create a maintenance routine for ongoing order.
Set Your Budget and Define Storage Goals
Before you buy a thing, set a clear budget and outline your storage goals. You’ll gain confidence when you know what you’re aiming for, not just what catches your eye. Start with budget planning: decide what you can spend this month and what you’ll save for bigger pieces later. Then translate that into practical goals, like “remove clutter from the counter” or “store every daily item within arm’s reach.” Keep goals specific and measurable, so progress is easy to track. Pair budget limits with storage needs—think stackable bins, slim organizers, or adjustable shelves. This clarity helps you resist impulse buys and builds belonging through shared, thoughtful choices. Stay pragmatic: small, purposeful updates beat costly, flashy fixes. You’re tailoring a kitchen you’ll actually use. The process can also mirror how you evaluate chair options, such as checking weight capacity and adjustable features to ensure long-term comfort and fit back support.
Survey Your Kitchen: Space That Needs Better Organization
Surveying your kitchen is the practical first step to meaningful organization: look at how you actually use the space, not how you imagine it should look. You’ll spot obvious clutter and underutilized areas, then chart simple fixes you can tackle this weekend. Begin with a clear walk-through: open every cabinet, drawer, and pantry bin; note what you reach for daily and what sits unused. This is about belonging, not perfection, so keep choices affordable and scalable. Consider surveying lighting to see if tasks need better reach or glare reduction, and measuring gaps in cabinets to assess if slim organizers or adjustable shelves fit your needs. Write down priorities, budget constraints, and a rough sequence to implement. Small, thoughtful steps build confidence and community around your kitchen. Adding a simple lighting assessment can clarify where improvements will have the most impact on daily tasks.
Plan Zones That Fit Your Daily Routines

Ever mapped out where you actually cook, prep, and cleanup, or are you just hoping the flow will reveal itself? Start by listing your daily routines—what you reach for first, what you grab last, and how you move through a typical meal. Then group tasks into planning zones: cooking, prepping, storing, cleaning, and serving. Place sharp knives, cutting boards, and staples near the prep zone; keep pots, pans, and hot tools close to the stove; store glasses, coffee, and daily beverages near the dining area. Use inexpensive organizers to assign drawers and shelves to each zone. Adjust heights to reduce bending, and label clearly to reinforce habits. With clear planning zones, daily routines become smoother and more budget-friendly, and you can choose a chair with ergonomic lumbar support to support long planning sessions while you design your kitchen workflow. Ergonomic lumbar
Choose Budget-Friendly Cabinet Interior Organizers
You can stretch your storage without breaking the bank by picking budget-friendly cabinet interior organizers that maximize space and visibility. You’ll get more from shallow shelves, wire racks, and simple cabinet inserts that lift items up and separate them by use. Look for adjustable dividers and stackable bins to adapt as your needs evolve, not just what’s on sale. Prioritize interior organization that makes daily tasks feel calmer, not crowded. A budget minded approach means choosing durable plastics, stainless metal, or wood composite that last through busy weeks. Keep frequently used pieces at eye level or easy reach, and group like items together. With budget friendly choices, your cabinets invite you to cook with confidence and belong in a tidy, collaborative kitchen. Storage efficiency is enhanced when you thoughtfully plan for adjustable configurations and sturdy materials that stand up to daily use.
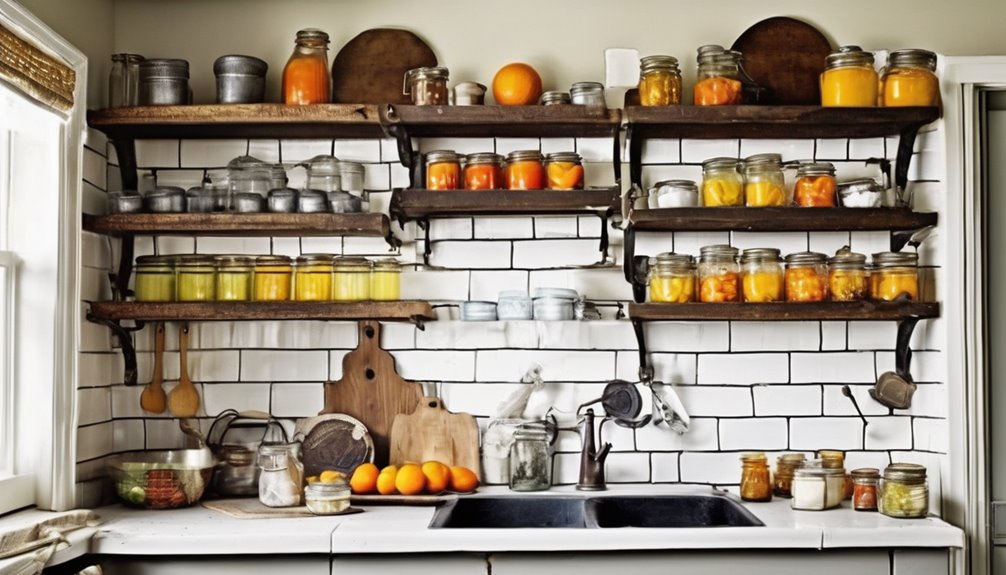
Free Counter Space With Wall-Mounted Solutions
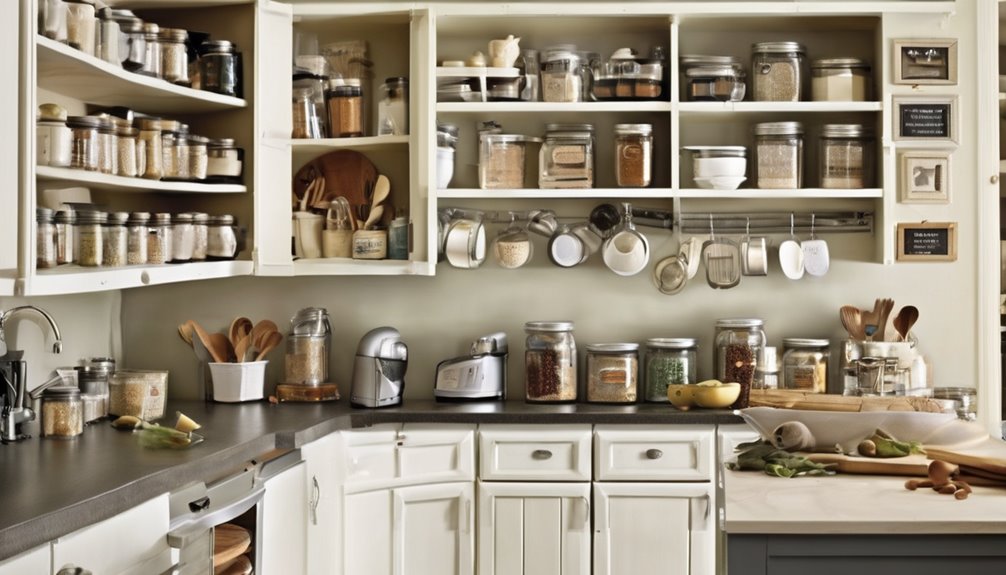
Wall-mounted storage is a practical, budget-friendly way to reclaim counter space without sacrificing accessibility. You’ll gain surface area by freeing up corners with simple racks, hooks, and magnetic strips. Begin with a lightweight, DIY storage plan that uses readily available materials: plywood shelves, pegboard panels, and metal mounting hardware. Choose wall mounted options that maximize vertical space without cluttering your workflow. Install at reachable heights for minutes-long tasks, keeping everyday items within arm’s reach. Labeling is optional here, but grouping by frequency helps you keep tasks efficient. Prioritize sturdiness over looks; secured brackets and solid anchors prevent wobble. This approach suits budget-minded creators who value belonging and shared kitchen rhythm, proving DIY storage can be both affordable and functional. Keep it organized, and your counter will stay clear. Finally, plan for adjustable brackets and reusable fasteners to accommodate changing needs over time space optimization.
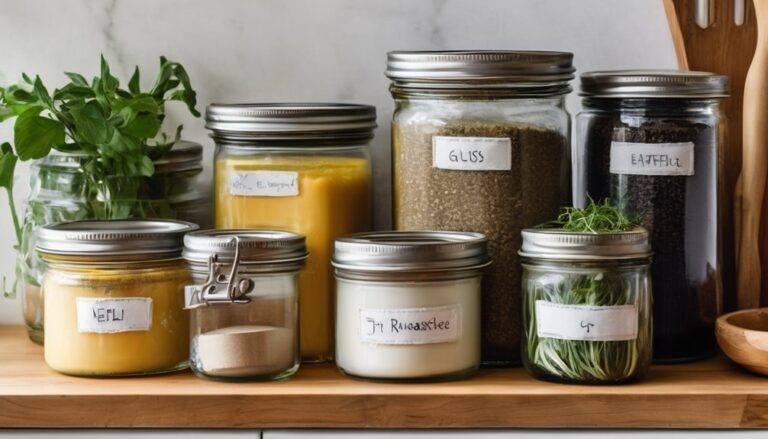
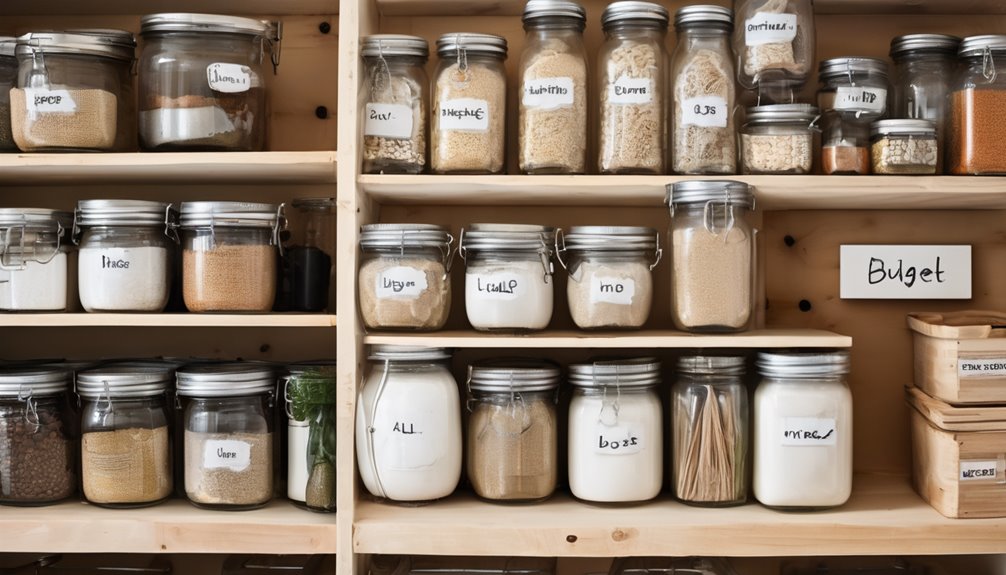
Label and Containerize: Clear Pantry Systems
Labeling and containerizing is the fastest way to turn a chaotic pantry into a predictable workflow. You’ll reduce rummaging time, cut duplicate buys, and feel confident every item has a home. Start with labeling systems that you actually use: simple, legible labels on each container, with a quick reference for expiration dates and typical uses. Next, choose transparent containers so you can see contents at a glance, which helps you plan meals without guesswork. Match sizes to your staples—bags of flour, cans, snacks—instead of awkward, mismatched jars. Keep a small stack of extra lids and a labeling pen nearby for quick updates. This approach builds belonging: you’re designing a space that respects your budget and your routine. Expiration dates help you prioritize what to use first and reduce waste, reinforcing smart storage habits that align with your DIY kitchen setup.
Simple DIY Wood Racks and Shelves on a Budget
You can start with budget-friendly wood racks and simple shelf techniques that fit tight spaces. We’ll explore space-saving hacks and practical, affordable options to maximize storage without breaking the bank. Let’s discuss how to tailor these ideas to your kitchen layout and needs. In budget projects, prioritize a compact footprint and sturdy joints to ensure lasting use value for money.
Budget-Friendly Wood Racks
Ever thought you can add sturdy kitchen storage without breaking the bank? You can, with budget-friendly wood racks that fit tight spaces and busy lives. Start simple: choose unfinished pine or cedar, sand smooth, and seal for durability. Measure your wall area, then plan vertical racks to maximize counter-free space. Attach sturdy brackets or a cleat system to distribute weight evenly, and use slim dowels or shelves to hold bowls, lids, and spices without crowding. If you prefer a modular look, reuse scrap boards for a low-profile frame and add adjustable shelves so future needs shift with you. This approach not only saves money but also helps you customize the layout to your exact needs and space constraints customizable storage while staying practical and inviting. Keep finishes subtle and wipe-clean, so the wood racks stay practical and inviting. This approach welcomes you into a shared, capable kitchen community, not a costly remodel.
Simple Shelf Techniques
Thinking you can’t squeeze more storage into a small kitchen? Simple shelf techniques let you reclaim wall space without breaking the bank. You’ll lean on budgeting basics to plan sturdy, low-cost racks that fit your layout and style. Use space zoning to group like items—cookware near the stove, mugs by the coffee nook, spices by the prep area—so every inch earns its keep.
- Reclaimed boards and adjustable brackets for flexible heights
- Open shelving with a light finish to brighten tight corners
- Edge-finishing and labeling for quick, lived-in organization
These measures keep your kitchen cohesive and welcoming, fostering belonging as you tailor shelves to your daily rhythm. Budget-smart, practical, and ready for today.
Space-Saving Hacks
If you’ve already reclaimed wall space with simple shelves, you’re ready to take it a step further with DIY wood racks and slim, budget-friendly ideas that keep everyday essential within arm’s reach. Build compact vertical racks from affordable pine scraps, pairing cork or pegboard backs to hold tools, mugs, and spices. Mount shallow rails beneath cupboards to cradle cutting boards and lids, freeing counter space. Consider magnetic strips for metal items to cut clutter and simplify access. Create narrow, wall-mounted shelves using dowels as supports for spice jars and small jars, labeled for quick grab-and-go use. Finish with a light polyurethane to protect surfaces while preserving budget friendliness. These space saving solutions feel practical, inclusive, and within everyone’s reach.
Drawer Dividers and Tension-Rod Hacks That Work
Need smarter drawer organization without pricey gear? You’ve got this with simple, practical tweaks that feel like you’ve upgraded your space together. Drawer dividers and tension rod hacks transform chaos into calm, without bloating your budget. You’ll notice how easy it is to reclaim wasted space and keep every item in its place, day after day.
- Use adjustable drawer dividers to partition utensils, lids, and gadgets
- Slip a tension rod in a cabinet to corral sprays, towels, or cutting boards
- Create quick, budget friendly storage by repurposing existing organizers and containers
With these moves, you’ll enjoy a tidier kitchen that belongs to you and your crew—supportive, affordable, and ready for real life. drawer dividers, tension rod hacks, budget friendly storage
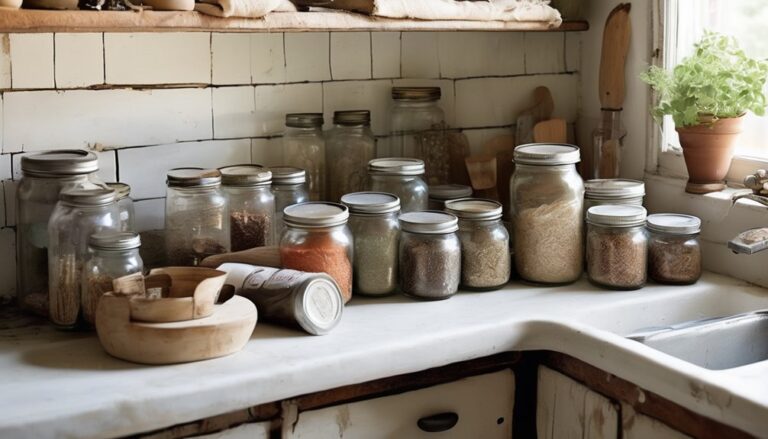
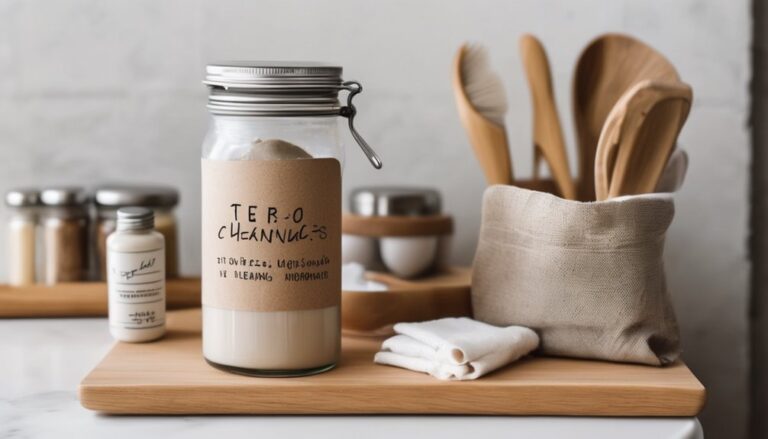
Upcycle Everyday Items for Smart Storage
Ever wondered how a few everyday items can boost your storage without ringing up a big bill? You can transform simple tools into smart organizers that feel like they belong in your kitchen. Start by upcycle glass jars for dry goods, spices, or loose bits; label with a quick chalk marker so everything returns to your place at a glance. Next, repurpose shoe organizers to corral lids, wraps, or smaller containers, letting you see each item before you reach for it. Keep jars and organizers near your frequently used zones for quick access, and group items by function to reduce clutter. The goal is practical reuse that blends with your space, saving money while inviting everyone at home to contribute and feel at ease. Viewing window
Maintenance Routine and a Quick 1-Week Action Plan
After upcycling those everyday items, it’s time to lock in a simple maintenance routine and a quick one-week plan that keeps your kitchen storage tidy without breaking the bank. You’ll spot budget conflicts before they surprise you, and you’ll keep hidden costs from sneaking in. Set a daily 5-minute wipe, weekly wipe-downs of shelves, and a monthly reorganization to stay proactive. A well-structured plan also aligns with practical, multi-step organization strategies that support long-term durability reliable maintenance and user-friendly adjustments for different needs.
- Quick daily check: clear clutter, wipe surfaces, and stack by use
- Midweek audit: measure space, note awkward gaps, rehome items
- Weekend tune-up: review containers, label clearly, purge what’s unused
This approach stays practical, affordable, and communal, so you feel you belong in a kitchen that runs smoothly and helps everyone save.
Frequently Asked Questions
How Can I Set a Realistic DIY Storage Budget Quickly?
Setting a realistic DIY storage budget quickly is simple: start with a practical total, then map it to indispensable.
You’ll do budget planning by listing must-haves, estimating costs, and adding a 10–15% contingency. Use upcycling ideas for savings, reuse containers and pallets, and compare prices before buying. Track every expense in a shared folder so you feel you belong to a thrift-minded community. Stick to your limit, cut waste, and adjust as projects evolve.
What Sparse Spaces Benefit Most From Wall-Mounted Solutions?
Sparse spaces benefit most from wall-mounted solutions, so you’ll want to lock in wall mounted efficiency first. You’ll maximize vertical storage, freeing floor space for movement and belonging. Think slim shelves, hooks, and magnetic strips that blend with your decor. By prioritizing compact, budget-friendly pieces, you create practical storage you can rely on daily. This approach keeps clutter low, makes your kitchen feel bigger, and reinforces that you’re part of a thoughtful, resourceful community.
Which Everyday Items Yield the Best Storage Upcycles?
You’ll find everyday items like tin cans, glass jars, and wooden crates yield the best storage upcycles. With budget quick planning, you can transform them into wall mounted solutions that respect cabinet dimensions. Start an action plan timeline, then group items by accessibility and weight. This practical approach builds belonging as you repurpose, save money, and maximize space. Use predictable patterns, label zones, and keep a simple budget. Your clever renovations empower you and your kitchen.
How Do I Measure Cabinet Interior Dimensions Accurately?
You measure cabinets by treating your tape like a careful compass, guiding you to honest interior dimensions. Start with height, width, and depth, noting any obstructions or lips that steal space. Record door swing room and hinge clearances, then subtract caulk lines and removable shelves. Measure multiple times for consistency, and use the term measureing cabinets and interior dimensions when labeling your notes. This practical approach keeps you budget-minded and feeling truly belonged in the project.
What Is a Simple 1-Week Action Plan Timeline?
A simple 1-week action plan timeline starts with defining your goals, then breaking tasks into daily steps. Day 1: assess needs and measure essentials. Day 2–3: draft a budget and prioritize, using simple planning. Day 4–5: source affordable containers and organizers, checking for sales. Day 6: test layouts, adjust as needed. Day 7: finalize placement and label. You’ll feel organized and part of a shared space, with budget quicktips guiding every choice.