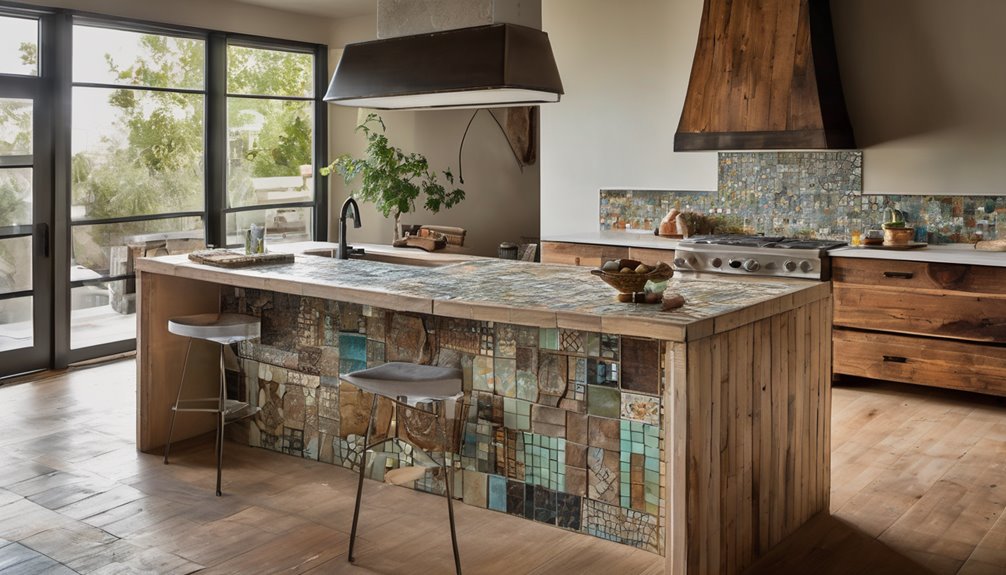
Upcycled kitchen countertops let you turn salvaged pieces into durable, show-stopping surfaces without blowing your budget. You’ll cut waste, skip premium new-material costs, and enjoy a design that’s as unique as your story. Choose materials with proven provenance, sealing that protects against wear, and finishes that ease maintenance. Quick-prep methods can deliver weekend-worthy results, while thoughtful layouts keep your kitchen cohesive and stylish. Stay with me, and you’ll uncover practical steps, tricks, and sourcing that make it real.
Key Takeaways
- Save money by sourcing salvaged or offcut materials locally, reducing waste and new-product premiums.
- Choose versatile, essential tools and quick-prep techniques for weekend-ready installations.
- Prioritize durability with proper sealing and maintenance for long-lasting, low-maintenance surfaces.
- Align material provenance with aesthetics to ensure cohesive color, texture, and kitchen workflow.
- Use cohesive finishes and smart seam strategies to achieve a polished, premium look on a budget.
How Much You Can Save With Upcycled Countertops (And Why It Matters)
Saving money with upcycled countertops isn’t just possible—it’s practical, potent, and planet-friendly. You’ll see how much you can save when you tap recycled sourcing, turning discarded materials into durable surfaces that meet daily needs without draining your budget. The math is straightforward: lower material costs, less waste, fewer new-product premiums, and simpler installation. With mindful budgeting, you’ll align design goals with real-world constraints, achieving a look that feels intentional and inclusive. Budget staging helps you visualize value over time, from installation to maintenance, reinforcing a sense of belonging in your space. This approach isn’t just frugal—it’s transformative, empowering you to craft a kitchen that reflects community values, resilience, and creativity while protecting resources for future generations. 50,000 lift-cycle durability and stable performance from repurposed materials can inform long-term planning for your project.
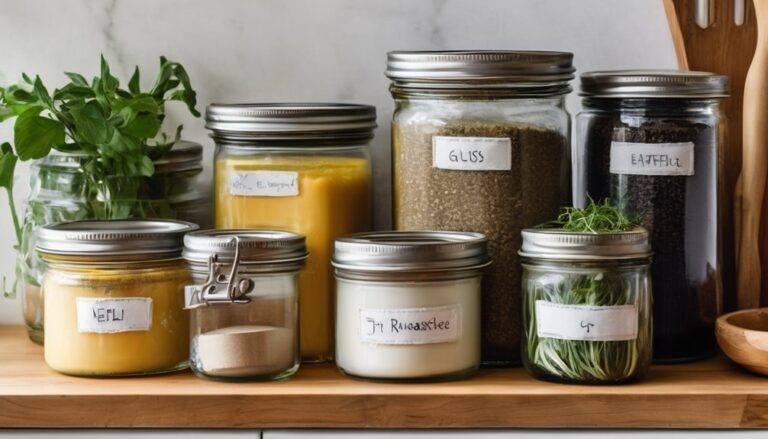
Choosing the Right Upcycled Material for Your Kitchen
When you choose an upcycled material, start by weighing availability and costs against your budget and timelines. Consider durability and maintenance so your countertops perform reliably and stay beautiful with everyday use. Finally, pick a look that harmonizes with your kitchen’s style and workflow, ensuring a cohesive, practical aesthetic. Lifetime durability can influence long-term performance and may align with the project’s reliability goals.
Material Availability and Costs
Choosing the right upcycled kitchen material starts with availability and cost, but it’s more about feasibility than fantasy. You’ll map local streams of surplus and ask vendors for bulk pricing, recognizing that cheaper isn’t always better if it blunts your values. Look for proven supply chains, ethical sources, and transparent pricing that reflects true costs. Recycled plastics can offer surprising durability and color, yet you’ll weigh shipping, processing, and compatibility with your cabinetry. Compare material cycles, waste streams, and return options, so your choice honors countertop ethics without inflating the budget. Seek multi-use origins—offcuts, post-consumer streams, and repurposed panels—that align with your timeline and climate goals. When you sense belonging in the process, the ideal material reveals itself. Feed Chute Width and the flow of nutrients inform how a slow, deliberate process translates to a durable, easy-to-clean surface in daily kitchen life.
Durability and Maintenance
Durability and maintenance shape how your upcycled countertop performs day to day, long after the wow factor wears off. You’ll choose materials that endure, resist staining, and age with character, while keeping upkeep manageable. Durability maintenance isn’t about perfection; it’s about predictable care, repairability, and real-world longevity. Material longevity comes from solid compositions, sensible sealing, and thoughtful use—knowing which surfaces reward routine cleaning and which benefit light refurbishing over time. Embrace options that suit your routine, not just your look, and you’ll feel a sense of belonging in a kitchen you trust.
| Material type | Maintenance approach | Longevity expectation |
|---|---|---|
| Recycled glass | Gentle cleaners; reseal when needed | High, if sealed properly |
| Reclaimed wood | Oil/wax finish; avoid standing moisture | Moderate to high with care |
| Composite resin | Mild soap; occasional polishing | High, low stain risk |
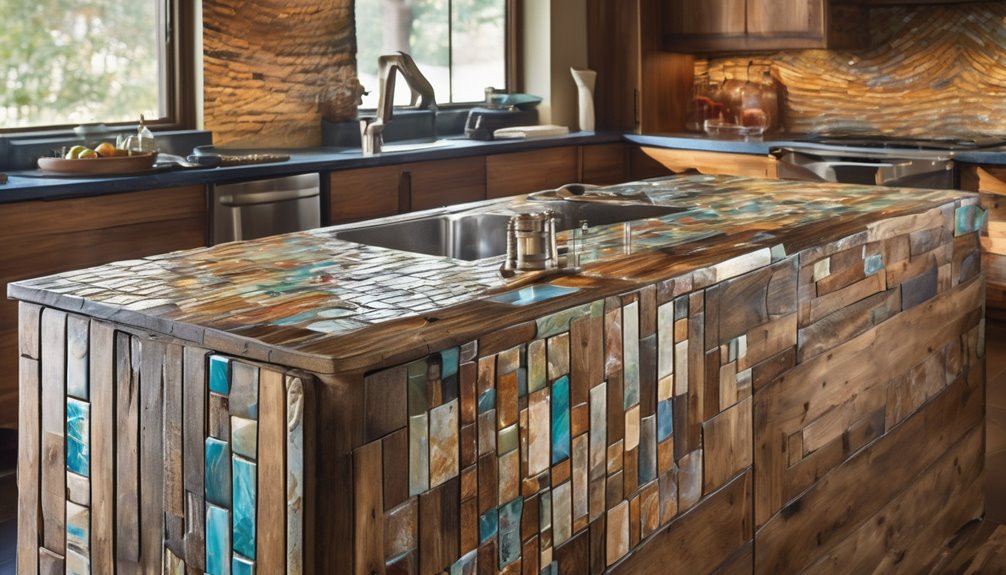
Aesthetic Compatibility With Kitchen
Are you chasing a countertop that feels like it’s always belonged in your kitchen, not just placed there? You’re choosing more than color or texture—you’re aligning with your space’s rhythm. Start by visualizing how it will interact with cabinets, floors, and lighting; seek materials that echo existing tones or offer a deliberate contrast. Consider patterns that won’t tire with time, and textures that invite touch without shouting. Practical choices: durable surfaces, subtle veining, or familiar speckling that harmonizes with daily life. Prioritize upcycling ethics and sourcing quality to honor your home’s story. A thoughtfully chosen piece becomes a quiet partner, aging gracefully while anchoring your room’s mood and belonging. In the end, the right material feels inevitable, not accidental. durable surfaces can guide your selection toward longevity and resilience, echoing the desk-style durability found in well-built workstations.
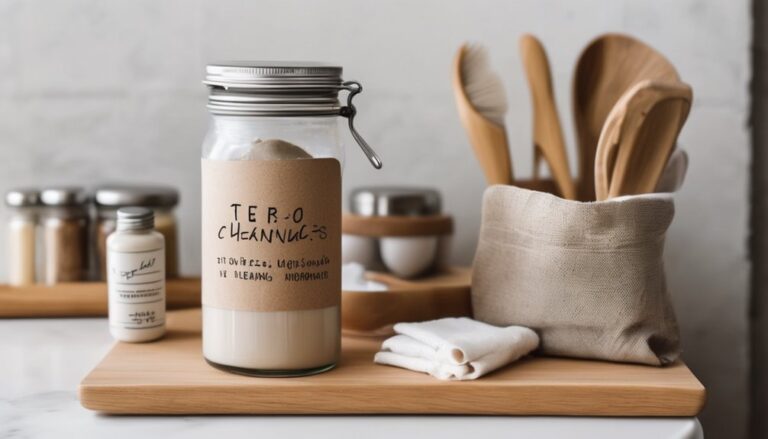
Quick-Prep Projects: Upscale Countertops You Can Finish in a Weekend
You’ll discover quick prep techniques that transform upcycled materials into stunning countertops you can finish in a weekend. With weekend-ready finishes and practical steps, you’ll see how to choose durable, low-wuss materials and apply simple treatments that elevate texture and shine. This guide starts you on a clear, doable path to upscale, custom-look countertops without months of work. Additionally, you can compare different finishes and safety features across options, including auto-shutoff-like protections for heat-treated materials in certain contexts stainless steel interior and how to select compact, travel-ready design concepts that inform durable, budget-smart remodeling choices.
Quick Prep Techniques
Ever wondered how to transform a dull kitchen surface in a weekend? You’re about to discover quick prep techniques that feel designed for belonging, not baggage. With clear steps, you’ll move from concept to curb-appeal in days, embracing bold color palettes and mindful material choices. Here are concise moves you can trust: Assess and prep: clean, sand, and seal with low-VOC products to curb VOC concerns. Patch and smooth: fill imperfections, level the surface, and prime for even adhesion. Protect and test: apply a small laminate edge or resin coat to prevent future buckling countertops. Finetune and finish: choose a finish that echoes your space and feels like it’s always been there. This approach is practical, visionary, and welcoming. Sustainable materials can further support long-lasting, eco-conscious upgrades.
Weekend-Ready Finishes
Weekend-Ready finishes are all about turning a blank weekend into a polished, upscale countertop with minimal fuss. You’ll feel accomplished as you transform thrift store finds and recycled plastics into a cohesive surface, fast and affordable. With simple prep, a durable top coat, and a single weekend block, you gain a centerpiece that invites gathering and conversation. A self-cleaning workflow and durable, dishwasher-safe components help sustain the finish over time bpa-free materials while keeping maintenance manageable.
| Step | Action | Result |
|---|---|---|
| Prep | Clean & sand edges | Smooth, ready surface |
| Apply | Primer + resin/finish | Even, lasting sheen |
| Cure | 24 hours | Ready for use |
You belong in this DIY circle, where thoughtful choices spark pride and connection, and the kitchen becomes a welcoming hub. Weekend projects that respect budget and texture, they elevate daily moments into shared stories.
Upcycled Materials Guide
If you’re hunting bold, affordable upgrade ideas, this Upcycled Materials Guide shows how quick-work projects can transform scraps into upscale countertops in a single weekend. You’ll feel the momentum of creative reuse, guided by practical steps and clear choices. This guide also highlights how durable, high-capacity support concepts from ergonomic chair design translate into selecting stable, long-lasting countertop bases and finishes 3D headrest and how a thoughtful assembly approach can keep projects within a weekend timeline.
Install on a Budget: Tools, Steps, and Pro Tips
Installing on a budget isn’t about cutting corners so much as making smart, intentional choices: you can transform underused counters into durable, stylish surfaces with the right tools, steps, and pro tips to keep costs down. Upcycled countertops not only save money but also promote sustainable materials and creative reuse. Your toolkit matters as much as your mindset. Here’s a quick, practical plan:
| Step | Focus |
|---|---|
| 1 | Budget sourcing: hunt for affordable materials and reusable components. |
| 2 | Tool selection: pick essential, versatile tools you’ll actually use. |
| 3 | Execution: follow precise measurements, seal, and finish confidently. |
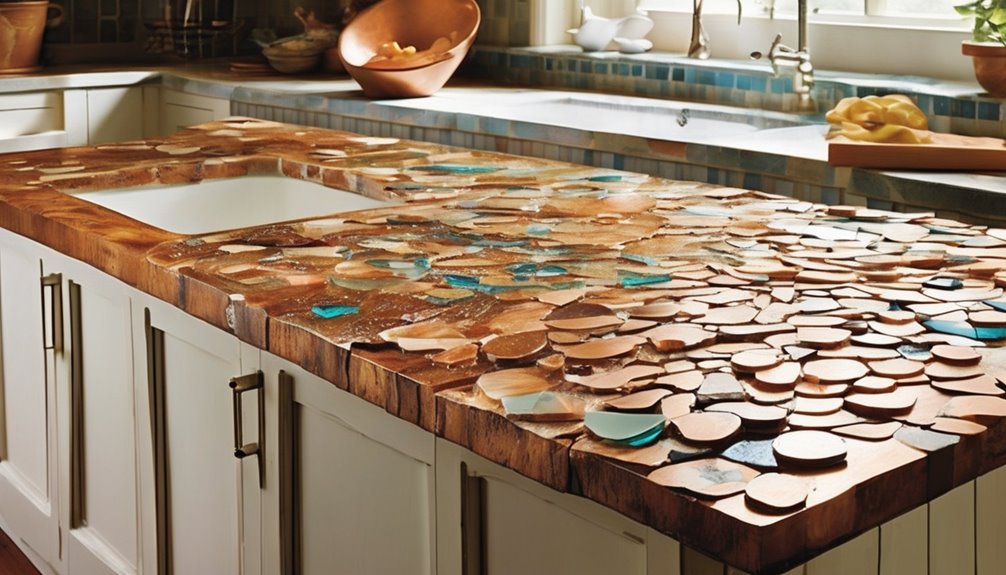
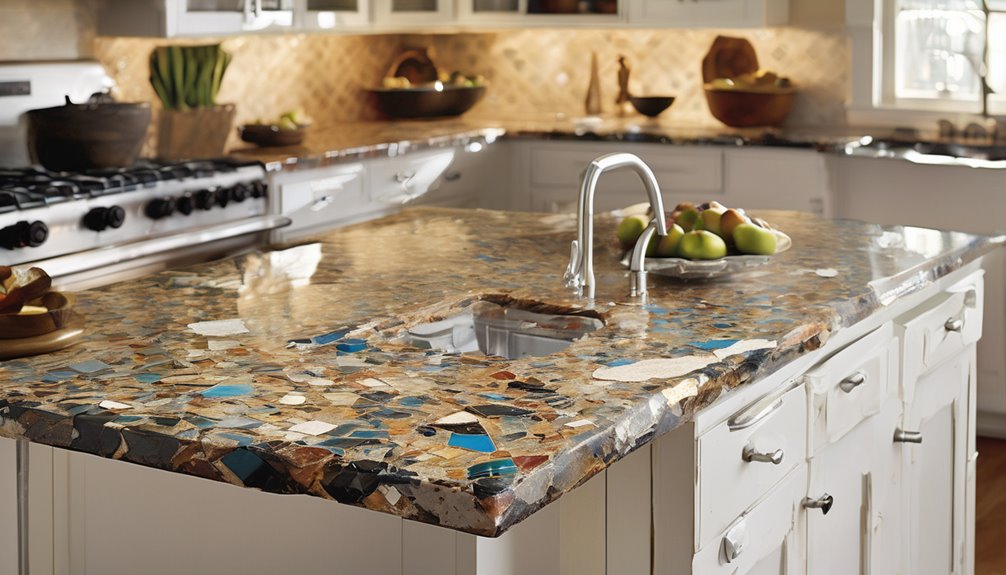
Common Upcycled Materials for Countertops: Pros, Cons, and Use Cases
You’ll explore how recycled materials can redefine your space, balancing eco-cred with durability and cost. Consider which options fit your use case—resilience for heat and knives, compatibility with sinks, and how they age over time. Together, we’ll map pros to practical uses and flag any trade-offs so you can plan with confidence.
Recycled Material Pros
Recycled materials bring a mix of character and responsibility to countertops, turning scraps into durable, stylish surfaces. You’ll feel connected to a broader craft when you choose proven options that perform in kitchens and endure daily use. Induction-ready performance and multi-layer bottom construction from heavy-duty kettle knowledge translate into choosing durable, heat-safe countertops that endure rigorous daily cooking. induction-ready designs guide you toward versatile, long-lasting materials that handle heat and wear without sacrificing style.
Use Case Considerations
Curious about how each upcycled material behaves in real kitchens? You’ll weigh durability, maintenance, and vibe before you commit. Industrial steel, for instance, talks in a confident, cool tone—resistant to heat and daily wear, with a modern edge that anchors industrial chic kitchens. It rewards thoughtful edge details and proper sealing to prevent fingerprints and scratches. Reclaimed glass offers sparkle and color history, yet requires careful setup to avoid chipping and safe seams; it shines where light plays and you value a conversation piece. For each option, consider installation needs, repair ease, and budget trajectory. Your use case matters: high-traffic family hubs favor hard-wearing options, while creative studios embrace texture and storytelling. Belonging grows where function, beauty, and intention meet.
How to Maintain Upcycled Countertops: Cleaning, Sealing, and Longevity
Maintaining upcycled countertops blends practicality with stewardship: with the right care, your reclaimed surface can stay beautiful and durable for years. You’ll cultivate confidence through simple routines that honor the material’s story while protecting future meals.
- Clean thoughtfully: use mild, non-abrasive cleaners as part of upcycled cleaning to preserve patina and color.
- Wipe spills promptly: prevent staining and edge chipping by blotting rather than rubbing.
- Seal periodically: apply a compatible sealer to sustain sealing longevity without altering texture.
- Maintain routines: establish a quick weekly wipe-down and a deeper monthly refresh to extend life and reduce wear.
Together, you sustain character, function, and belonging—your counter remains a trusted centerpiece for everyday rituals.
Design Tricks to Make Upcycled Countertops Look Custom
Want your upcycled countertops to feel bespoke without breaking the bank? You can elevate DIY surfaces with design tricks that read as custom. Embrace varied edge profiles, subtle bevels, and inked or brushed seams to mimic couture installations. Layer textures by mixing salvaged tiles, concrete patches, or resin fills in strategic panels, keeping color cohesive so the eye travels smoothly. Prioritize material availability: select pieces that share undertones and grain, then finish with a unified sealant to unify the look. Introduce programmable lighting or under-counter LEDs to accent edges and depth, reinforcing a crafted vibe. Keep hardware minimal and thoughtful—hidden fasteners or integrated trim enhance polish. Finish with a confident, consistent matte or satin sheen for a boutique, welcoming kitchen you can truly own.
Upcycled Countertop Pros, Cons, and Real-World Tradeoffs
Are upcycled countertops the right fit for your kitchen, or do the tradeoffs give you pause? You’re not just choosing material—you’re joining a movement. You’ll feel the pride of purpose when texture, color, and story align with your home.
- upcycled debates: you’ll weigh aesthetics against durability, knowing both matter.
- countertop tradeoffs: you’ll balance cost with longevity, planning for maintenance.
- practicality meets vision: you’ll envision daily use without compromising character.
- belonging in design: you’ll share your choice as part of a larger, mindful community.
If you lean into intent, you’ll discover a resilient centerpiece that shines with personality, saves resources, and invites conversation—without sacrificing function or comfort.
Troubleshooting Your DIY Upcycled Countertop: What Might Go Wrong
Upcycled countertops are a bold choice, but they bring a few potential missteps that you can head off with planning. You’ll anticipate issues, then fix them before they disrupt your kitchen vibe, keeping the space cohesive and welcoming. When you troubleshoot, you’re not just repairing; you’re validating your community’s craft, honoring upcycling ethics, and reinforcing shared purpose.
| Risk | Quick Fix |
|---|---|
| Uneven seams | Sand and seal with flexible caulk |
| Color mismatch | Test finishes on scraps first |
| Water damage | Install a water-shedding backsplash |
| Cracking | Reinforce with isometric joints |
| Sourcing challenges | Document provenance, choose reputable suppliers |
Your path stays connected to neighbors who value thrift, quality, and accountability. Commit, adapt, and let your countertop reflect belonging and resilience.
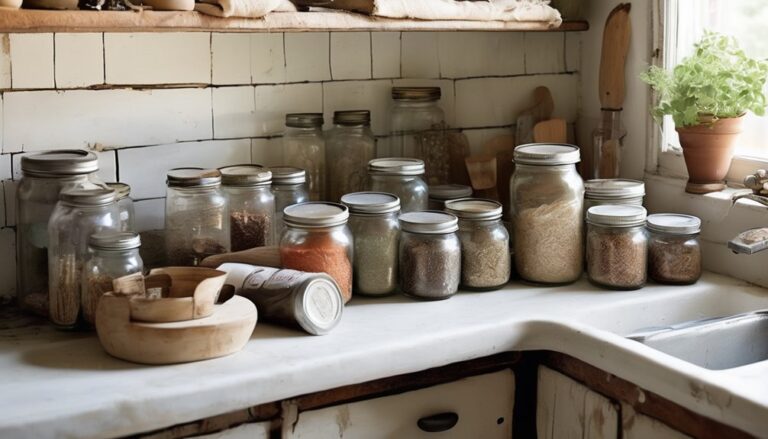
Where to Source Reclaimed Materials on a Budget
Looking for reclaimed materials on a budget can feel like panning for treasure: hidden pieces with character waiting to become your next countertop. You’ll discover surfaces through community-driven channels and deliberate, budget sourcing choices that feel like belonging. To guide your hunt, consider these paths:
1) Local reclamation yards and demolition sites
2) Habitat for Humanity stores and resale shops
3) Online marketplaces with careful vetting and curbside pickup
4) Upcycled artists, makers, and co-ops that welcome collaboration
As you browse, keep discussion ideas ready: ask about provenance, cuts, and sealing needs. Stay curious, patient, and practical, letting value align with vision. Your countertop becomes a story you helped write—sustainable, stylish, and truly yours.
Frequently Asked Questions
How Long Do Upcycled Countertops Typically Last?
Upcycled countertops typically last anywhere from 10 to 25 years, depending on material, installation, and care. You’ll maximize upcycled durability by sealing porous surfaces and choosing resilient composites. Maintenance pitfalls include harsh cleaners and abrasive scrubbing, so you stay gentle and consistent. You belong in a space that evolves with you, valuing ingenuity. With thoughtful upkeep, your kitchen gains character, reduces waste, and remains practical, stylish, and enduring for many seasons to come.
Can I Mix Multiple Reclaimed Materials Safely?
Mixing materials can be done safely if you plan well and respect each layer’s needs. About 70% of DIYers report higher satisfaction when joints hold firmly and surfaces are sealed properly. When you mix materials, consider compatibility, edge treatments, and heat/food-safety standards as safety considerations. You’ll feel a sense of belonging as you design a cohesive, visionary surface—practical, warm, and resilient—where every texture tells your story and stays beautiful for years.
Are There Any Hidden Costs Beyond Materials?
Hidden costs exist beyond materials, but you’ll navigate them with care. You’ll weigh installation logistics, seams, and securing proper ventilation, drainage, and level surfaces. You’ll budget for anti-stain sealants, repair kits, and potential subcontractor fees, all while preserving your vision. You’ll feel you belong by planning for waste disposal and site cleanup, coordinating deliveries, and coordinating timelines. With foresight, you’ll transform your space together, embracing collaboration, durability, and beauty that reflects your shared, inspired kitchen journey.
What’s the Best Sealant for Food Safety?
“Honesty is the best policy,” you’ll feel confident choosing a food-safe sealant that’s compatible with your surface. The best sealant for food safety depends on your countertop material, but look for food safe coatings that boast sealant compatibility and low odor. You’ll keep everyone together by picking a product with durable, non-toxic, and durable finish. You’ll create a welcoming, practical space where family and friends belong while enjoying a safe, beautiful kitchen surface.
How Do I Remove or Repair Scratches Easily?
To remove or repair scratches easily, start by cleaning the surface and then apply a furniture wax or mineral oil, buffing until smooth. For deeper nicks, use a color-matched pencil or putty stick, blend, and reseal. Daily, embrace scratch prevention by using cutting boards and trivets. You’ll feel you belong as you preserve sheen, see scratches repair fading, and envision future nights of shared meals—a countertop that keeps shining with you.