Upcycled kitchen counters let you refresh small spaces without a full remodel. You’ll save money and reduce waste by choosing wood, tile, or concrete that fits your footprint. Quick weekend wins include cheap finishes, decors, and removable backsplashes, plus simple sealants that keep things food-safe. Prioritize durable cores, non-porous seals, and easy-care cleaning routines to stay practical. If you keep the design cohesive and organized, you’ll maximize space and style—and there’s more you can try beyond basics.
Key Takeaways
- Upcycled countertops maximize space and reduce waste, offering a quick, low-disruption alternative to full renovations.
- DIY weekend upgrades with affordable finishes (paint, decals, linseed oil) deliver budget-friendly, intentional looks.
- Wood, tile, or concrete options provide different textures and budgets; choose based on cooking habits and cleaning routines.
- Focus on durable, food-safe coatings and proper sealing to ensure long-term safety and easy maintenance.
- Design tips for small kitchens: cohesive color, minimal clutter, vertical storage, and consistent hardware to feel larger.
Why Upcycled Countertops Make Sense for Small Kitchens
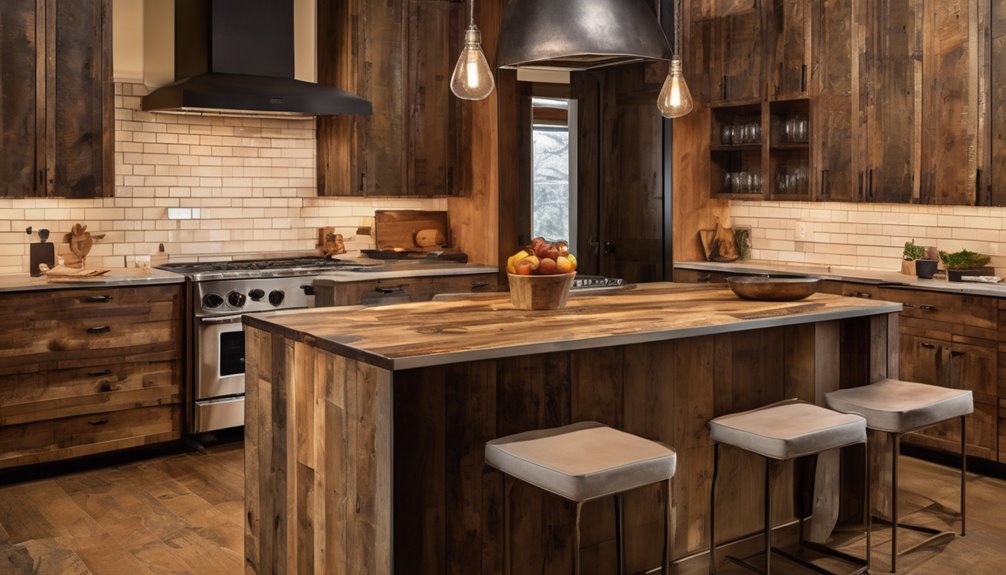
Upcycled countertops are a smart choice for small kitchens as they maximize space and reduce waste without breaking the bank. You’ll gain a durable surface that fits tight footprints and complements your style without demanding a full renovation. The practical perks matter: less disruption, quicker install, and a unique look you won’t find in mass-produced options. When you weigh value, consider upcycled ethics and material sourcing. Choosing reclaimed materials supports circular economies, lowers demand for new resources, and often sources local, reducing transport emissions. You’ll feel part of a community that cares about waste reduction and thoughtful consumption. With careful selection, you get character, practicality, and a kitchen that reflects your values—functional, affordable, and thoughtfully sourced. BPA-free
DIY Quick Wins: Projects Under $100 You Can Do This Weekend
Ever wanted a quick kitchen upgrade without blowing your budget? You can nail a fresh look this weekend with simple, affordable projects. Focus on upcycled finishes and smart budget hacks that feel intentional, not temporary. You’ll boost vibe and value without heavy labor or harsh costs. Try surface boosts like paint, decals, or linseed oil for a subtle, durable upcycled finish. Add hardware swaps and removable contact-plate backsplashes to echo character. These tweaks are reversible and forgiving if you’re renting or testing ideas.
- Refresh with a bold paint color or stain
- Swap handles and fixtures for instant personality
- Apply peel-and-stick backsplash or vinyl accents
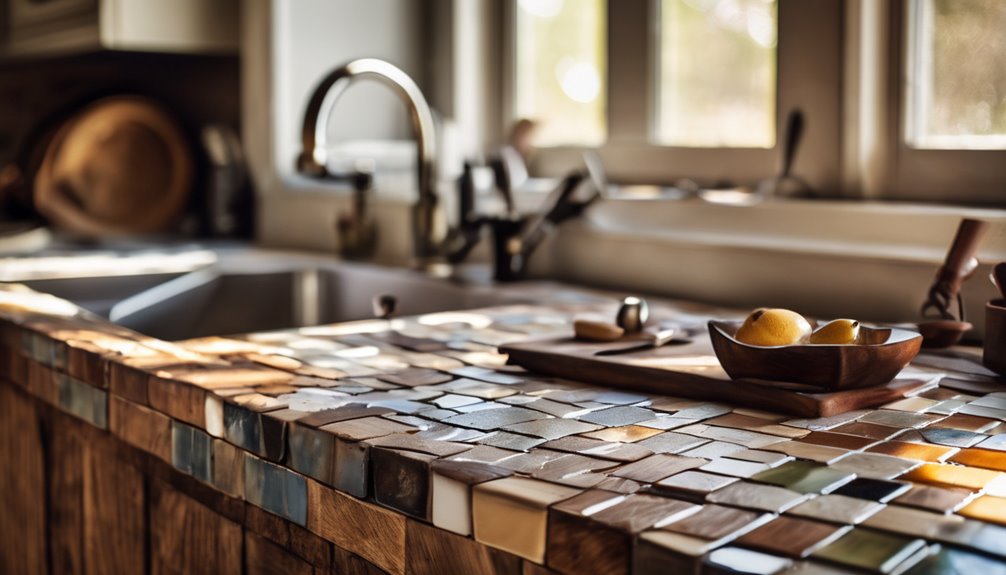
Choosing Your Upcycled Surface: Wood, Tile, or Concrete

When deciding on an upcycled surface, ask yourself where the look fits and what’s practical for your space. You’ll choose among wood, tile, or concrete based on durability, maintenance, and vibe. Wood offers warmth and a natural feel, but may require sealing and moisture care. Tile gives structure, color options, and easy repair, though grout lines can catch crumbs and heat. Concrete delivers a sleek, modern footprint with high durability and adaptable finishes, yet it can feel hard and cold if not softened with texture or warmth. Consider your cooking habits, cleaning routine, and how you want surface aesthetics to influence the room’s mood. In this journey, you root your decision in practicality and belonging, leveraging upcycled materials for a cohesive, affordable kitchen.
Step-by-Step Guide: Coat, Seal, and Finish Your Countertops
First, you’ll prep and sand the surface to create a smooth, bite-proof base. Then you’ll apply the coat, monitor the cure, and plan your steps to avoid tackiness or runs. Finally, you’ll seal and finish with a protective layer, keeping your project durable and easy to clean. In addition, consider how a one-piece desktop’s rigidity mirrors the stability you’ll want in joints and seals during the finishing process 50,000 lift-cycle to emphasize long-term durability of your work.
Prep And Sanding Steps
Prep and sanding are all about prepping a smooth foundation for your finish. You’ll lay the groundwork with cleanup, light scuffing, and dust removal so the coating bonds well and lasts. Follow these steps to stay on track without overwhelm.
- prep steps: clean, de-grease, and wipe dry surfaces before sanding
- sanding steps: choose medium grit, smooth curves, and remove dust between passes
- final prep: vacuum, tack cloth, and inspect for uniform texture
Keep a steady rhythm and breathe easy—this is about you and a confident result. By treating prep and sanding as shared teamwork, you’ll feel you belong to a project that respects budget and craft. Your countertops will be ready for the coat without harsh chemicals or rushing.
Coat And Cure Process
Now that your prep is done, it’s time to move into the coat and cure phase. You’ll apply a thin, even layer, watching for drips and bubbles. Use smooth, steady passes to build a uniform film without gaps. Pay attention to your coating chemistry—understand how long each product requires to cure before the next coat. Don’t rush; let the recommended curing time pass so the surface hardens properly. If you see streaks, lightly sand and recoat in the same direction. Maintain a clean workspace and control dust during this stage. Record your times, temperatures, and any deviations so you can repeat success next time. When cured, you’ll have a stable, resilient surface ready for light use and future maintenance. Keep-warm features and safety considerations from the dual-voltage models can inform long-term care and handling during curing.
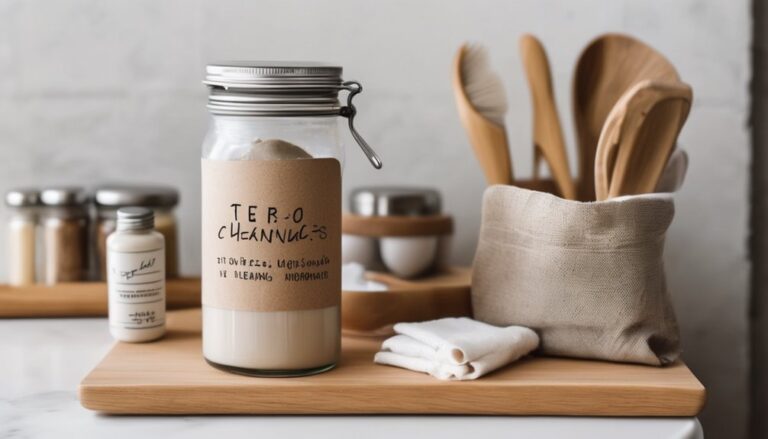
Sealing And Finishing Tips
Sealing and finishing your countertops is the final step to protect the surface and keep it looking great. You’ll apply a food-safe sealer in thin, even coats, letting each layer cure before the next. Wipe spills promptly and avoid harsh cleaners that could dull the sheen. Choose a finish that suits your use—gloss for bright spaces, matte for a subtle look. Remember upcycling ethics: respect the material, test compatibility, and document the journey for future makers. Budget sourcing matters, so compare options and select finishes that offer durable protection at a fair price. Consider selecting a finish compatible with the countertop material and your heat exposure, as higher-heat or more textured surfaces may benefit from a tougher sealant food-safe sealer.
- Choose the right sealer and finish for your needs
- Test on a small area before full application
- Maintain and reapply as needed for long-lasting protection
Reliability First: Durability and Food-Safety in Upcycled Surfaces
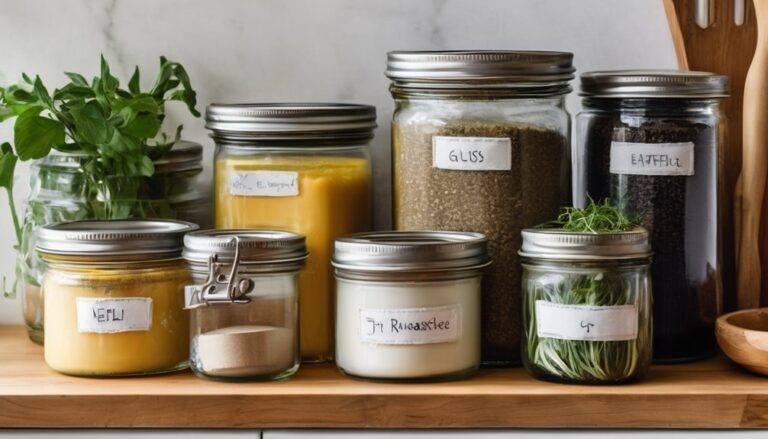
Durability and food-safety matter most when you choose upcycled surfaces. You’ll want sturdy cores, resilient coatings, and surfaces that resist scratching, staining, and heat. Look for materials with proven performance through durability testing, so you’re not guessing when you bake, chop, or entertain. Choose finishes that are food-safe and clearly labeled, and verify that any sealants are food-safe once cured. You deserve a counter that remains reliable, even with daily use and imperfect handling. Practical choices stay within budget when you prioritize build quality, not just price. Check that upkeep won’t compromise safety; ask suppliers for data on edge protection and non-porous options. With these checks, you’ll feel confident inviting friends to gather and cook.
Maintenance That Keeps It Fresh: Cleaning and Long-Term Care
Keeping it clean isn’t optional—regular maintenance makes upcycled counters look good longer and stay safer. You’ll keep surfaces fresh by adopting simple cleaning routines and mindful care, not harsh scrubbing. Choose gentle cleaners, wipe spills immediately, and dry all surfaces to prevent staining. Seal or reseal according to the material’s needs to extend longevity, and schedule periodic checks for wear or loose edges. Rely on routines that fit your kitchen rhythm, so care feels automatic, not tiresome. For a sense of belonging, invite everyone to contribute: a quick wipe after prep, a shared reminder on the calendar, and a cooperative approach to upkeep.
- Daily wipe-downs with a mild cleaner
- Weekly inspection and light resealing if needed
- Group effort to maintain neat, safe counters
cleaning routines, long term care IPX7 durability
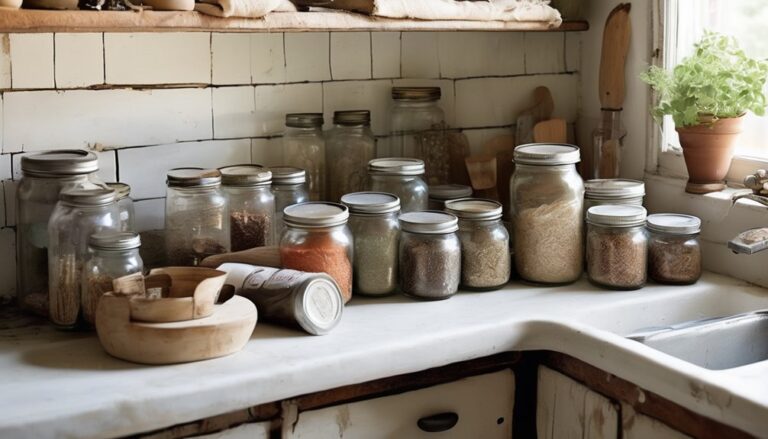
Design Tricks for Small Kitchens: Style Without Clutter
Small kitchens can feel bigger with smart styling that minimizes clutter. You’ll focus on function first: identify essential, then hide or containerize the rest. Choose a cohesive color palette and reflect those tones across cabinets, countertops, and textiles to create instant harmony. Rely on vertical storage, like tall shelves or pegboards, to keep counters clear while staying reachable. Use multi-purpose items and slim organizers to maximize every inch, and select lighting that brightens work zones without adding visual weight. For a clutter-free feel, limit decorative pieces to one or two meaningful accents. Embrace consistent hardware and streamlined silhouettes to unify the space. With deliberate choices, you’ll enjoy a small kitchen that feels welcoming and belonging, not cramped. small kitchen, clutter free. Vertical storage
Cost-Saving Workflow for DIY Projects: Tools, Time, and Tactics
If you’re tackling upcycled kitchen counters on a budget, you’ll save time and money by tightening up your workflow. You’ll prioritize essential steps, keep a lean toolkit, and schedule tasks to minimize back-and-forth. Use budget tools to measure twice, cut once, and log progress, so you stay on track. Time management becomes your best ally when you batch similar tasks, limit trips to the store, and track materials as you go. This approach reduces waste, speeds completion, and strengthens camaraderie with fellow DIYers. Ready-to-use practices below: Define core steps, estimate durations, and assign owners Group tasks by tool, material, and location Review progress daily, adjust priorities, and celebrate small wins Reusable bags
Troubleshooting and Longevity Tips: Common Issues and Fixes
Ever wondered why upcycled kitchen counters wear down or warp over time, and how to fix it fast? You’ll learn quick fixes, preventive habits, and where to invest a little care for lasting value. Start with sealing and heat protection, then address moisture to prevent swelling. When stains appear, use a gentle scrub and safe cleaners to maintain color. For longevity, implement a routine check: joints, seams, and fasteners tight, plus re-seal periodically. This keeps long term durability in reach and reduces food safety concerns by limiting bacteria growth at seams. Regular inspections of seal integrity help prevent moisture intrusion that can lead to warping or swelling seal integrity and choosing durable finishes can extend the life of upcycled counters over years. Share tips with family to sustain belief in affordable, resilient counters.
| Tip | Action |
|---|---|
| Seal & protect | Re-seal every 6–12 months with a food-safe finish |
| Monitor for wear | Inspect joints; re-tighten or repair as needed |
Frequently Asked Questions
Are Upcycled Countertops Truly Water-Resistant for Kitchens?
Water resistance varies, but typically not fully. You’ll find upcycled countertops can be resistant with proper sealing and maintenance, yet they aren’t inherently waterproof. You’ll want to compare materials and apply durable finishes for longevity. In durability comparisons, sealed wood, stone composites, or resin-infused surfaces often outperform untreated upcycled options. You’ll improve upcycled water resistance by choosing solid, well-sealed pieces and re-sealing periodically, especially in high-spill areas.
How Long Do Upcycled Surfaces Last Compared to New?
Upcycled surfaces commonly last a bit less than new, but durable options can keep up for many years with proper care. Your upcycled lifespan depends on material durability and how you maintain it. If you seal and clean regularly, expect 5–15 years for common repurposed materials, sometimes longer with sturdy composites. You’ll save money now, and with smart choices, you’ll share a sense of belonging in a practical, sustainable kitchen you trust.
Can I Install Upcycled Countertops in Rentals?
Yes, you can, but you should check upcycled rental policies first. If you’re allowed, plan for temporary countertop installs that don’t damage surfaces. Use removable adhesive options or freestanding islands to avoid permanent changes. Document approvals and keep a clear exit plan to return the space to its original state. This shows you’re considerate, practical, and community-minded, helping you belong while keeping options open for future renters or ownership.
What Finishes Protect Against Stains and Heat?
Guard against stains and heat with proper finishes. You’ll want a high-quality epoxy or polyurethane topcoat for durable protection, plus a penetrating sealer for added moisture guard. For heat resistance, choose a heat-rated finish and avoid direct hot pots on bare surfaces. Finishes protection depends on maintenance; recoat when peeling or dull. You’ll feel secure knowing finishes protect, heat resistance stays steady, and you belong to a kitchen-savvy family that keeps counters pristine.
Do Upcycled Materials Emit Harmful Chemicals?
Yes, upcycled materials can emit harmful chemicals, but you can minimize risk with careful selection and testing. You’ll want to verify material safety, ask for documentation, and avoid low-cost layers that off-gas. Look for finishes and adhesives rated for interior use. Keep ventilation during work, cure times, and clean-up in mind. When you prioritize upcycling chemicals and material safety, you’ll feel confident, connected, and like you belong in a safer, sustainable home.