If you’re upgrading on a budget, start by setting must-haves, wants, and hidden costs, then estimate with local quotes and stacked deals while padding 5–15% for surprises. Consider refinishing cabinets instead of replacing them, plus smart storage like pull-out organizers and wall rails to free space. Add energy tweaks—LEDs, full loads, and gasket sealing. Finish with budget-friendly aesthetics like a cohesive palette and new hardware. Keep track of every purchase; you’ll unlock more tips as you go.
Key Takeaways
- Start with must-haves, wants, and hidden costs, then estimate quickly from local sources and online quotes, plus a 5–15% contingency.
- Refinish cabinets instead of full replacement: sand, prime, paint or stain, seal, and upgrade hardware for a fresh look.
- Maximize storage with adjustable shelves, pull-out organizers, vertical hacks, and wall-mounted peg systems.
- Cut energy use with LED lighting, full-load habits, sealing gaps, and timing appliance replacements with budget.
- Create a cohesive, budget-friendly aesthetic using a unified palette, updated hardware, under-cabinet lighting, and functional accents.
Identify a Realistic Budget for DIY Kitchen Upgrades
Setting a realistic budget from the start keeps DIY kitchen upgrades on track and prevents budget creep. You’ll begin with a practical budget plan that reflects your space, goals, and comfort level with risk. Start by listing must-haves, wants, and hidden costs, then assign dollar ranges to each category. Do a quick cost estimation by surveying local sources, online quotes, and stacked deals, so you don’t overcommit. Build in a contingency—5 to 15 percent—for surprises, like tool rental or delivery fees. Track every purchase in a simple ledger or project app, updating as prices shift. Prioritize quality where it matters most, and be flexible about timing to catch sales. With clear numbers and steady tracking, you’ll feel supported and included in the process. Adjustable lumbar support can help maintain comfort planfully as needs evolve during your project.
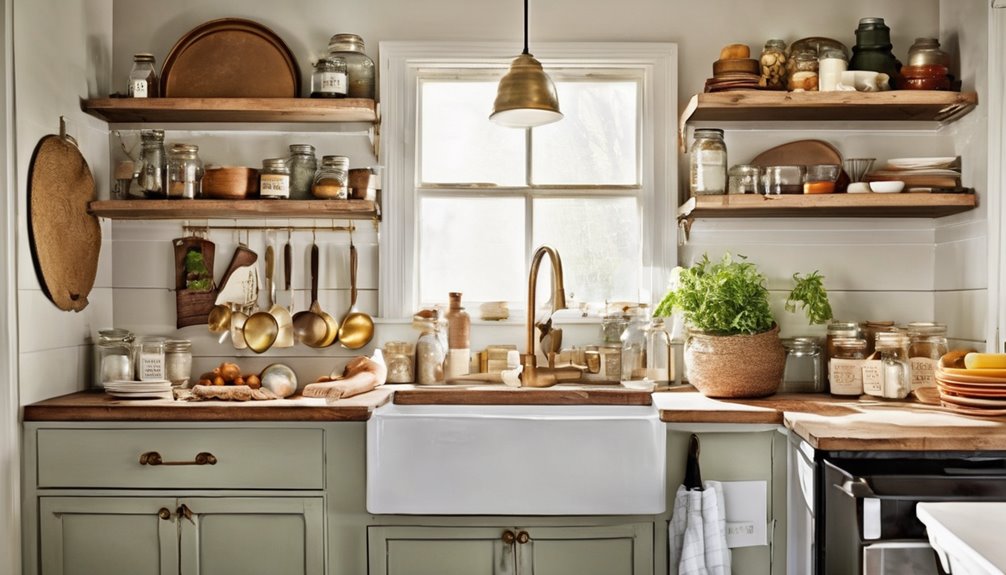
Refinish Cabinets Without Replacing Them
Refinishing cabinets without replacing them is a budget-friendly way to give your kitchen a fresh look whereas keeping core layout intact. You can start by assessing your current finish and choosing a durable stain or paint that matches your style. Sand lightly to create a bonding surface, then apply primer and coats evenly for a smooth, professional feel. This approach minimizes mess and downtime, helping you stay connected with your space during the project. Consider refinishing cabinets with clear coats to protect natural wood tones, or go bold with a modern color to refresh the room’s vibe. Don’t overlook cabinet hardware upgrades, since new knobs or pulls can dramatically transform the cabinets’ character without full replacement. Your kitchen will feel cohesive, affordable, and welcoming. A reliable go-to finish option can help ensure consistent results across surfaces and remains durable under daily use quality finish.
Smart Storage Upgrades That Save Space and Money
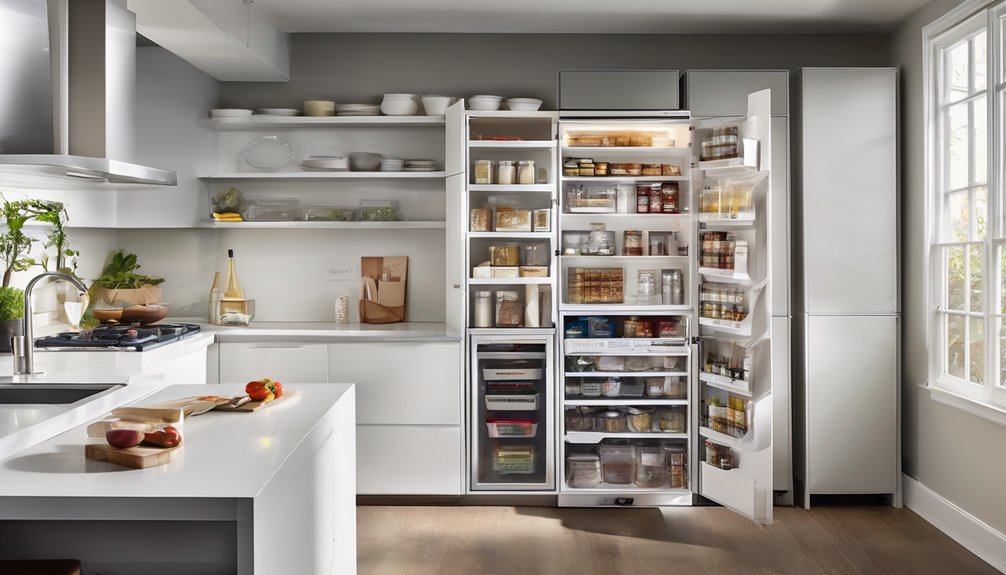
Do you ever wish you had more cabinet space without moving walls? You can unlock it with smart storage upgrades that save space and money. Start with storage optimization: measure tendencies, then tailor solutions to how you actually cook and store. Invest in adjustable shelves and pull-out organizers to convert dead corners into usable zones, so every inch earns its keep. Consider vertical hacks like slim, mounted racks for lids, spices, and cutting boards. Ceiling- or wall-mounted peg systems keep frequently used tools within easy reach, reducing rummaging time. Opt for clever shelving under sinks and inside pantry doors to maximize depth without crowding. These choices foster belonging through practical, shared spaces that stay tidy and affordable. Enclosures and shields in related kitchen gadgets can further reduce noise and improve efficiency in busy spaces noise reduction.
Low-Cost, Energy-Saving Fixes for a Kitchen
Ever wondered how small, inexpensive tweaks can slash your kitchen’s energy use without sacrificing convenience? You’re not alone in wanting practical, doable changes. Start with simple habits: run full loads, use lids, and unplug idle appliances. Swap incandescent bulbs for LED alternatives; they pay you back through lower bills and cooler ceilings. Seal gaps around doors and drawers to cut drafts and cold spills from chilly nights. When a fridge or freezer is due for an update, choose efficient models, but before you buy, do budget planning to align costs with savings. Consider cabinet refinishing as a cost-conscious refresh that doesn’t require new layouts, keeping storage tidy and efficient. These small steps build comfort, belonging, and tangible energy wins. Practical chair considerations help ensure a comfortable, ergonomic workspace that complements energy-smart kitchen updates.
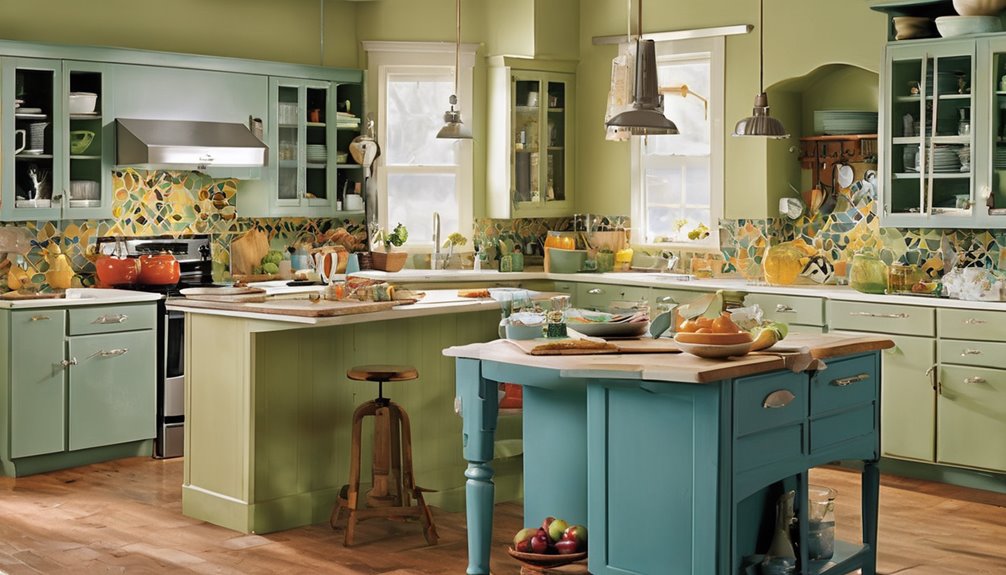
Budget-Friendly Aesthetic Makeovers That Transform Your Kitchen

Could a few simple, budget-friendly tweaks completely transform your kitchen’s look? Absolutely. You’ll boost kitchen aesthetics without big spend, focusing on elements that feel intentional and welcoming. Begin with a cohesive color palette, swap hardware, and add under-cabinet lighting for warmth and energy saving. Use functional accents that save space and reduce clutter, like magnetic strips and slim organizers. Incorporate texture with open wood shelves or a woven rug to create belonging and comfort. Here’s a quick grid to visualize ideas:
| Idea | Practical Benefit | Quick Win |
|---|---|---|
| Replace hardware | Refreshes cabinets | Immediate impact |
| Under-cabinet lights | Energy saving, ambiance | Low power usage |
| Floating shelves | Space saving | Frees counters |
| Neutral accents | Unified look | timeless appeal |
Frequently Asked Questions
How Long Will DIY Kitchen Upgrades Typically Take?
Up to a few days to a couple of weeks, depending on scope. How long will upgrades take? Smaller projects—new hardware or paint—often finish in 1–3 days. More ambitious changes—cabinet refacing, new countertops, or plumbing—can stretch to 1–2 weeks. What factors affect timeline include scope, materials, and your crew’s schedule. Plan for delays and permit considerations. You’ll feel more confident when you factor coordination, budget, and realistic milestones into your kitchen upgrade plan.
What Tools Are Essential for Beginner Cabinet Refinishing?
Remember, you’ll need essential tools and beginner safety as your foundation for cabinet refinishing. Start with a sturdy palm sander, 120–150 grit, a multi-tool or scraper, medium-cut brushes, and a microfiber cloth pack. Add a respirator, safety glasses, gloves, and drop cloths for protection. Keep your workspace organized and take your time. With these essential tools and a safety-first mindset, you’ll feel confident joining the DIY club and finishing with pride.
Can You Estimate Total Project Costs for a Small Remodel?
Yes, you can estimate total project costs for a small remodel, and it’ll feel doable. Start with estimated material costs for cabinets, countertops, and hardware, then add labor, permits, and contingency. Don’t forget tools and finishes. Timeline considerations matter, so set a realistic schedule with buffers. You’ll gain confidence by budgeting a little extra for surprises. With a clear plan, you belong in the process, and your space will reflect your practical, welcoming style.
Are There Hidden Costs After Purchasing Materials?
Yes—there can be hidden costs after buying materials, like delivery surcharges, overtime, and permit fees, so plan for them. You’ll want to account for hidden fees in your budget and keep receipts handy to track every charge. Also, warranty gaps may show up if installers or manufacturers don’t cover certain issues. By staying proactive and asking questions, you’ll feel secure, supported, and like you truly belong in a well-managed, practical remodel.
How to Prioritize Upgrades for Maximum ROI?
To maximize ROI, start with the high-impact upgrades you’ll notice daily, like countertops, cabinets, and efficient appliances, then layer in style with affordable touches. Prioritizing ROI means you rank projects by cost per value added and keep budget aware planning in mind so you don’t overshoot. You’ll feel more confident as you plan with your community-minded group, sharing ideas and supporting one another while you invest where it truly matters.