Kick off with a clear budget and ROI in mind, then tackle high-impact, low-cost upgrades first. Refresh cabinets on a dime with prep, paint, simple glaze, and new hardware to get a custom look fast. Use peel-and-stick backsplash, budget-friendly finishes, and smart storage solutions to maximize space. Upgrade lighting with warm LEDs and under-cabinet strips for instant mood and task light. Upcycle everyday finds to save more, then swap outlets and add slim organizers for daily gains—keep going to unlock more ideas.
Key Takeaways
- Prioritize durable, low-cost upgrades (lighting, hardware, organization) that deliver daily payback and long-term value.
- Refresh cabinets with prep work, new hardware, and budget-friendly finishes to dramatically transform look.
- Use peel-and-stick backsplashes, painted or faux tile patterns, and warm neutrals to mimic custom finishes affordably.
- Upcycle and repurpose: painted crates, trays, and thrift finds create functional storage and personality.
- Optimize lighting with warm LEDs, under-cabinet strips, and layered lighting for mood and task efficiency.
Plan an Affordable Kitchen Upgrade on Any Budget: Set Your Priorities
If you’re upgrading on a budget, the key is to decide what matters most to you and what you’re willing to live without for a while. You’ll start by listing must-haves vs nice-to-haves, then rank items by impact on daily life and resale value. Focus on durable, low-cost upgrades first—hardware, paint, lighting, cabinet organization—to maximize visual impact without overspending. Ground your plan in budgeting myths you’ve heard, like “bigger is better” or “new means flawless.” Reality check: ROI metrics aren’t just for outlets; they guide where your money yields real daily payoff. Set a cap, track every purchase, and pivot if a cheaper solution emerges. You’ll feel confident, practical, and connected to a kitchen you’ve shaped together. You belong in this affordable upgrade journey. shorter seat height
Start With the Budget and ROI: How Much to Invest and What You’ll Gain
Set a clear cap on what you’re willing to spend and map it to specific upgrades that deliver the best ROI. Prioritize fixes that save money or boost value, and quantify expected returns in time, energy, and resale impact. Start with a simple budget split: essentials you’ll notice daily, improvements with long-term payoff, and a margin for unexpected costs. Modest investments in durable, food-grade upgrades can extend appliance life and safety, such as choosing components with SUS304 stainless steel interiors and auto shut-off/boil-dry protections to reduce waste and maintenance. 1-4 word phrase
Budgeting Basics
Ready to map out a kitchen upgrade that fits your wallet? You’ll start with clear numbers, not guesses, so you know what you can and should invest. Budget blueprints help you see limits, while ROI realism keeps expectations grounded in daily practicality. You’ll gain confidence as you prioritize high-impact, low-cost moves that feel like belonging in a shared, welcoming space. Define the nonnegotiables: essential fixes first, then nice-to-haves that boost everyday joy 50,000 lift-cycle endurance can inform the durability you expect from steady, long-lasting upgrades. Allocate a realistic cushion for unexpected costs and sourcing delays. Rank options by impact-to-cost so every dollar earns its keep.
ROI Considerations
You’ve mapped out a budget, so now you’ll weigh what to invest against what you’ll gain. ROI isn’t just dollars saved; it’s time saved, durability, and daily enjoyment. Start with a realistic cap on materials and tools, then forecast resale impact or utility gains. Prioritize projects with clear payback: shore up cabinets, upgrade lighting, and maximize storage with smart organizers—think rooftop terraces vibes from compact spaces, not glitz. Track energy savings, reduced waste, and improved flow, then compare against costs. Don’t chase every trend; choose improvements that build value and belonging—projects you’ll reuse, share, and be proud of. Consider small, repeatable wins—underwater baskets as clever pantry totes, easy wins with dramatic impact. With disciplined choices, your kitchen grows in value and usability. 2-year warranty
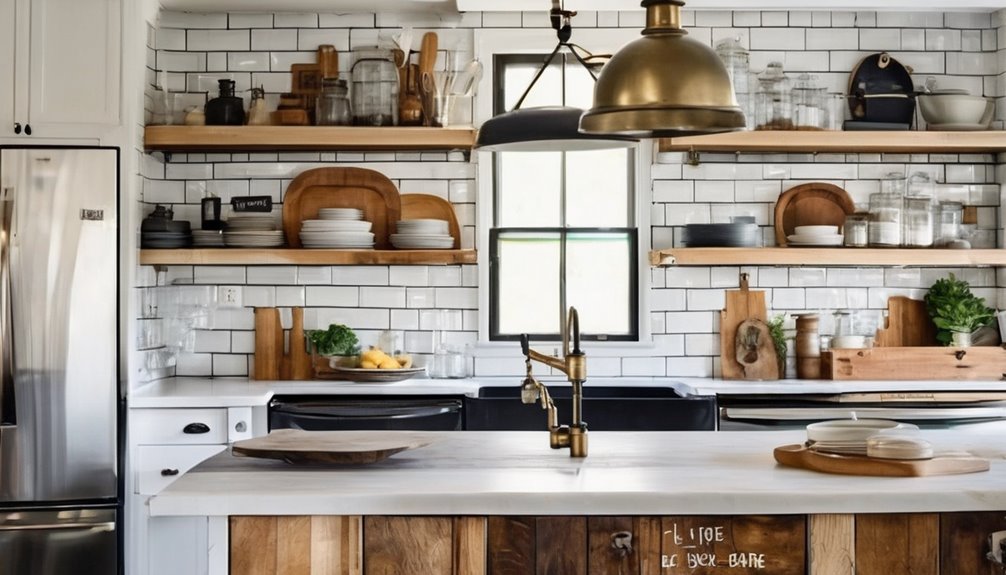
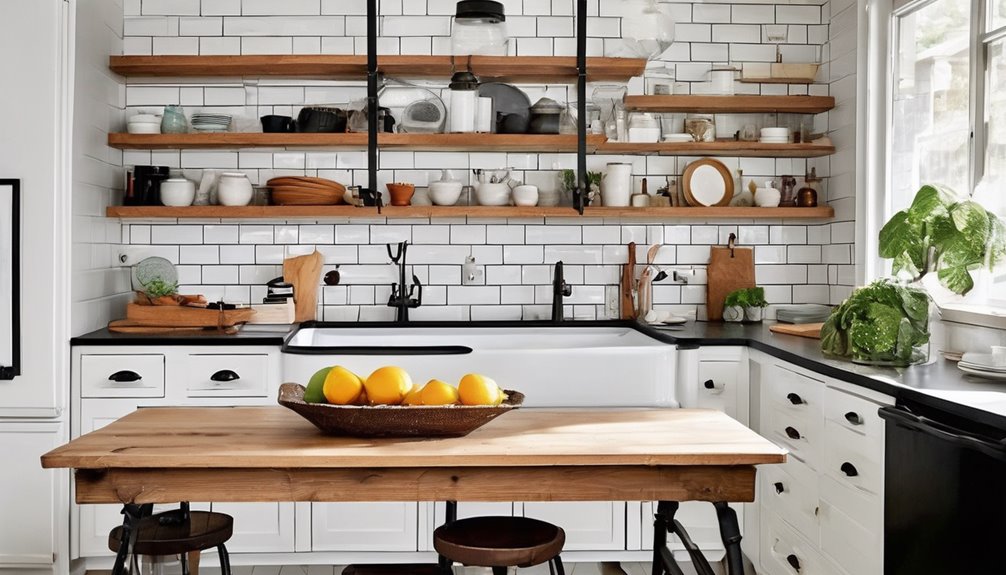
Budget-Friendly Cabinet Makeovers That Look Custom
Start by tackling prep work basics, like cleaning, sanding, and filling gaps, so your new finish sticks and lasts. Choose budget-friendly materials that mimic custom looks, such as.caulk, wood filler, and laminate or paint with durable topcoats. Then outline quick transform steps—swap hardware, apply a fresh coat, and use stencil or glaze techniques to add depth—so you get a high-end vibe without the high-end price. For travel-inspired kitchen upgrades, consider a gooseneck kettle design for precise pouring as a model for meticulous detail and control in finishes precise pouring.
Prep Work Essentials
Prep work sets the stage for a cabinet makeover that looks custom without breaking the bank. You’ll save time and avoid regrets by nailing the basics first, so your finish stays smooth and durable. Focus on clean prep, steady progress, and smart, safe habits that fit your budget and your crew vibe.
- prepping surfaces: wipe, degrease, and lightly scuff to help primer grab
- tool safety: unplug power tools when swapping bits, wear goggles, and keep dust low
- organized workflow: designate a work zone, label containers, and measure twice before cutting
With a calm pace and clear plan, you’ll feel you belong in the process, guiding each small decision toward a polished, affordable result.
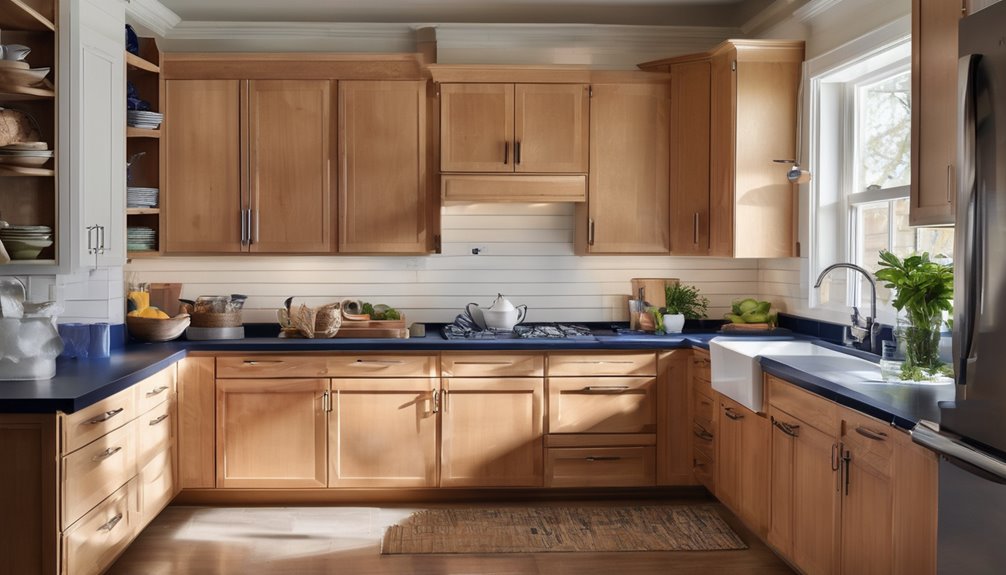
Budget-Friendly Material Choices
Smart, affordable upgrades start with the right mix of surfaces and finishes. When choosing budget-friendly materials, you’ll maximize impact without blowing budget. Start with durable, affordable materials like MDF veneers, thermofoil, or real wood scraps repurposed for cabinet faces. Consider upcycle ideas: refinish existing frames, swap hardware, and add new pulls for a fresh look. Plan your palette around neutrals and warm accents to feel custom without costly details. For doors, paint or veneer over existing panels to dramatically change the tone. Prioritize easy-to-clean finishes and moisture resistance in kitchens. ROI planning matters: opt for materials that retain value and longevity, so small upgrades pay off over time. You’ll feel connected to your space as you invest thoughtfully and share the progress with friends and neighbors. This approach also aligns with choosing durable, long-lasting cabinet components that support sustained use and comfort in your renovated kitchen material durability.
Quick Transform Techniques
Quick transform techniques can turn plain cabinets into high-end-looking storage without a full refinish. You can achieve a refreshed vibe with simple, budget-smart moves that feel custom. Focus on surface updates, hardware swaps, and smart organization to elevate the space without breaking the bank. Subtopic idea1, subtopic idea2. Upgrading with durable finishes and mindful ergonomics can also help ensure long-lasting results that stay stylish over time SGS-certified frames and sturdy construction as noted in ergonomic chair considerations.
Fresh Finishes on a Dime: Backsplash and Paint Tricks That Save
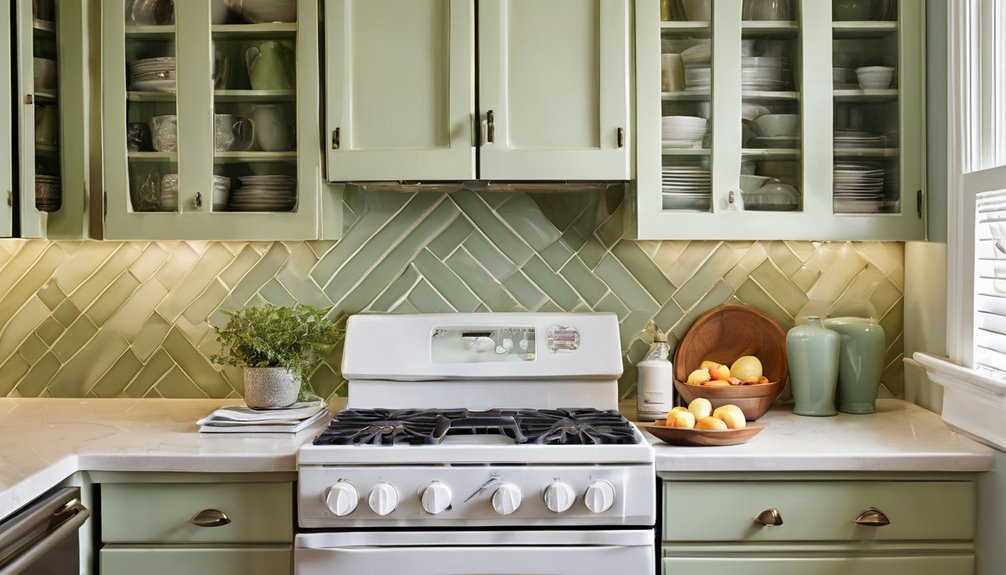
Tatching up a fresh look without a hefty bill is totally doable with a few smart moves: swap in a peel-and-stick backsplash for quick impact, and pick paint colors and finishes that hide flaws while dialing down costs. You’ll lean into a creative palette that feels cohesive, not rushed, so every room feels connected. Choose grout-like painted seams or faux tile patterns to evoke a tile illusion without pricey materials. Opt for washable, matte or satin finishes in warm midtones to disguise imperfections and brighten the space. Use a lighter ceiling height trick with bright whites and soft accents to add air. Keep edges sharp with painter’s tape, and reallocate savings to lighting accents that elevate the whole kitchen. Belonging grows when you share thoughtful, practical wins.
Upcycle to Upgrade: Turn Everyday Finds Into Kitchen Upgrades
Upcycle to upgrade: turn everyday finds into kitchen upgrades without breaking the bank. You’ll spot opportunities all around you—painted crates become open shelves, a chipped tray doubles as a drying rack, and a vintage pitcher holds utensils. Embrace upcycling challenges as creative pushes, not setbacks, and learn from budget friendly mistakes to sharpen your eye for value. Keep practicality in mind: test weight, stability, and cleaning ease before committing.
- Refresh, don’t replace: breathe new life into existing pieces
- Scout thrift stores for sturdy, timeless bases you can personalize
- Quick finishes that still protect surfaces and resist wear
With this approach, you’ll feel part of a savvy, resourceful community while transforming your kitchen on a dime. Upcycling principles help guide practical decisions and ensure durable results.
Hardware Hacks That Make a Big Impact Without Breaking the Bank
Even small hardware swaps can transform your kitchen without draining your wallet. You’ll notice the difference in knobs, pulls, and hinges that feel sturdier, brighter, and more you. Start with door hardware: satin nickel or matte black finishes readfresh cabinets instantly. Swap outlet covers and magnetic knife strips for a cohesive, polished look. Choose affordable, high-contrast drawer slides to improve function without major overhaul. When you shop, consider two word discussion ideas: budget misconceptions, ROI tradeoffs. You’ll discover that a thoughtful mix of low-cost updates can yield big impact, without compromising style or durability. Measure first, choose standard sizes, and prioritize items you touch daily. Finally, batch updates to avoid DIY fatigue and build momentum, so your kitchen feels intentional, welcoming, and efficient. Budget misconceptions that frame your plan can keep expectations realistic while you scope upgrades and ROI.
Energy-Smart Upgrades: What Saves Money Over Time
Could you cut energy bills without sacrificing comfort? You can, with practical, budget-smart choices that pay back over time. Prioritize energy savings by upgrading to efficient appliances and sealing gaps around doors and cabinets. Embrace appliance efficiency as a core habit: run full loads, use speed modes, and set reasonable temperatures. Small tweaks add up, and you’ll feel more cohesive in your kitchen routine.
Cut energy costs with practical, budget-smart habits and efficient appliances for steady kitchen comfort.
- Upgrade one high-use device at a time to maximize energy savings
- Seal leaks, insulate under sinks, and program thermostats for steady temps
- Schedule maintenance on refrigerators and ranges to sustain appliance efficiency
Implement these steps steadily, share results with family, and celebrate steady progress toward a more affordable, comfortable kitchen. Your space, your smart choices, your savings. Auto shut-off
Lighting on a Dime: Simple, DIY Ways to Brighten the Kitchen
Brighten your kitchen on a budget with smart, DIY lighting tweaks that pay off fast. You’ll start with simple swaps: swap harsh bulbs for warm LEDs, and switch to dimmable fixtures so you control mood and task lighting. Put a couple of inexpensive under-cabinet strips where you cook, and add a reflective backsplash or light-painted walls to bounce light around. Use daylight-balanced bulbs for a bright, true color that makes everything feel welcoming. Create layers: overhead, task, and accent lighting, so no corner feels dull. If you run into issues, lean on DIY troubleshooting—check connections, verify wattages, and test one feature at a time to isolate problems. These lighting ideas keep costs down while building a shared, bright home you’ll love.
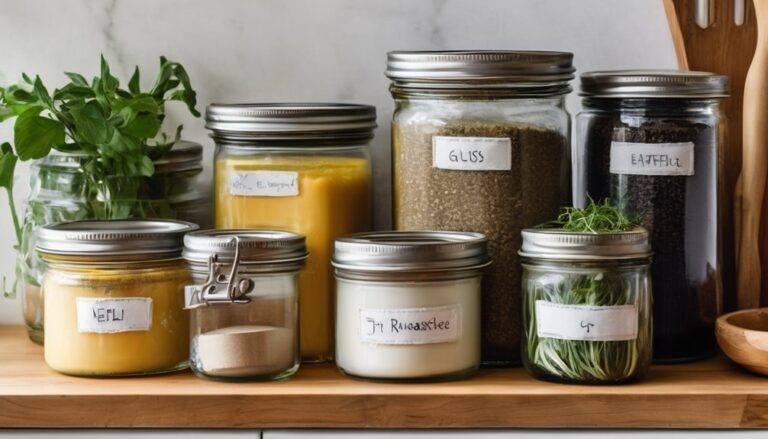
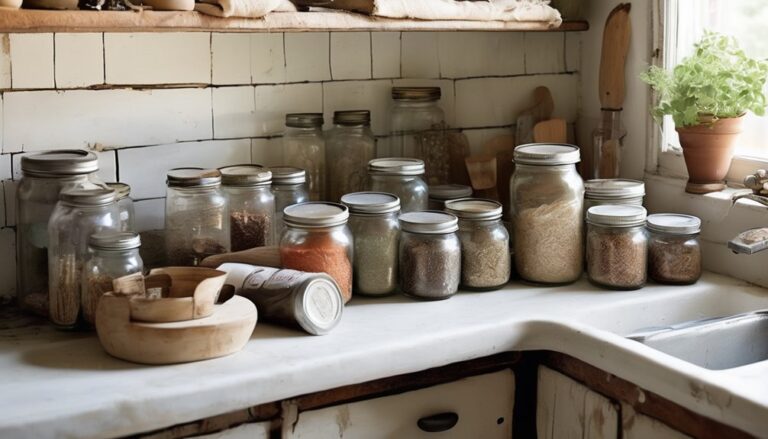
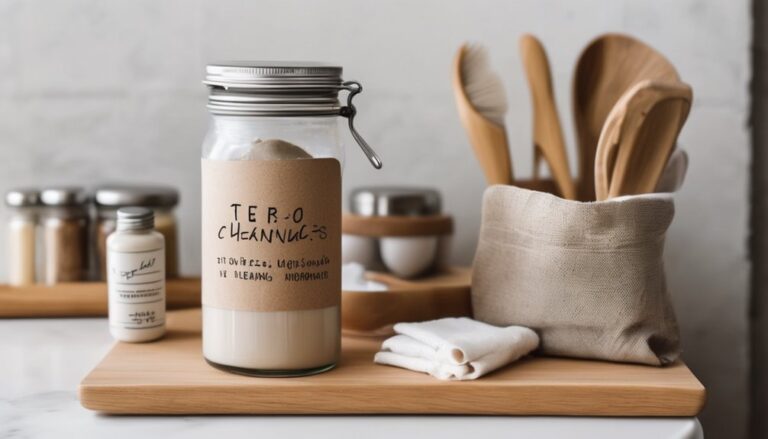
Smart Storage Solutions on a Budget: Proven, Low-Cost Systems
If you’ve just boosted your kitchen’s brightness on a budget, you can keep the momentum with smart storage that costs little but pays big in daily use. You’ll gain order without clutter, thanks to simple layouts, and you’ll feel a sense of belonging as everything has a place. Smart pantry ideas and modular shelving unlock underused spaces, making cooking calmer and faster. Keep costs down with repurposed containers, labeled bins, and adjustable shelves that adapt as you shop and cook.
- Create a smart pantry with clear, uniform bins
- Install modular shelving to fit odd corners
- Label everything for quick, confident access
Frequently Asked Questions
How Can I Measure ROI for DIY Kitchen Upgrades?
To measure ROI, start with a DIY cost-benefit analysis: list project costs, time, and materials, then estimate added home value or monthly savings. Compare total investment to the projected gain over a defined period. Track actual costs and improvements, updating estimates as you go. How to measure ROI: use resale impact, energy savings, and utility bills. A practical approach helps you stay budget-conscious, feel connected, and share affordable upgrades with your community.
Which Materials Balance Cost and Durability Best?
Durable materials balance cost and durability best when you pick quartz or solid-surface countertops, and laminate with real wood accents. You’ll also love stainless steel or powder-coated steel for sinks and hardware, plus tile that’s porcelain or ceramic with a high PEI rating. Opt for cost-efficient options like engineered wood, PVC trim, and durable vinyl flooring. You’ll get durable materials, cost efficient options, and a kitchen that feels like belonging while you renovate on a budget.
What Are Quick, Reversible Cabinet Updates?
Quick cabinet updates include peel-and-stick liners, removable drawer fronts, and hardware swaps. Reversible cabinet tweaks let you transform look without lasting changes. You’ll save money and feel proud—just choose durable, easy-to-clean liners, choose affordable knobs, and swap them later if you want. Use magnetic strips for utensils, add temporary open shelving, and seal painted surfaces with a removable top coat. You’ll belong in a supportive, budget-minded kitchen crew who values practical updates.
How Do I Prevent Future Wear on Budget Surfaces?
You’ll prevent future wear by sealing and protecting high-traffic surfaces with budget-friendly sealant and a durable topcoat. Clean, dry, and sand lightly, then apply a second coat as needed. Wipe up spills quickly and use cutting boards, trivets, and liners to reduce damage. How to seal and protect becomes routine—reapply per product directions and temperature conditions. You’ll feel a sense of belonging as your kitchen stays looking fresh, practical, and ready for everyday use.
What Tools Are Essential for First-Time DIY Upgrades?
Picture this: you saved enough to finally tackle a small backsplash project, and it went smoothly. Essential tools for first-time DIY upgrades start with a reliable drill, a measuring tape, and a level. Then add a screwdriver set, utility knife, and basic sanding blocks. This beginner guide keeps you practical and budget-conscious, helping you belong in the group that learns together. With these, you’re ready to start your next project confidently and affordably.