You can upgrade on a budget by planning first, then layering affordable lighting that covers prep, cook, and dining zones. Start with simple ceiling and under-cabinet LEDs for even brightness and fewer shadows, then add dimmable fixtures for mood without sacrificing function. Choose low-profile, high-CRI options and plug-in or easy hard-wired routes to fit your skills. Think warm-to-neutral temps and modular pieces you can expand later. If you keep going, you’ll unlock more practical tips.
Key Takeaways
- Prioritize reliable basics: update with energy-efficient LED fixtures and dimming to create flexible, cost-effective lighting layers.
- Add under-cabinet LED strips for countertop illumination and shadow reduction on prep surfaces.
- Use low-profile ceiling fixtures or flush mounts with warm-to-neutral color temps for a welcoming look.
- Implement a simple zoning plan: task lighting at prep and cook zones, with ambient lighting for the dining area.
- Plan for future upgrades by choosing modular, plug-in or easy-to-hard-wire routes and keeping a modest budget ceiling.
Budget Kitchen Lighting 101: How to Plan for Brightness and Feel
Are you biasing your kitchen lighting toward practicality or ambiance from the start? You’re shaping a plan that fits both how you live and how you gather. Start with a simple budget planning approach: list fixtures you need, estimate costs, and set a ceiling you won’t exceed. Measure your space and identify work zones—prep, cooking, cleanup—so brightness feel stays consistent across tasks. Choose reliable basics first, then add layered accents that don’t blow your budget. Prioritize color temperature that feels welcoming yet practical, not clinical. Use dimmers to adjust mood without sacrificing function. Think about energy use and maintenance to keep costs predictable. Your goal is affordable, adaptable lighting that supports everyday belonging and clear visibility in every corner BIFMA-certified.
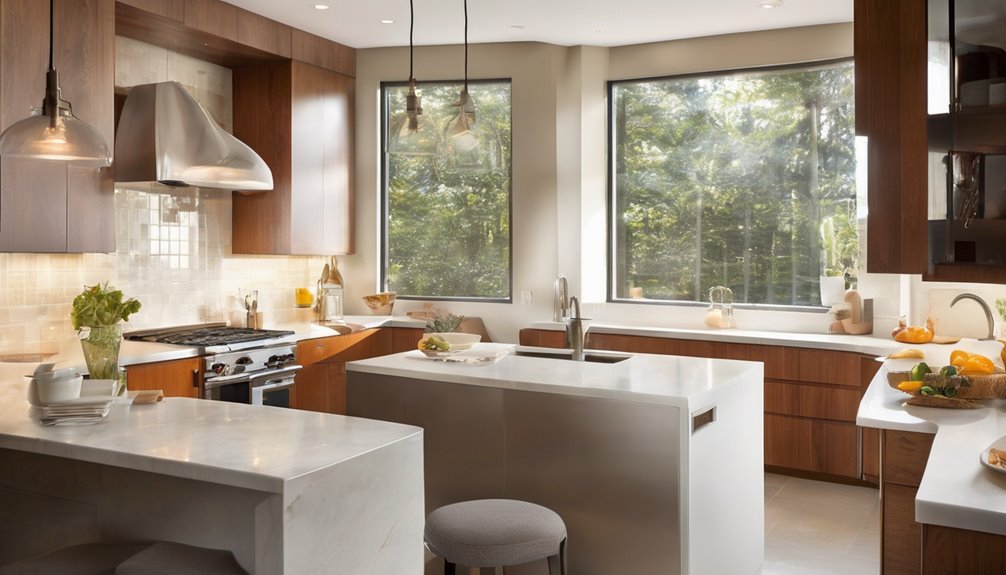
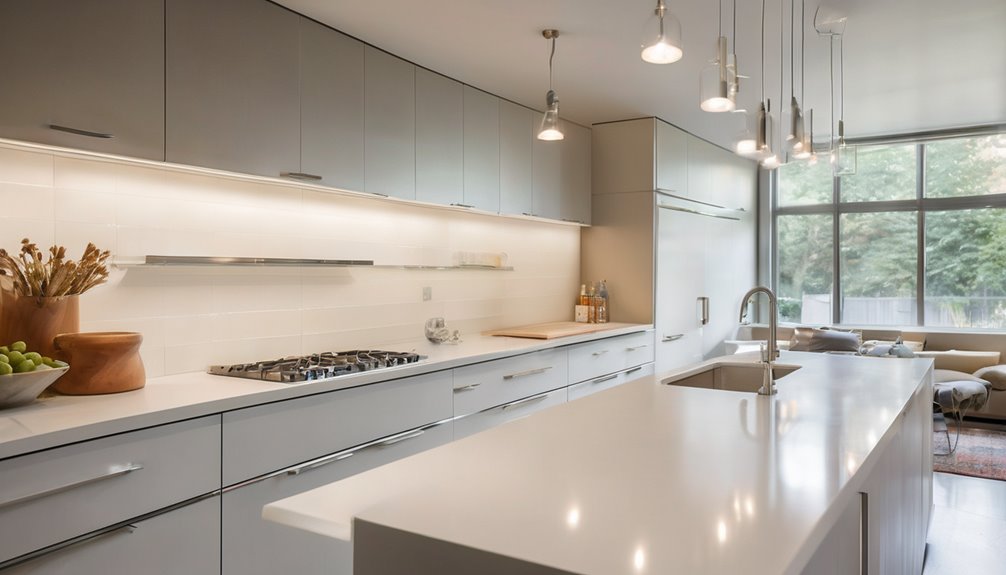
Affordable Ceiling and Under-Cabinet Lighting Options
For affordable ceiling and under-cabinet lighting, prioritize simple, energy-efficient options that deliver both coverage and task-focused brightness. You’ll want budget ceiling choices that install quickly and fuse with existing décor, plus under cabinet lights that illuminate meal prep without glare. Look for low-profile fixtures with even diffusion to reduce shadows on counters and stovetops. Choose plug-in or hard-wired routes that fit your skill level and house layout, keeping wiring minimal and tidy. Consider dimming capability to adjust ambiance for daily tasks or entertaining. Favor options with warm-to-neutral color temperatures for a welcoming feel that supports belonging in your kitchen space. Remember to measure clearances, verify compatibility with existing outlets, and plan for future upgrades without overcommitting budget. Compact fixtures integrate well with a slim kitchen layout while maintaining flexible placement for optimal task lighting.
LED Essentials: Bulbs, Fixtures, and Easy Dimming
Upgrading your kitchen lighting starts with understanding LED bulbs, fixtures, and simple dimming options that fit the budget you already outlined. You’ll choose budget bulbs that deliver bright, consistent color and low power use, reducing glare and hot spots. For fixture placement, think even coverage: align ceiling and under-cabinet lights to eliminate shadows and create a cohesive glow. Dimming options give you flexibility without costly rewiring, from basic compatible switches to smart setups you control with a tap or voice. Prioritize bulbs with high CRI for true colors and a pleasant feel in dining and prep zones. Keep components modular so you can swap as needs evolve. This approach builds belonging through practical, affordable lighting that supports daily activities. Energy efficiency
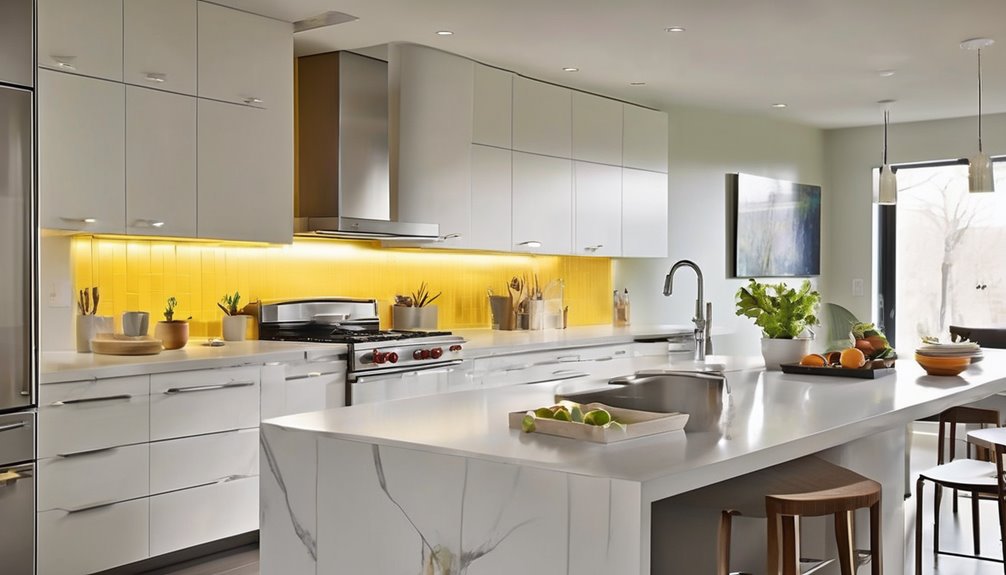
Budget-Smart Accent and Task Lighting Placement
Need to maximize impact without breaking the bank? Start with clear zones: prep area, cooktop, and dining space. Use budget smart placement lighting to guide workflow and create a welcoming atmosphere. Install under-cabinet strips to illuminate countertops, reducing shadows and boosting accuracy for chopping and seasoning. For ambience, add a dimmable overhead or pendant near the table, ensuring even spread without glare. Use task lighting that mirrors task needs—cooler temps at the stove, warmer tones at the table—so meals feel cozy yet practical. Layer lighting with a few wall washers or shelf-mounted fixtures to highlight textures and color. Consider two word discussion ideas like “task focus” and “ambient balance” to guide decisions. Keep cables tucked and fixtures aligned to kitchen lines for a cohesive, inclusive space. under-cabinet lighting helps define work zones and can be a cost-effective upgrade that improves both function and mood.
DIY Wiring Basics and Safety Tips for Starter Projects
Getting started with basic wiring can be safe and straightforward if you plan ahead and follow simple rules: know your limits, use the right tools, and work step by step. You’ll gain confidence by focusing on diy wiring basics and safety tips that keep you supported and informed throughout the process.
- Check local codes and shut off power before you touch anything
- Use a proper tester, insulated tools, and labeled components
- Plan a simple circuit path, avoiding overloading outlets
- Secure connections with appropriate wire nuts and strain relief
- Keep a clutter-free workspace and store spare parts responsibly
Practice patience, double-check junctions, and never rush a connection. If unsure, pause and consult a pro. Your safe, functional lighting upgrade starts with careful preparation.
Frequently Asked Questions
How Do I Assess Glare and Color Rendering in Budget Fixtures?
Glare assessment and color rendering matter, and you can handle them quickly. Start by comparing fixtures under typical tasks, noting brightness, hotspots, and shadows—like test-driving a car you trust. Look for a consistent CRI around 80+ and a color temperature in the 2700–3500K range for kitchens. Use a glare meter app or your eye, and swap to diffusers or dimmers if needed. Choose fixtures with better shielding to minimize glare and preserve color rendering.
Can Smart Lighting Be Cost-Effective for Small Kitchens?
Smart lighting can be cost-effective for small kitchens, especially when you start with a few well‑placed, dimmable fixtures. You’ll save on energy and gain flexibility for cooking tasks and ambiance. Make color rendering a priority for true food colors, and opt for adjustable white tones. Look for affordable smart bulbs with good color rendering and simple setup. By choosing scalable options, you feel supported, included, and confident to expand later as needs grow.
What Finishes Resist Fingerprints and Heat in Cheap Fixtures?
Finish options that resist fingerprints and heat in cheap fixtures include matte or satin nickel, brushed stainless, and powder-coated metals. These finishes maintain cleaner appearances and tolerate daily handling. For maintenance, wipe with a soft cloth and mild detergent; avoid abrasive cleaners. You’ll appreciate heat resistance in areas near ovens or ranges, so choose finishes with durable coatings. This helps you feel you belong in a kitchen that stays neat, practical, and cost-conscious.
Are Battery-Powered Options Reliable for Under-Cabinet Lights?
Battery powered undercabinet options can be reliable for basics, but you’ll want fresh batteries and a reputable brand. If you’re choosing budget fixtures, expect less brightness and shorter run times, especially in busy kitchens. To curb glare, pick diffused covers and warm LEDs. Consider a wired backup for heavy use. In value-conscious setups, you’ll balance convenience with occasional replacements, keeping glare minimal so you feel you belong in a well-lit, functional space.
How Often Should I Replace Inexpensive Kitchen Bulbs?
Bulbs usually last about 6 to 12 months for cheap kitchen options, depending on usage. You should replace them when brightness fades or color shifts, not on a sentimental schedule. Do a quick fixture assessment every few months and swap out failing ones promptly. Keep track of burn hours if possible. That keeps your kitchen feeling bright, practical, and part of the club—without the drama.