To upgrade affordably, start by defining your budget-friendly kitchen lighting goals and map them to zones like prep, cooking, and cleanup. Audit your current lighting, spotting gaps in task light, ambient glow, and accents. Pick budget-friendly, energy-efficient LED fixtures with steady color temperature, then layer lighting—ambient, task, and accent—while keeping controls simple. Reuse or refurbish existing fixtures when possible, and add quick DIY upgrades for instant impact. A flexible, small-kitchen plan completes the approach—even more tips await.
Key Takeaways
- Assess current lighting, noting gaps in task areas, ambient glow, and color rendering to guide upgrades.
- Define budget-friendly goals for kitchen lighting and map improvements to zones like countertops, sink, and island.
- Prioritize energy-efficient LED fixtures with consistent color temperature and dimmable options to reduce waste.
- Layer lighting with ambient, task, and accent, using under-cabinet LEDs and dimmers for flexibility.
- Implement quick, affordable upgrades (reuse existing fixtures, plug-in options, and portable lights) for noticeable impact.
Define Your Budget-Friendly Kitchen Lighting Goals
Setting clear goals keeps your kitchen lighting affordable and effective. You’ll define what matters most, so every dollar counts. Start by listing tasks: meal prep, cooking, chatting, and cleanup. Decide which areas need brighter task lighting and which can stay softer for ambiance. Aim for a budget friendly approach that balances cost with performance, not just price tag. Consider energy efficient options like LEDs, dimmable fixtures, and smart controls to reduce waste. Set a timeline and a maximum spend, then map improvements to room zones: countertop, sink, and island. Prioritize changes that deliver measurable impact—color accuracy, glare reduction, and even coverage. Document outcomes, revisit goals periodically, and adjust as needed. You’ll build confidence, connect with neighbors, and create a brighter, more comfortable kitchen. Explore how different layouts can influence lighting design task lighting balance.
Audit Your Current Lighting: Find the Gaps Fast
Now that you’ve outlined affordable goals, it’s time to audit your existing kitchen lighting and spot gaps quickly. You’ll walk the space with a practical eye, noting where brightness falls short or shadows linger. Do a quick gaps check: task areas (prep, cooking, cleanup), ambient glow, and accent spots for depth. Compare current fixtures to your goals, listing where lumens or color rendering feel weak. Measure comfort: glare, consistency, and switch placement. Use a simple grid: a star for strong points, a dash for gaps, a circle for overkill. Document ratings from tasks you perform daily, not just rooms. This insightful audit helps you prioritize fixes, avoid overhauls, and build confidence that every corner works together. You’re identifying opportunities, not failures, and that shared progress builds belonging. For deeper planning, consider how smart lighting can enhance safety during cleanup and align with energy-saving goals Smart Sync lighting to optimize multi-zone control.
Pick Budget-Friendly, Energy-Efficient Fixtures and Bulbs
Start with easy wins: choose budget-friendly fixtures and bulbs that still deliver good performance. You don’t need pricey gear to get bright, long-lasting light. Look for LED fixtures and bulbs labeled budget friendly and energy efficient; they reduce running costs without sacrificing quality. Focus on color temperature and consistent brightness to avoid a jarring kitchen feel. Replace glow patterns with simple, compatible options that fit existing fixtures. When shopping, compare lumens to wattage to gauge efficiency and pick options that meet your needs. Keep a modest portfolio: a couple of task lights, a general ceiling LED, and a couple of under-cabinet LEDs 50,000 lift-cycle and durable construction to ensure long-term reliability.
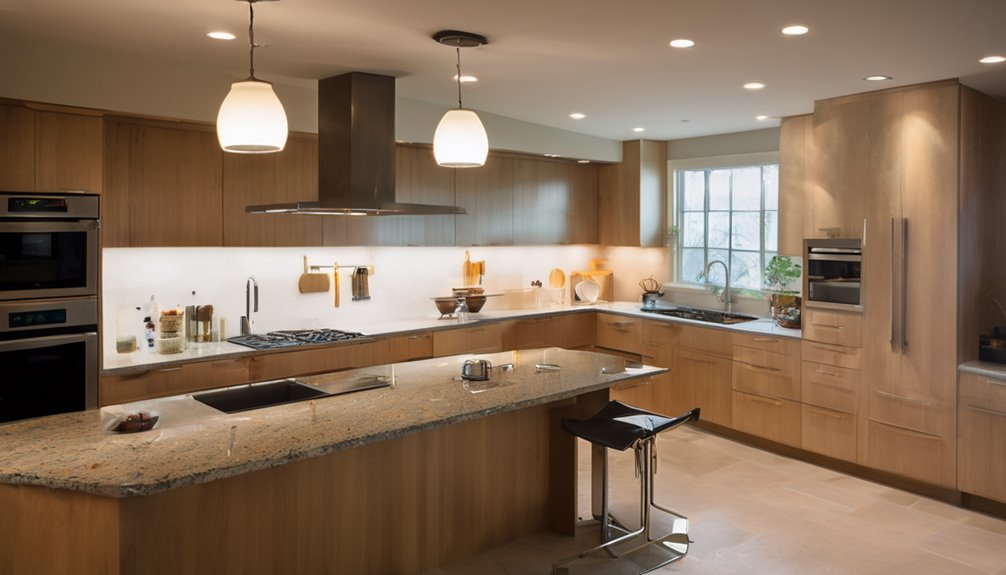
Layer Lighting in Kitchens: Ambient, Task, and Accent
Layer lighting in your kitchen combines ambient, task, and accent so you can adjust mood and performance as you cook and entertain. Start with ambient to set the overall brightness, then add focused task lighting where you work most, like prep islands or under cabinets. Finish with accent lighting to highlight features or create depth, keeping controls simple and energy use in check.
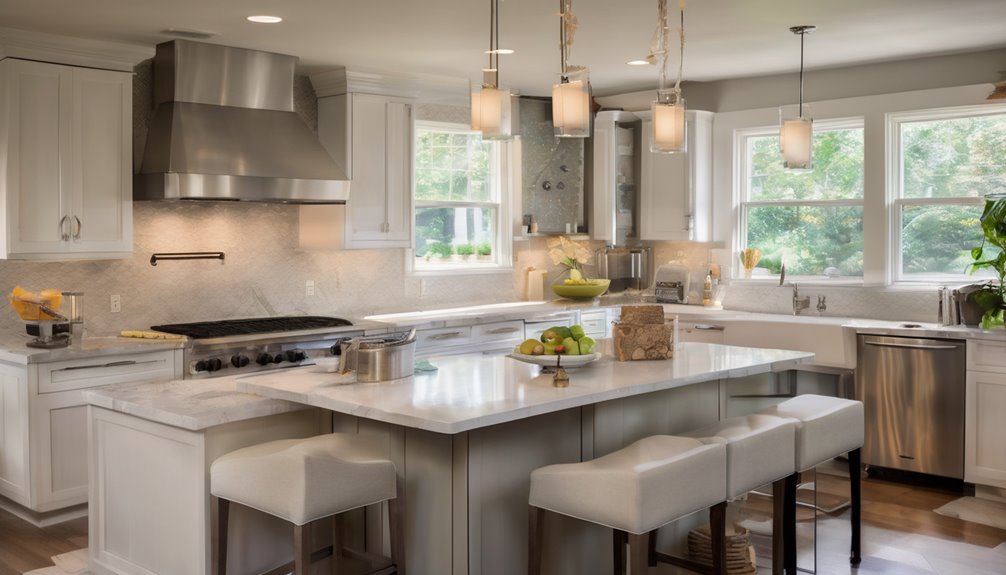
Ambient Layer Basics
Ambient lighting in kitchens sets the overall mood and makes every task feel easier, so you’ll want a soft, even wash that doesn’t glare or cast harsh shadows. This is the ambient layer: it defines atmosphere, supports color harmony, and helps you feel connected to the space. Keep it subdued, adjustable, and evenly distributed to avoid hotspots.
- Choose diffused fixtures that spread light uniformly
- Aim for a warm color temperature to enhance ambient glow
- Use dimmers to adapt brightness as needed
- Layer with unobtrusive sources to maintain cohesion
Tips: plan placement to avoid glare on glossy surfaces, and pair fixtures with undercabinet lighting for a balanced, inviting kitchen. This approach builds belonging through calm, unified illumination. 3D AirFloat headrest and the breathable, weight-distributing cushions in ergonomic chairs highlight how well-designed supports (even in unrelated contexts) contribute to sustained comfort and atmosphere.
Task Lighting Focus
Task lighting is the focused work light you use where you actually prepare, chop, and cook, so you can see details clearly without relying on ambient glow alone. For practical kitchen upgrades, tune lighting to your workflow, not just aesthetics. With budget conscious tasks in mind, prioritize under cabinet focus to illuminate counters where you work most. Choose LED strips or puck lights that offer steady, glare-free light in the 3000–4000K range for true color perception. Install high-CRI options to reveal ingredient colors accurately, reducing mistakes. Position fixtures to minimize shadows as you move from prep to plating. Dimming controls help you adjust brightness for different tasks and moods while saving energy. Limited, purposeful lighting beats overkill; simplicity strengthens your kitchen’s sense of belonging. A higher-end focus on durable, heat-tolerant lighting can support longer, hotter cooking sessions while maintaining color accuracy and performance high-CRI lighting.
Accent Lighting Tips
Accent lighting in the kitchen isn’t about brightness, it’s about texture and mood. You want accents that feel intentional, not flashy, so they blend with your space and neighbors’ tasteful setups. Here are practical tips to fit in and upgrade gracefully:
- Choose fixtures with warm-to-neutral color temperature to match ambient light, avoiding harsh contrasts.
- Aim low glare and focused beams on artwork, open shelves, or a display area to highlight textures.
- Mix materials—metal, glass, or ceramic—to add depth without shouting.
- Control accents with dimmers or smart switches so you can adapt mood for gatherings or quiet nights.
Accent lighting should feel like belonging—subtle, cohesive, and naturally yours.
Reuse and Refurbish Existing Fixtures for Savings
Reusing and refurbishing existing fixtures can slash your costs without sacrificing light quality. You’ll assess what you already own, clean and replace worn parts, and upgrade bulbs for efficiency. Start with sockets, trims, and housings—minor fixes can unite style and function without new purchases. When fixtures look dated, consider repainting or swapping shades to freshen the look. If you hunt for parts, recycled fixtures and thrift store finds often offer solid value; just check compatibility and code compliance before committing. Save further by selecting LED bulbs with the right color temperature for your kitchen task lighting. Document wires and grounding, and test for steady operation. This approach strengthens your budget and helps you feel confident in your updated space. Energy efficiency
Quick DIY Upgrades That Deliver Visible Impact
If you’ve already salvaged value from what you own, quick DIY upgrades can deliver a noticeable lift without a full remodel. You get practical, budget-friendly changes that feel intentional and belong in your space. These tweaks emphasize visible impact with minimal effort.
A small, targeted update can also bolster lighting efficiency for longer-lasting results, especially when you pair brighter bulbs with better color temperature choices under-cabinet LED strips.
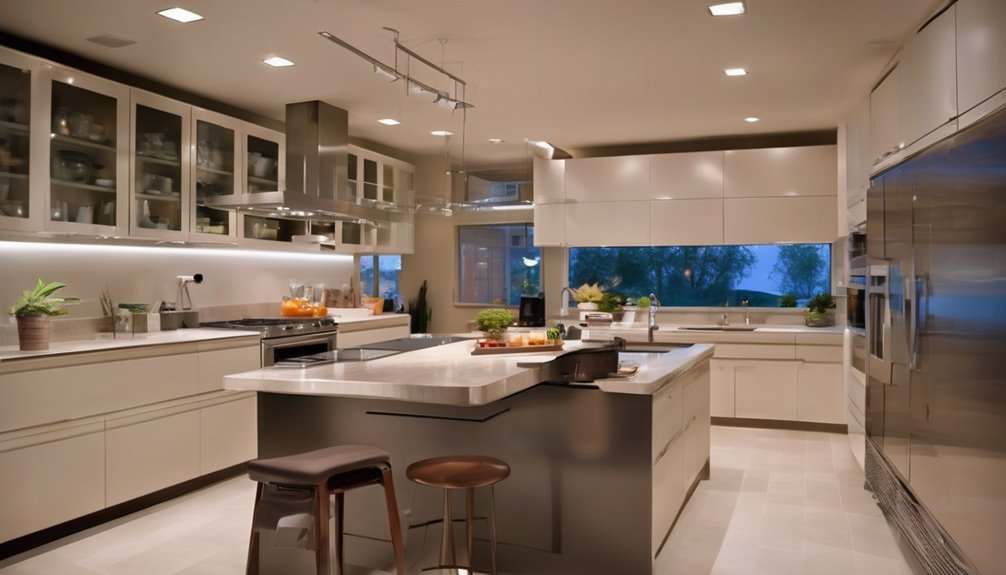
Create a Flexible, Small-Kitchen Lighting Plan on a Budget
Ready to make a small kitchen feel brighter without breaking the bank? You can create a flexible, small-kitchen lighting plan on a budget by layering inexpensive options and clever placement. Start with a bright baseline: a cool-white ceiling light and under-cabinet LEDs for task areas. Add dimmable layers to adjust mood and function. Use plug-in wall sconces or battery-powered accents to highlight corners and hobbies, keeping wiring simple. Choose fixtures with a compact profile to fit a small kitchen layout, and opt for interchangeable bulbs to tailor color and brightness. Think zones: prep, cooking, cleanup. A simple table helps map needs and fixtures. A 5-point metal base and durable hardware in lighting components support long-term reliability as you upgrade fixtures in busy spaces.
Frequently Asked Questions
How Do I Measure Brightness in a Kitchen on a Budget?
To measure brightness on a budget, start with simple checks: gauge how well you see tasks, then compare light levels using budget friendly tools like a light meter app or a smartphone lux meter. Look for consistent daylight-mimicking output and avoid shadows on counters. Use a white card to compare brightness and remember room needs 200–500 lux for task areas. This practical approach helps you fit comfort and belonging within your budget.
Which Color Temperature Works Best for Small Kitchens?
Soft white typically feels cozier in small kitchens, whereas daylight white helps you see details clearly. For a balanced look, mix both: use soft white for ambiance and daylight white task lighting over counters. You’ll notice easier prep and fewer shadows, which helps you feel more confident at home. Keep fixtures compact, glare-free, and low-profile so you still belong in a warm, organized space where every task is a breeze.
Can Smart Bulbs Reduce Overall Lighting Costs?
Yes, smart bulbs can dramatically reduce your lighting costs. You’ll save on energy with LEDs, use customizable schedules, and lower waste by turning lights off when not needed. Over time, those cost savings add up, especially if you automate trends you already follow. You’ll feel part of a smarter community, enjoying predictable bills and maintenance-free convenience. So yes, smart bulbs actually help you cut costs while still keeping your space bright and welcoming.
What Are Hidden Costs in Affordable Kitchen Lighting?
Hidden costs can sneak in: dimmer switches, extra wiring, and replacement bulbs if LEDs aren’t compatible. You’ll want upfront budgeting for fixtures, shipment, and possible labor. You’ll also factor in warranty gaps and disposal fees. You’ll save by choosing standard sizes and compatible components. Start with upfront budgeting, account for tripping over unexpected adds, and you’ll feel confident joining the group that prioritizes practical, affordable upgrades without surprises.
How Do I Safely Replace Recessed Fixtures Myself?
To safely replace recessed fixtures yourself, shut off the circuit, verify power with a tester, and use LED housings with airtight seals. Remove old cans, check joists, and follow fixture instructions for wiring. Keep Safe wiring as your priority, using proper wire nuts and ground connections, and avoid overloading boxes. If anything seems off, don’t proceed—consult a pro. Fixture safety matters for you and your space, so pace yourself and double‑check every step. You belong here, staying safe.