Start by identifying what clutter you actually have and set a realistic budget for organizers, labels, and dividers. Do a quick-draw of what fits where, then tackle a quick-win drawer revamp: group like items, grab low-cost trays or DIY cardboard dividers, and position frequently used things up front with clear tops and simple labels. Add slim pull-out organizers and adjustable shelves to maximize space without a new cabinet. Stay on top with a simple maintenance plan—more tips await.
Key Takeaways
- Identify clutter, set a budget cap, and plan layouts to maximize space and quick item retrieval.
- Use DIY dividers from cardboard, acrylic, or foam to create defined zones on a shoestring.
- Implement clear labeling and visible bins to reduce decision fatigue and improve access.
- Add slim pull-out organizers and adjustable shelves for flexible, budget-friendly updates.
- Establish daily, weekly, and monthly routines to maintain order and prevent buildup.
Identify Cabinet Clutter and Set a Realistic Budget
Are you ready to see what’s really in your cabinets? You’ll start by identify clutter, then map it to a practical plan. First, gather data: pull items from shelves, note what you actually use, and measure space. This isn’t chaos, it’s clarity, and it helps you feel you belong in a well‑organized home. Next, set budget realism by defining a simple cap for reorganization tasks, containers, and labels. Prioritize goals that save time and reduce frequent moving of items. Decide what stays, what goes, and what earns a home elsewhere. With data in hand, you’ll choose fixes that fit your space and budget—no guilt, no overreach. The result is a feasible, motivating starting point you can trust and maintain.
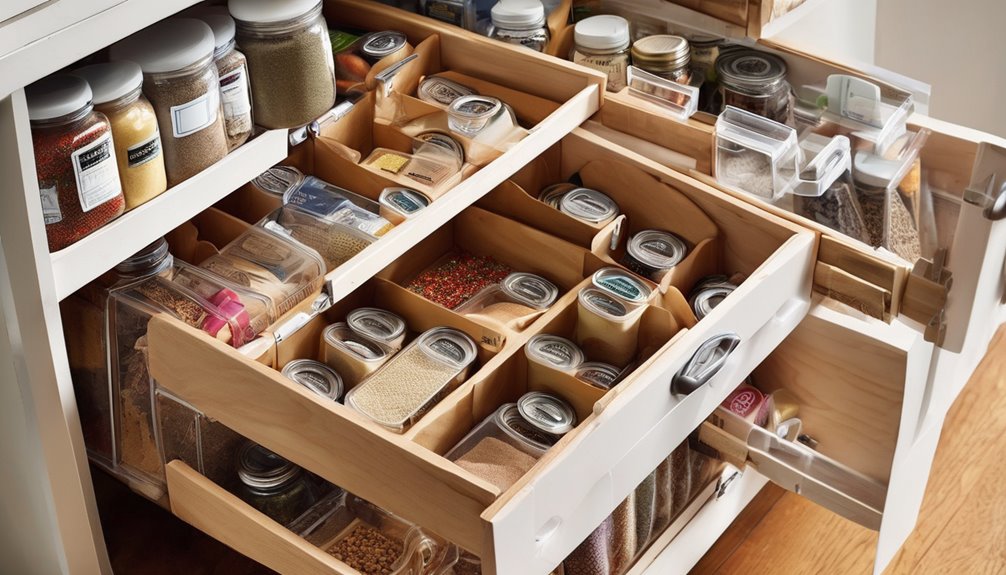
Quick-Win Drawer Reorg on a Shoestring
Need a quick win? You can transform a messy drawer in minutes with a shoestring approach. Start by emptying, then group similar items (utensils, tools, wraps). Use low-cost, reusable trays or DIY dividers from cardboard to create defined zones. Keep frequently used items toward the front, less-used toward the back, and label the tops for quick visibility. Now you’ve achieved a practical drawer reorg that boosts efficiency and gives you immediate sense of belonging and control. Zone planning helps you map where items should sit and reinforces consistent organization over time.
| Zone | What goes here |
|---|---|
| Front | Daily essentials |
| Back | Infrequent items |
| Left | Small tools |
| Right | Wraps and lids |
| Center | Spare utensils |
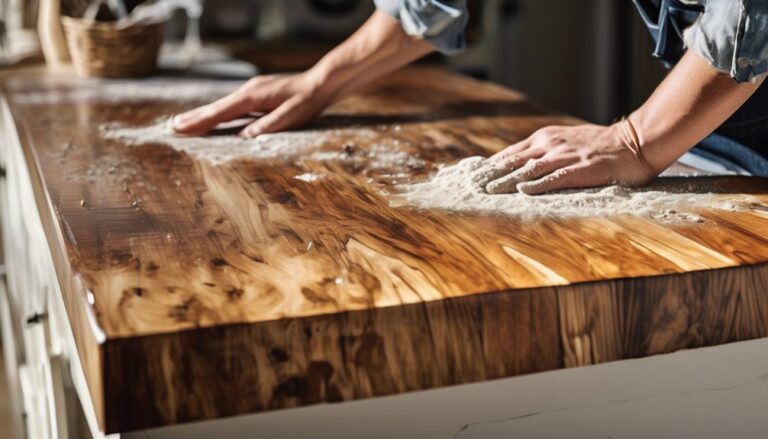
DIY Dividers From Everyday Materials
If you’re aiming for quick, budget-friendly dividers, look around your home for everyday materials that bite-size into neat, defined compartments. DIY Dividers from cardboard, acrylic, foam, or sturdy plastic paste can redefine drawer organization without a trip to the store. You’ll cut slim panels to fit each section, then secure them with double-sided tape or light adhesive so they stay put. Consider adjustable options using removable hinges or Velcro strips for easy reconfiguration as needs change. Labeling isn’t necessary to begin, but keep a simple, consistent height and edge finish for a polished look. By choosing familiar materials, you cultivate belonging and resourcefulness, proving that smart, affordable organization can feel like a shared, practical craft. Everyday Materials become dependable, scalable DIY Dividers for your space. BIFMA-certified
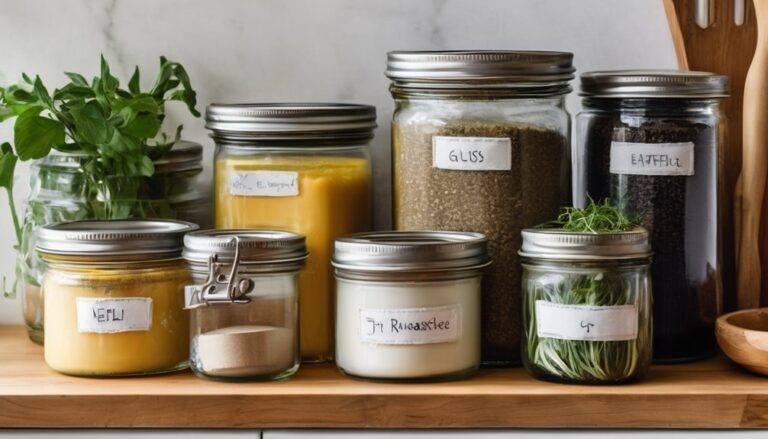
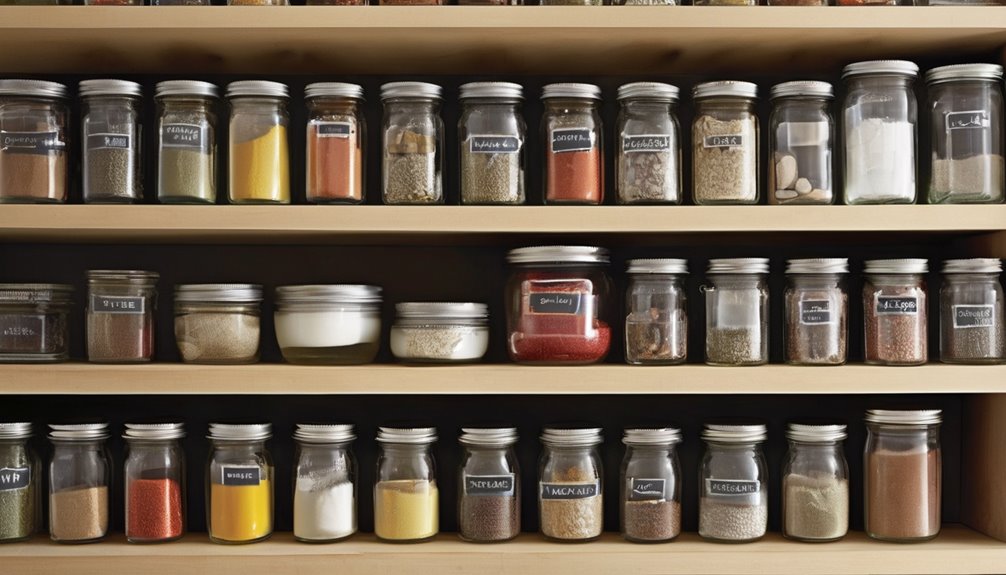
Clear Labeling to Find Items Fast
Clear labeling systems help you locate items at a glance, saving you time when you’re restocking or grabbing what you need. Use labels that show contents clearly and stay readable from a distance, so contents are visible quickly. Choose durable label materials that resist daily wear while staying neat and legible. Label materials ensure long-lasting readability and can support organized, breathable storage when used with a consistent labeling system.
Clear Labeling Systems
Clear labeling is the backbone of a tidy, efficient cabinet. You’ll gain quick access by implementing clear labeling systems that align with your daily routines. Choose simple, durable labels and a consistent color scheme to reduce decision fatigue and build familiarity. Use clear containers and lid labels, so you always know what’s inside at a glance. Create a standard labeling format: item name, size or quantity, and date if relevant. Position labels where you naturally look, not where you reach. Maintain clarity through labeling by updating labels as needed and removing outdated ones. This approach offers inspiration for organization while inviting others to adopt your system without feeling overwhelmed. You’ll experience smoother storage, faster retrieval, and a greater sense of belonging. Labeling consistency helps sustain long-term organization by making every item’s location predictable and easy to verify.
Visible Contents Quickly
Want to find what you need in seconds? Clear labeling helps you spot items at a glance, but it’s the way you present the contents that drives quick access. Use consistent label placement and visible bins or shelves so your eyes land on the right category without hesitation. Group similar items together and store them at eye level when possible, reducing reach time and cognitive load. Consider color cues or bold, legible words that stand out on every container. Keep labels updated as you reorganize, so long-term consistency stays intact. When you can see what you own, you make smarter, faster choices and reduce clutter-causing rummage. Visible contents invite confidence, efficiency, and a calmer kitchen or workspace.
Durable Label Materials
Durable label materials are the backbone of clear, fast labeling. When you choose durable labeling, you prevent fading, peeling, and misreads that slow you down. Pick material that stands up to humidity, oils, and frequent handling, so your system stays legible day after day. For cabinet organizers, consider laminates, weather-resistant plastics, and reinforced cardstock with a protective coating. Your goal is consistent appearance, so select a uniform thickness and finish across all labels. Think about visibility: high-contrast text on light backgrounds, with large, legible fonts. In material selection, prioritize adhesion suited to your surfaces and easy replacement when bins change use. By aligning labels with your workflow, you foster belonging and confidence in every drawer and shelf. Durable labeling supports quick access during busy weeks consistent performance.
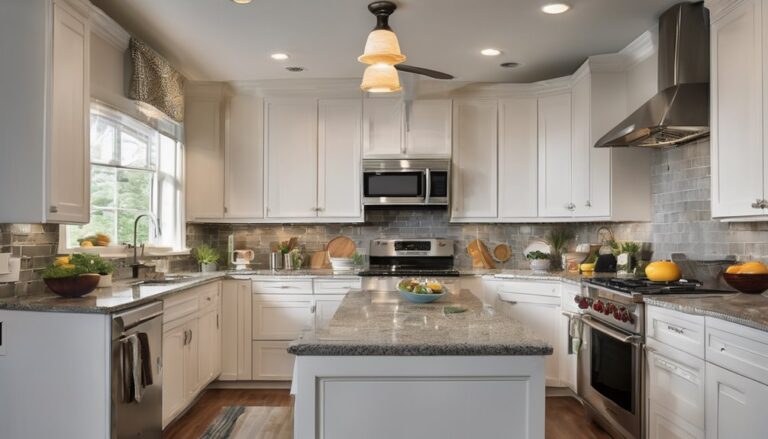
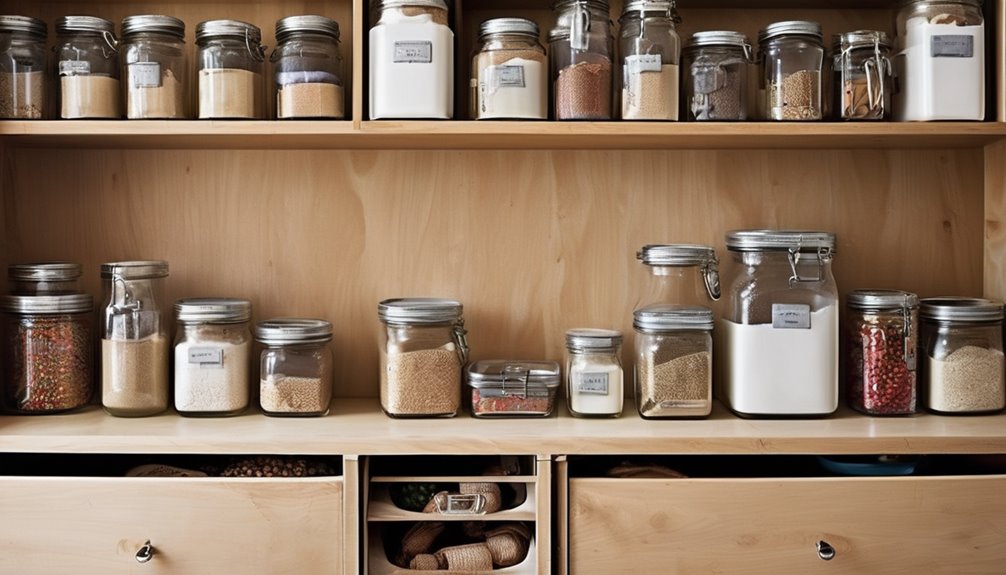
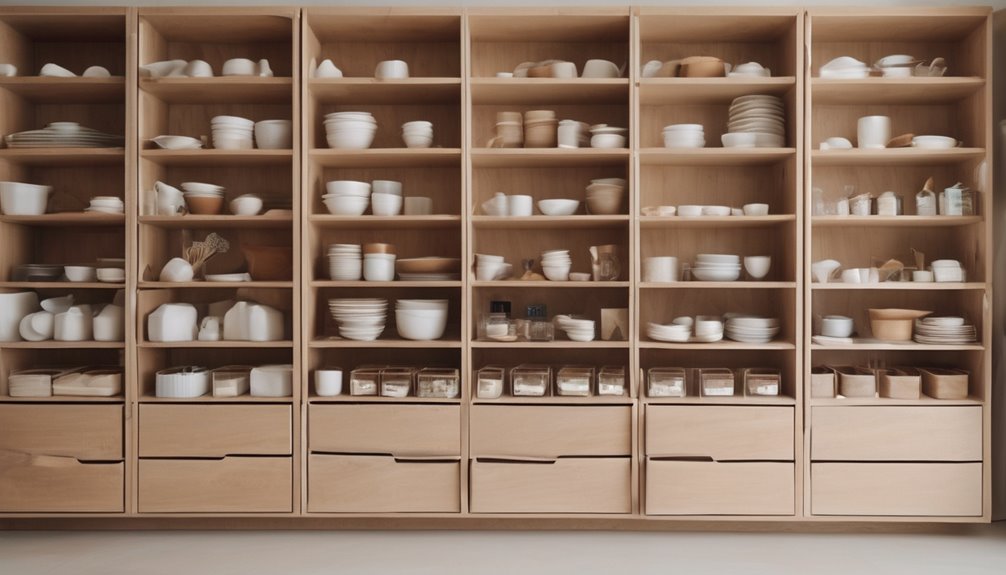
Budget Upgrades That Maximize Space (No New Cabinet)
Looking for ways to maximize storage without replacing your cabinets? You’ll love budget upgrades that maximize space without a remodel. Small changes add up, helping you feel organized and included in a smarter home.
- Add slim pull-out organizers for deep base cabinets to reclaim unused width.
- Install adjustable shelves and dividers to customize heights as needs shift.
- Use transparent or labeling bins to see essentials at a glance and reduce rummaging.
- Mount slim pegboards or rails inside doors for utensils, spices, or tools, freeing counter space.
By implementing these tweaks, you can maintain a sturdy, clutter-free kitchen setup that supports long-term organization and efficient daily routines, much like how a reliable, one-piece desktop and durable steel frame support consistent performance in HUANUO’s design. durable steel frame
Create a Simple Maintenance Plan to Stay Tidy
To keep a tidy cabinet long after your upgrades, set a simple maintenance routine you actually stick to. You can also tailor this plan to fit an ergonomic, well-supported workspace by aligning your cabinet organization with comfortable workflow habits ergonomic chair features. You’ll keep momentum by a few short habits: daily quick wipe-downs, weekly reorganization, and monthly checks for items nearing expiration. This approach reinforces belonging—you’re part of a tidy, capable space. Use routine reminders to stay consistent, not overwhelmed. Here’s a compact plan:
| Day | Action | Benefit |
|---|---|---|
| Daily | Wipe surfaces | Maintain tidiness short-term |
| Weekly | Reorder items | Find things fast |
| Monthly | Purge/rotate | Free space, reduce waste |
Frequently Asked Questions
How Do I Measure Cabinet Dimensions Accurately?
To measure cabinet dimensions accurately, start by measuring depth, then height, and finally width. Use a tape measure placed at the deepest point for depth, from the cabinet floor to the top, and from the inside bottom to the top for height. For width, measure at the widest interior point and note any molded lips. Record measurements in inches, repeat to confirm, and jot notes about door swing and shelf clearance to ensure a perfect fit. You’ve got this.
Which Materials Are Safest for DIY Cabinet Dividers?
Safest materials for DIY cabinet dividers are the safest wood and BPA free plastics. You’ll pick solid, sealable options like birch or maple, finished with non-toxic sealants, and you’ll favor BPA-free polypropylene or HDPE plastics for drawers and dividers. You’ll avoid treated woods and questionable laminates, choosing layered plywood only when formaldehyde emissions are low. You’ll plan for stability, safety, and sustainability, align with a sense of belonging and responsible, practical crafting.
Can I Reuse Items From Other Rooms for Organizers?
Yes, you can reuse items from other rooms for organizers. You’ll save money and reduce waste, and you’ll feel good about practical, cohesive spaces. Start by selecting sturdy containers, jars, or baskets, then reimagine them with budget labeling to keep things clear. If something’s too tall, trim or stack it thoughtfully. You’ll belong to a mindful home crew that values reuse, efficiency, and a polished, thrift-friendly cabinet system.
What Is the Best Budget-Friendly Labeling Method?
Label clearly, label consistently, label everywhere. The best budget-friendly labeling method is a simple labeling system using printable labels or handwritten tags on a lightweight card stock, then sealing with clear tape for durability. Use a legible font or neat cursive, and color-code by category. Consider budget-friendly options like chalk labels or laminated labels. You’ll feel organized, supported, and included, as you create a practical, shared space that invites belonging and easy access.
How Often Should I Audit My Cabinet Inventory?
You should audit your cabinet inventory quarterly to stay proactive. Establish an auditing cadence that fits your routine, and treat it as a quick check-in, not a chore. You’ll refine inventory tracking, reduce waste, and feel confident in what you own. Keep a simple log, note expirations, and adjust orders as needed. Consistency matters more than frequency; you’ll belong to a rhythm that keeps you organized and in control.