Ready to transform a cramped kitchen on a budget? Start with a simple storage plan: set clear goals, list must-haves, and budget by category—containers, shelves, and organizers. Assess cabinets, pantry, and counters to map everyday use and reallocate space. Add vertical storage like slim racks and adjustable shelves, then build DIY dividers from scrap wood. Label everything, establish a weekly quick maintenance ritual, and reuse jars and drawers. Keep it flexible— more tips await if you keep going.
Key Takeaways
- Set a simple budget with must-haves, then allocate funds to containers, shelves, and organizers for flexible, adjustable storage.
- Audit each zone (cabinet, pantry, countertop) to reallocate everyday items and assign dedicated zones for similar goods.
- Add vertical storage: slim racks, door organizers, and adjustable tall shelves to maximize unused height.
- Create DIY dividers and containers from scrap materials to fit drawer depths and prevent mix-ups, labeling edges lightly.
- Label consistently, establish a 15-minute weekly maintenance routine, and reuse jars and drawers to stretch the budget.
Set a Simple Budget for Kitchen Storage

Setting a simple budget for kitchen storage starts with a clear idea of what you’re aiming to store and how you’ll use the space. You know your routines, so list must-haves first and nice-to-haves second, then map them to spots that are easy to reach. Start with budgeting basics: decide a total you’re comfortable spending and break it into categories like containers, shelves, and organizers. Prioritize cost efficient planning by choosing versatile items—adjustable shelves or modular bins that adapt as your needs change. Seek durable, affordable options, and compare prices before buying. Measure cabinets and pantry widths to prevent overbuying. Monotony breaks with color or labeling, but keep costs low by repurposing existing containers. Your cohesive plan builds belonging and confidence while keeping spending transparent and controlled, and planning for future adjustments can help you maintain flexibility as your storage needs evolve adaptive storage options.
Plan Your Space: Assess Cabinets, Pantry, and Countertop Zones
Take a quick audit of each zone to map what you actually use and where it lives. You’ll start with cabinets, then move to the pantry and countertop areas. Do a quick inventory: what you reach for daily, what sits unused, and what triggers clutter. For cabinet assessment, note which shelves hold everyday items and which are rarely touched; reallocate to streamline flow. In pantry zoning, group similar items (baking, snacks, canned goods) and assign dedicated zones so you can see empties and restock needs at a glance. On countertops, designate a simple workspace for prep and a small, hidden area for frequently used tools. The goal is smooth, intentional access, so you feel confident and connected to your space. Monitor your progress by noting how each zone supports quick meals and daily routines.
Install Practical Vertical Storage Solutions
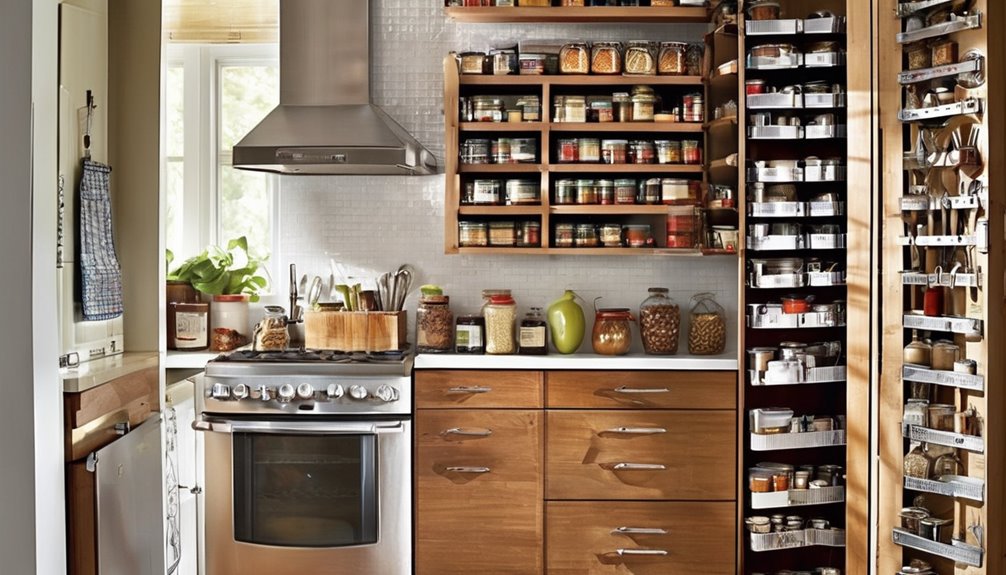
Vertical storage can dramatically free up counter and cabinet space, so start by evaluating tall gaps—think above counters, inside cabinet doors, and between shelves—to see where a slim rack or hanging solutions fit. You’ll implement vertical shelving on open walls or inside pantry units, choosing sturdy, adjustable options that don’t overwhelm the space. Install wall rails at eye level for easy reach, then add hooks, baskets, and slim shelves that hold spices, lids, or small gadgets. Keep weight in mind; start light and grow gradually. Label groups so everyone feels ownership and can find things quickly. Reorganize as you go, cutting clutter and boosting efficiency. This approach builds confidence and belonging while maximizing every inch space-fit.
Build DIY Dividers and Containers for Better Fit
If you want a tighter fit in cabinets and drawers, build simple dividers and containers that match what you actually use. Start with a quick inventory: note sizes of plates, lids, and utensils, then sketch where they belong. Use scrap plywood or sturdy cardboard to cut straight dividers, then assemble with wood glue or small screws for steady shelves. Label edges lightly to guide future reshuffles, but keep the system flexible. Containers for better fit can be shallow bins for lids or deep trays for bakeware, sized to your drawer depths. When you build dividers, measure twice, cut once, and test fit before finalizing. With containers for better fit, you’ll waste less time searching and feel confident in a tidy kitchen.
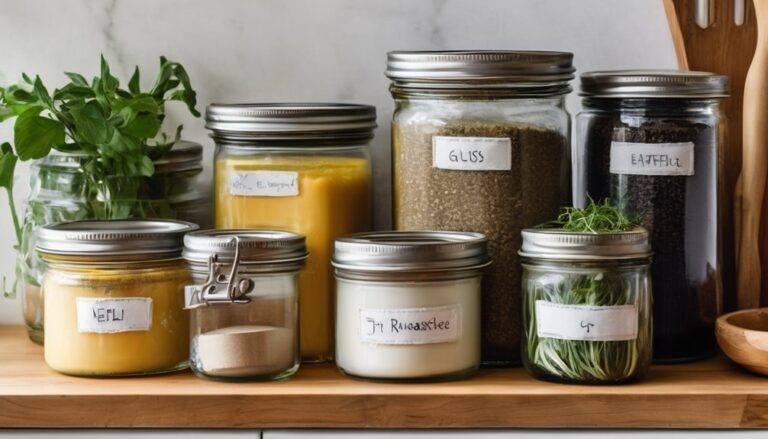
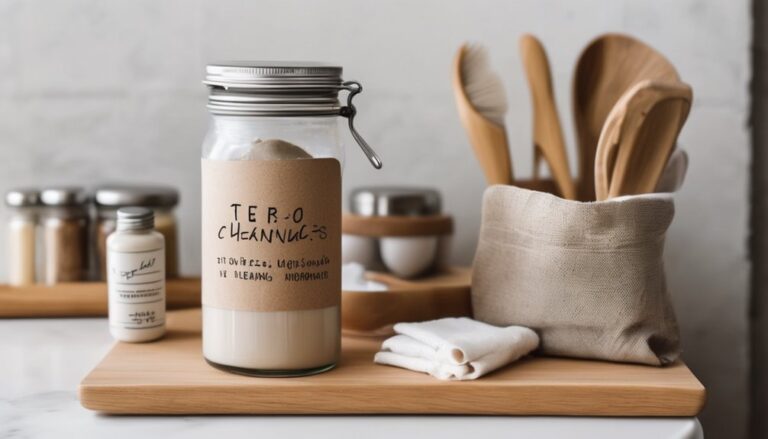
Label, Maintain, and Build Simple Habits on a Budget
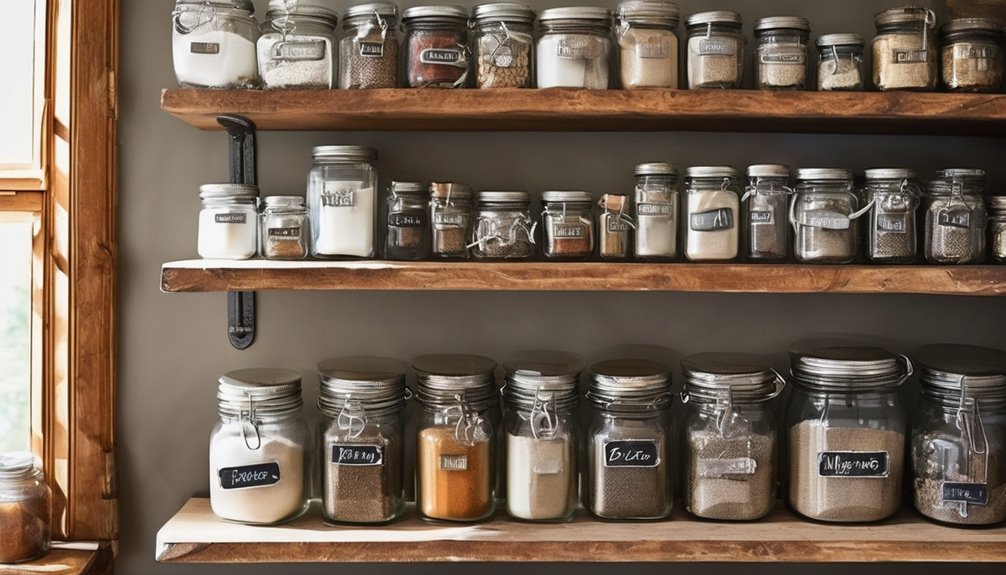
Labeling, maintaining, and building simple habits on a budget is all about small, repeatable steps that stick. You’ll start with clear labels on containers, shelves, and bins so you always know where things belong. Keep a simple system: one label set, one color, one voice. Next, commit to a weekly maintenance ritual—15 minutes to rehome items, wipe surfaces, and review what’s actually used. Build budget friendly organization by using what you have: repurpose jars, reuse drawers, and stack safely. Track progress with a quick checklist and celebrate small wins, like finding things faster or freeing up counter space. Finally, invite household members to join, share roles, and reinforce routines. Consistency beats perfection, and belonging grows when everyone contributes to the simple habit cycle 5-year warranty-backed guidance. labeling habits, budget friendly organization
Frequently Asked Questions
How Do I Measure Space Accurately for DIY Storage?
To measure space accurately, start with Measuring space using a tape measure, then note wall lengths, cabinet depths, and doorway clearances. Save the data in a simple grid. For Layout planning, map zones for cookware, prep, and pantry so you know what fits where. Measure at floor, mid-height, and ceiling to catch irregularities. Recheck each dimension, account for doors and swing space, then test with cardboard mock-ups to ensure everything flows and feels like home.
What Materials Are Safest for Kitchen DIY Projects?
Safe materials are your first line of defense for kitchen DIY projects, and toxin free options exist for every budget. You’ll want food-safe paints and finishes, low-VOC adhesives, untreated wood or sustainably sourced options, and silicone, stainless steel, or glass where you touch food. You’ll feel confident, practical, and part of a community that values health. Start small, test finishes, and document safety notes so your space stays welcoming, inclusive, and genuinely safe for everyone.
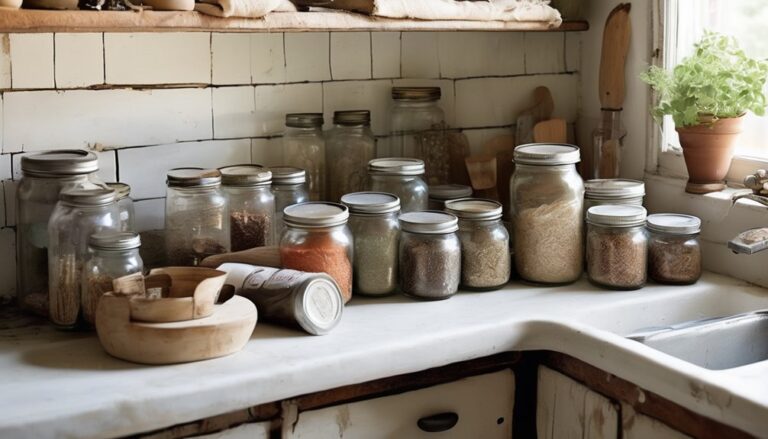
Can I Reuse Household Items as Storage Solutions?
Yes, you can reuse household items as storage solutions. Start with simple reuse ideas like jars for small parts or baskets for pantry overflow, then assess stability and cleanliness. Consider safety considerations: clean, dry, and flame-free materials; avoid leaded paints or damaged plastics. Use repurposing tips to organize by function, not just look. If something feels unsafe or unstable, pass it up. You’ll feel a sense of belonging by sharing clever, practical storage wins.
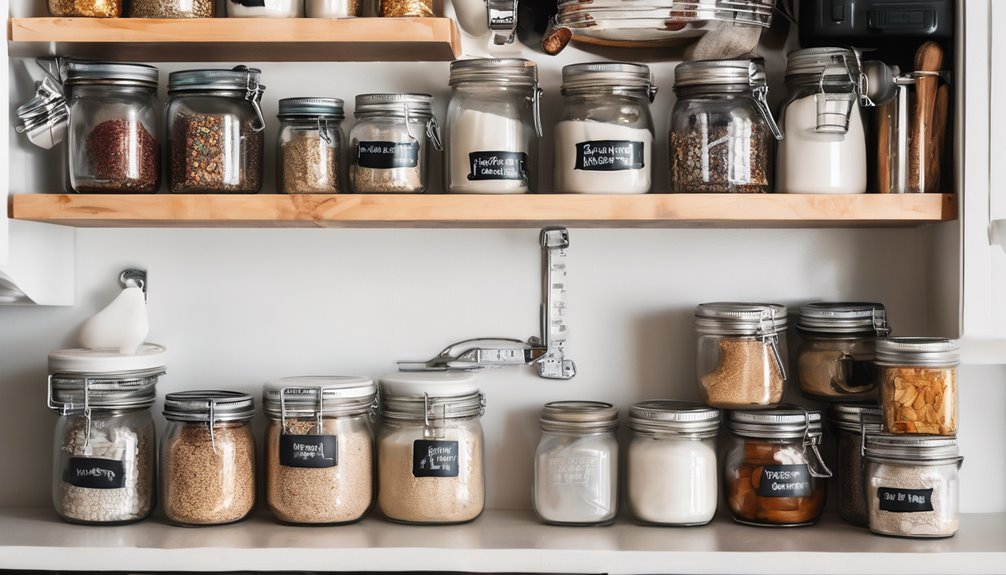
How Can I Maximize Small Pantry Capacity Quickly?
To maximize small pantry capacity quickly, you should maximize shelf height, optimize door space, minimize clutter, and optimize vertical storage. You’ll stack bins, use risers, and mount slim shelves inside doors, keeping frequently used items accessible. Reorganize by grouping similar items, label containers, and purge weekly. You’ll feel you belong in a smarter kitchen, not a cluttered one, as every inch earns you more space and confidence to cook with ease.
What Are Quick Maintenance Steps to Prevent Clutter?
You should implement quick maintenance now: wipe surfaces weekly, sort by category, and discard expired items. Create simple clutter prevention by a daily 5-minute reset: return items, label bins, and nest supplies neatly. Use storage optimization tricks like vertical shelving and clear containers to see everything at a glance. Build organization routines—weekends for a quick pantry audit, monthly checks for freshness, and consistent placement so you feel you belong in a well-ordered space.